I listen to my mother when it comes to pretty much everything. It’s generally a good idea, because she’s almost always right. “Almost” being the key word here, because I have found the one thing that she was wrong about. (Sorry, mom.)
Remember that post I put up about how I was thinking about trying an at-home hair dye kit? Well, about thirty seconds after I hit “publish” my phone rang, and I knew it was my mom without even looking at the caller ID. I even knew what she was going to say:
“JORDAN DO NOT DYE YOUR OWN HAIR.”
And yup, that’s exactly what she said (with “YOU WILL RUIN IT FOREVER” thrown in for good measure). See, my mom has this horror story she likes to tell about this time when she bleached her hair herself, and it all broke off about a quarter inch from the root and she ended up having to cut her hair into a Mia Farrow-ish pixie. Except the thing about that story is that it took place in 1968. In theory, at-home hair dye formulas have progressed a tad over the last five decades.
Which brings me to a very exciting announcement: I am no longer an at-home hair dye virgin. And?
I am now A TOTAL CONVERT.
Seriously, whyyyy have I been spending hours and hours and hours of my life (not to mention hundreds and hundreds and hundreds of dollars) sitting in salon chairs when I could get insanely pretty color from forty-five minutes spent in my own bathroom (while still wearing my pajamas)?! Whyyy?

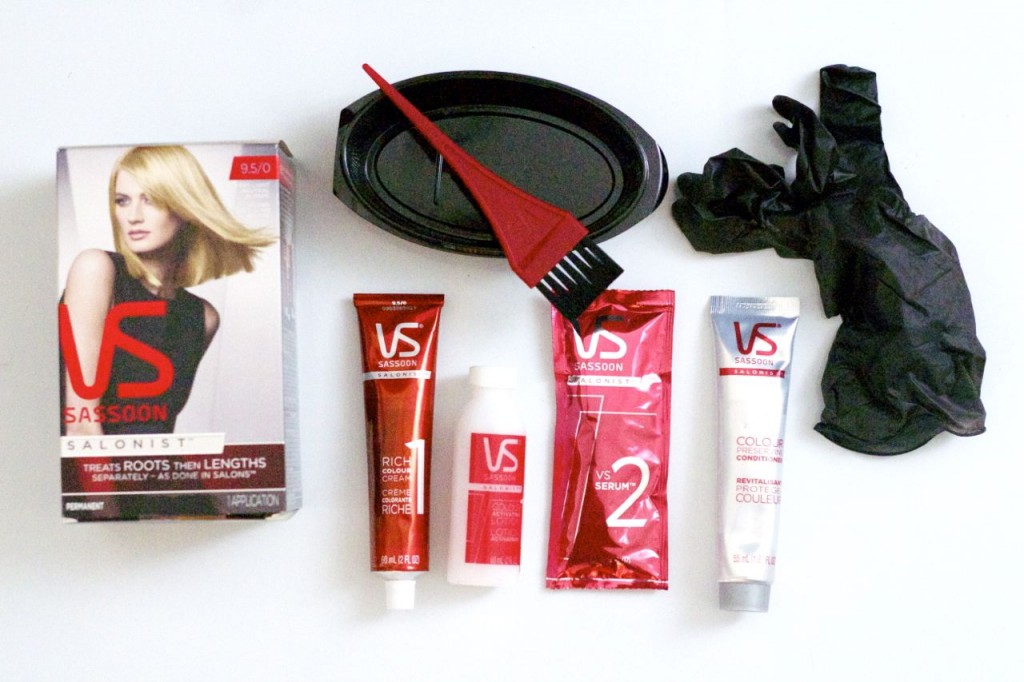
The product I selected for my grand at-home hair-dye test run was Vidal Sassoon Salonist Permanent At-Home Colour – it’s a new product that treats the roots and lengths of your hair differently (similar to how they treat hair in salons), so the end result is natural-looking, with lots of depths and tones throughout rather than just a single dull, flat color. I chose “Very Light Neutral Blonde” because I thought I’d go for a shade that would just boost my “natural” (haha) color rather than completely overhaul it, mostly because I was super nervous that I would completely screw up.
You can see what comes in the kit in the shot above: Step One consists of mixing together two products and then applying the mixture to your roots (it’s super easy) and waiting 20-30 minutes, and then Step Two consists of mixing a third product into the remaining mixture from Step One and smoothing it over the lengths of your hair before waiting another 10 minutes. The Serum is the coolest thing about Salonist, since it transforms the colour cream into a glaze that gives your lengths the correct amount of dye (to avoid streaks and stripes). Then you just wash it and apply the Color Protecting Conditioner.
Here’s me mid-application, extremely nervous (and extremely glamorous).
Want to see the result?! Ohmygoodness I love it.
Ta da.
Totally not the blocky, dull color I was afraid I’d end up with – there’s lots of dimension in there. And the best part? I got the whole thing all done during one of my daughter’s naps; it was that fast and easy.
TOTAL CONVERT.
P.S. I sent my mom these shots and she loved the results so much that she’s agreed to let me dye her hair next. Done.
This post was created in collaboration with Vidal Sassoon.


