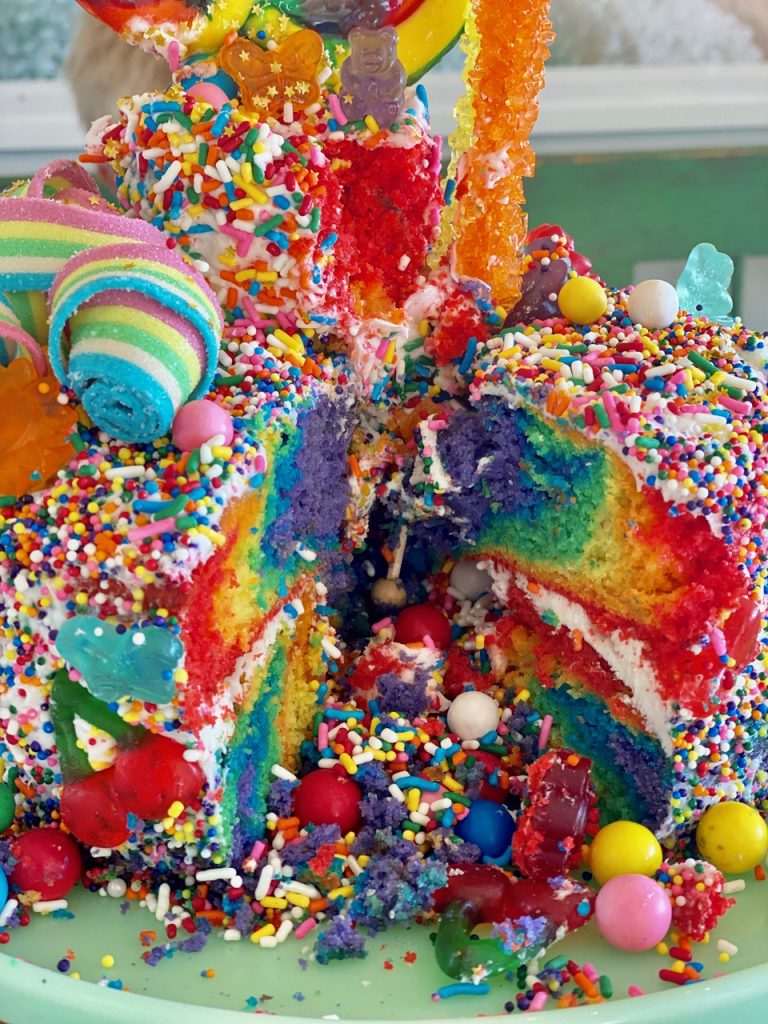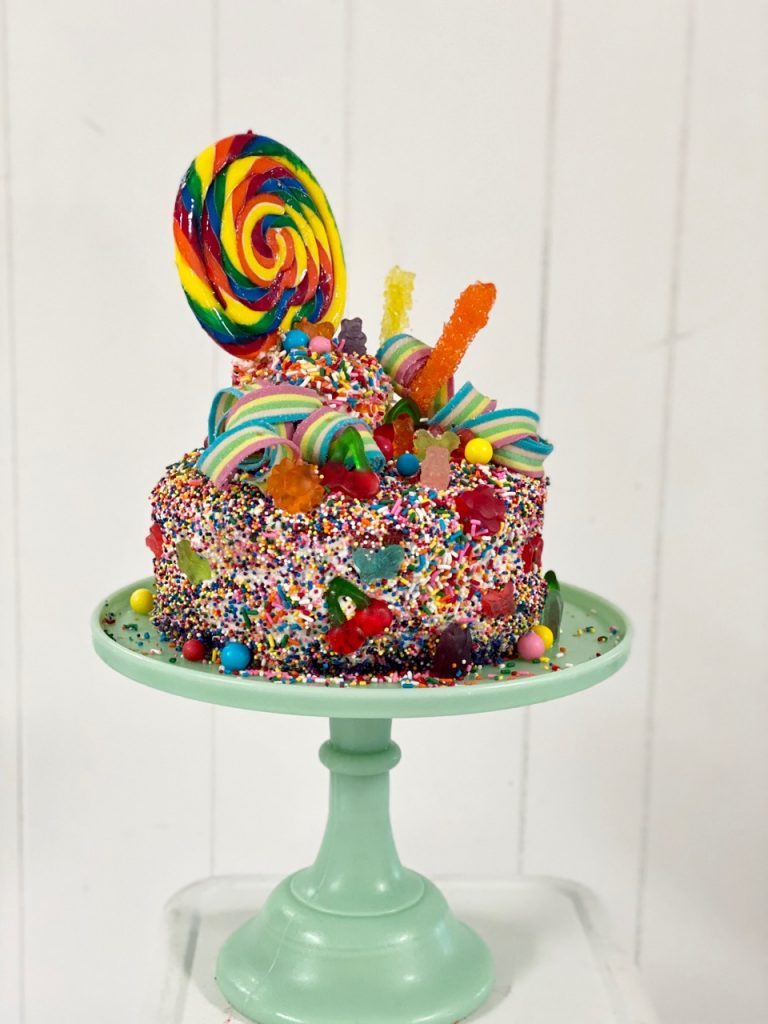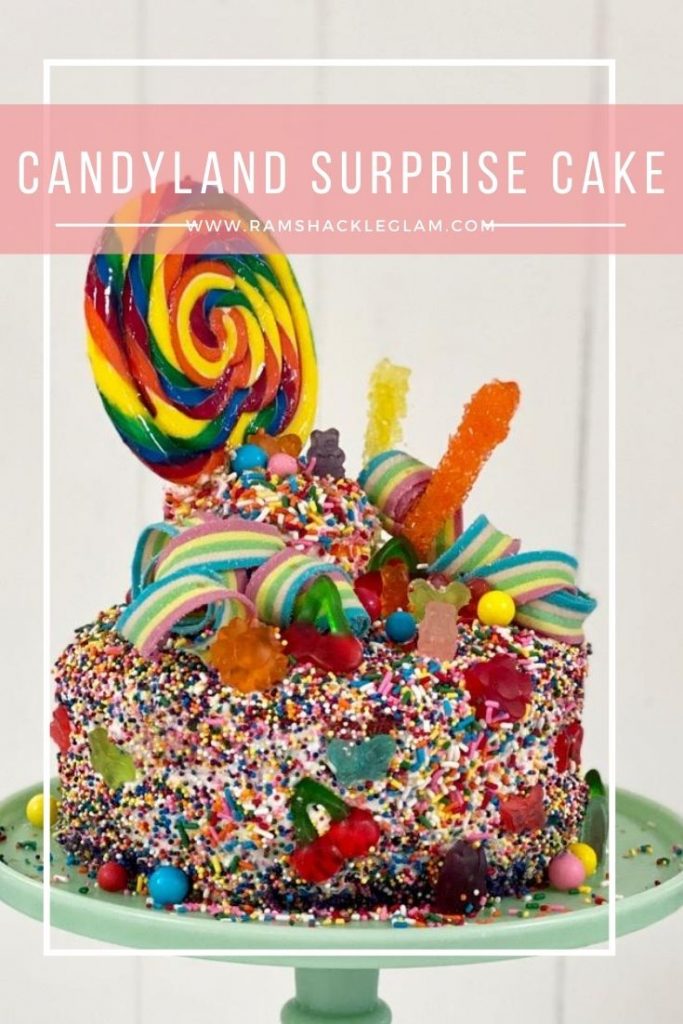
My daughter likes candy. Like, a LOT.
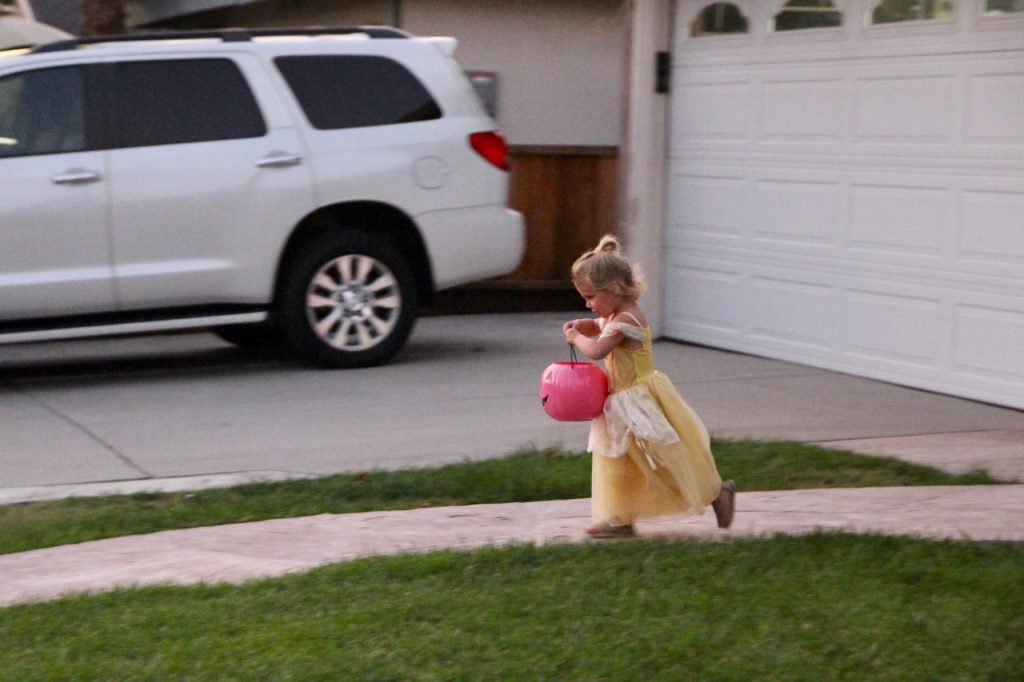
Here, as an example, is a photograph of her trick-or-treating at 2 years old. That’s what you call “laser focus.”
And here is how a typical Halloween-night conversation goes:
“The sign said to take one piece. You only took one piece, right?”
“Five.”
“You can only take one.”
“No, five.”
“One.”
“Five. In my bucket.”
So this year, for her annual birthday cake extravaganza, I figured I’d cut through all the BS and just give the lady what she wants:
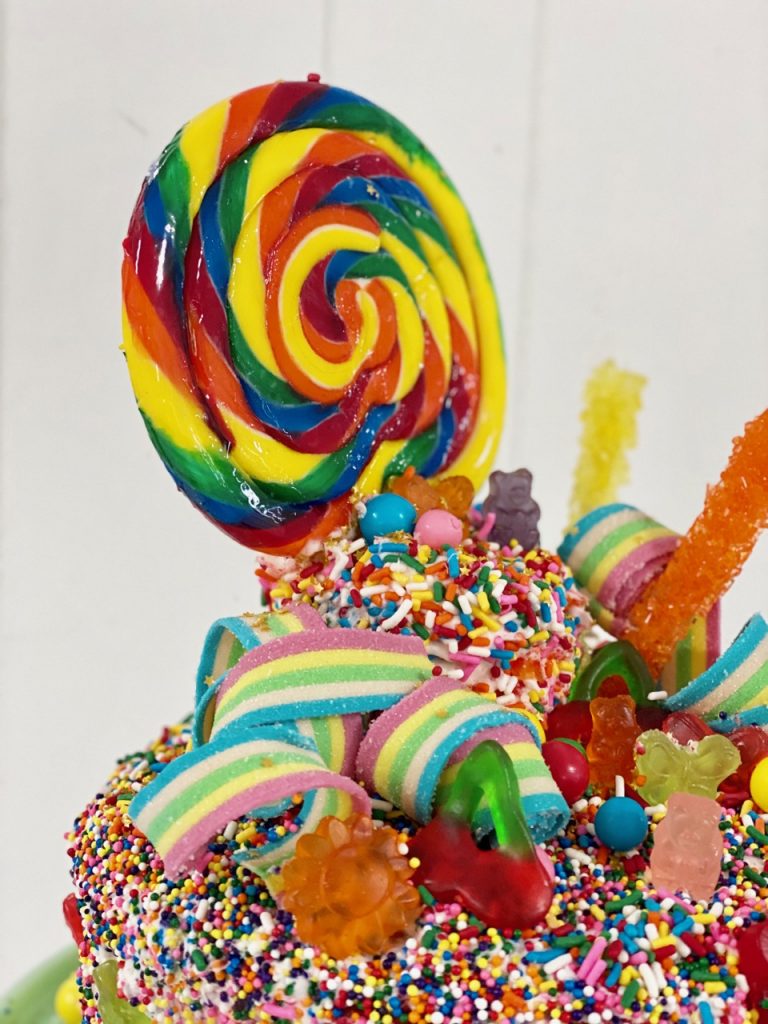
Candy cake.
(To recap: the make-an-impossibly-fancy-birthday-cake-for-my-child tradition started with the Mermaid Cake (a process that began with my friend Alisa taking pity on me and teaching me how to make a cake that did not turn out like this). Then came the Spooky Ghost Cake, the Moana Cake, the Bloodshot Eyeball Cake, the Tie-Dye Rainbow Cake, the Spooky Black Geode Cake, and the Cave Of Wonders Cake.)
Let’s do the how-to.
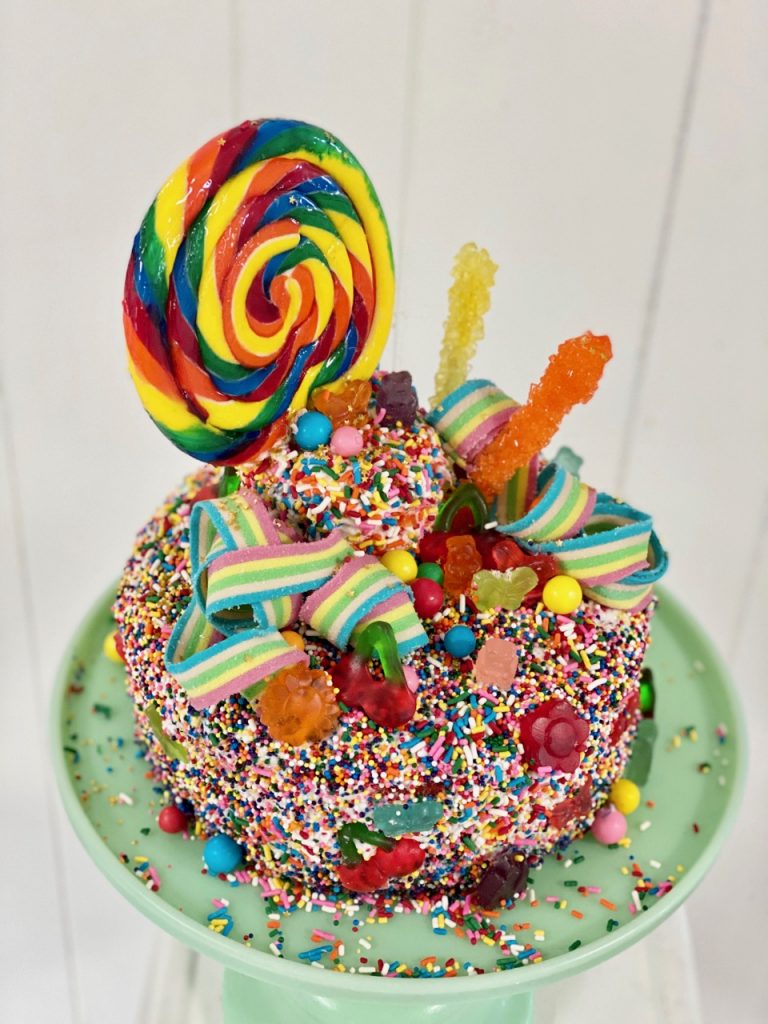
WILLY WONKA CANDYLAND RAINBOW SURPRISE CAKE
What You Need:
- 2 boxes white cake mix
- 2 cans white frosting
- 1 large jar rainbow sprinkles
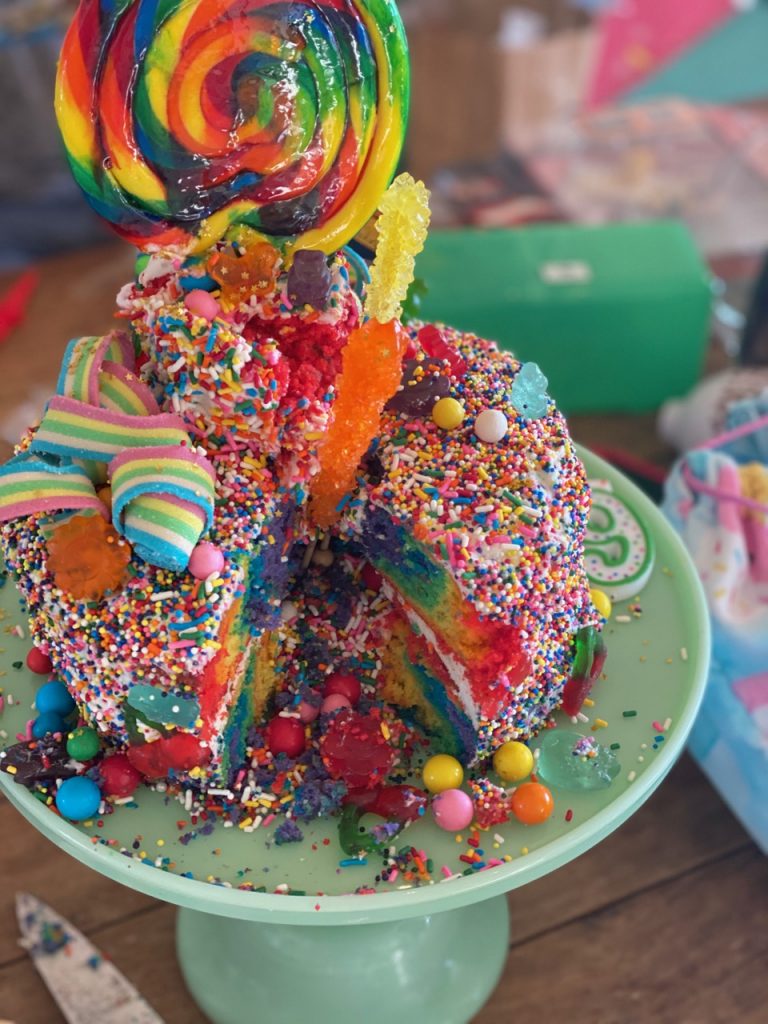
- Assorted coated candies and sprinkles for the “surprise” inside
- Lollipop, sour rainbow belts, dummies, and anything else you want to decorate the top and sides
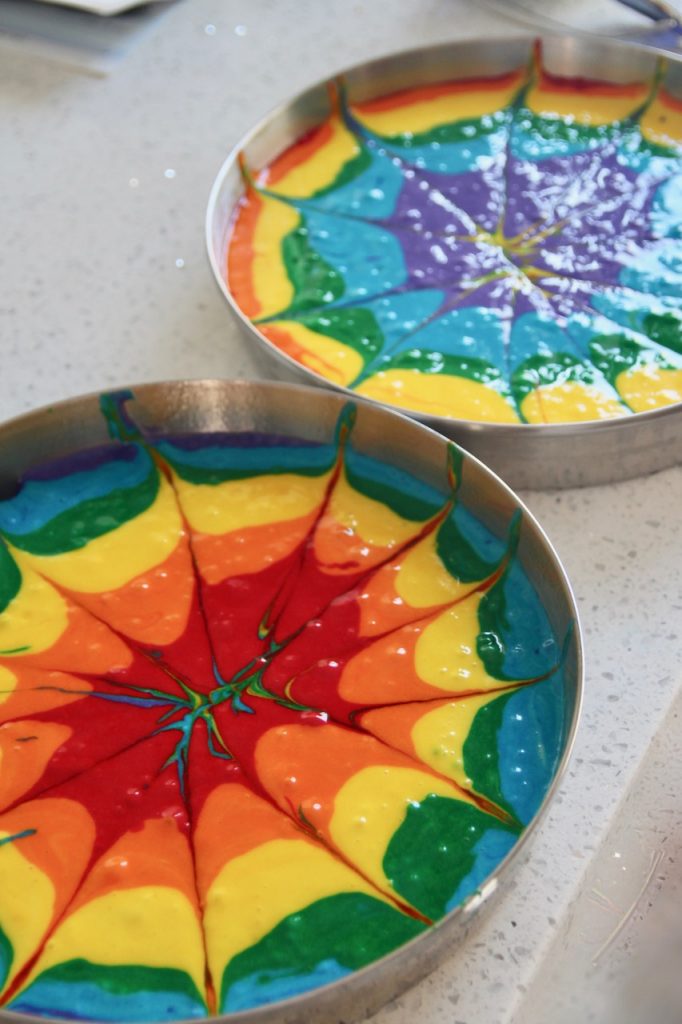
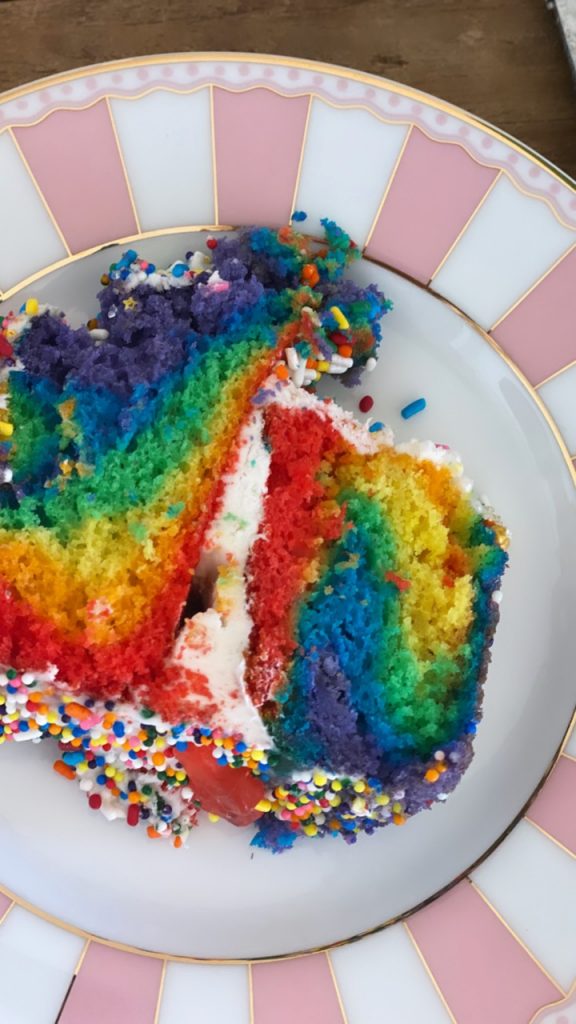
For the cake, I decided to go with my trusty rainbow tie-dye cake, just because it’s so cool. You can get the how-to in this post; it’s not nearly as difficult as it looks.
You’ll probably want to wrap and freeze both your cakes overnight so that you can easily slice off the tops to create a flat surface, and so that frosting will be easier, but you don’t *have* to – the sprinkles and candy will cover up a multitude of sins.
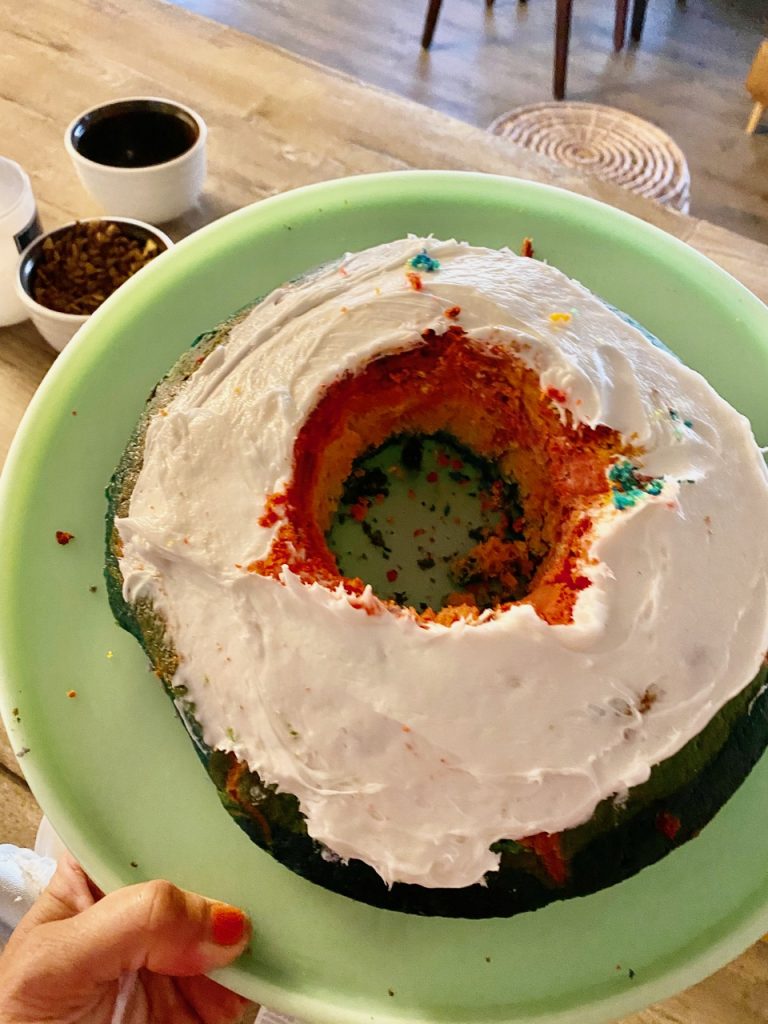
OK, so the first step in assembly is to take one of your cakes, and cut a hole in the middle of it. (I used a paring knife because I couldn’t find a cookie cutter, but if you have the latter it’ll create a cleaner look.) Keep that mini-cake you cut out, though – don’t eat it! You’re going to use it in a minute.
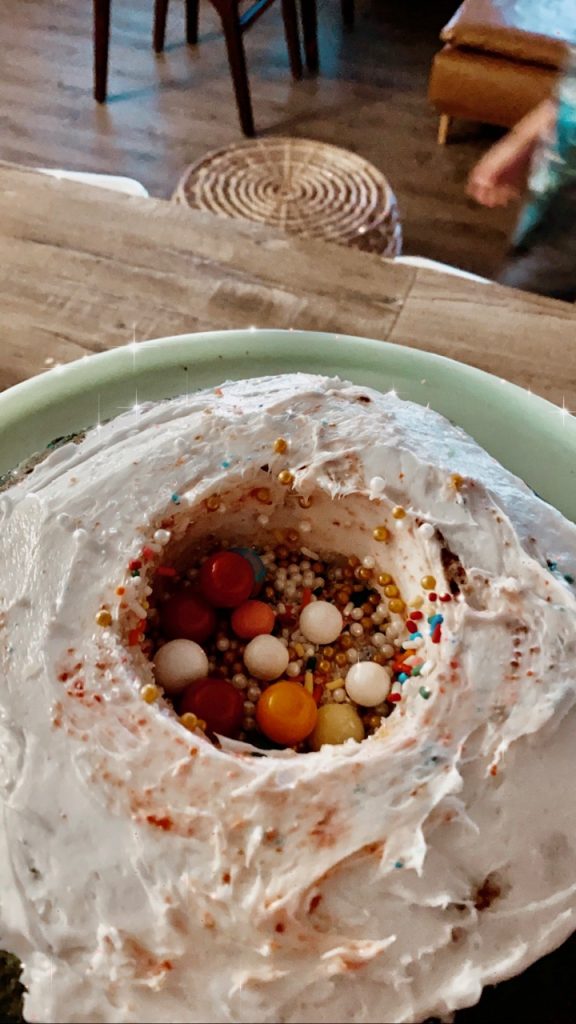
Lightly frost the inside of the hole (so that some of the candy sticks to the sides, making for a more dramatic “reveal”), and fill the hole with your coated candies and sprinkles. Don’t use chocolate candies for this; chocolate will sweat, and nobody wants sweaty candy.
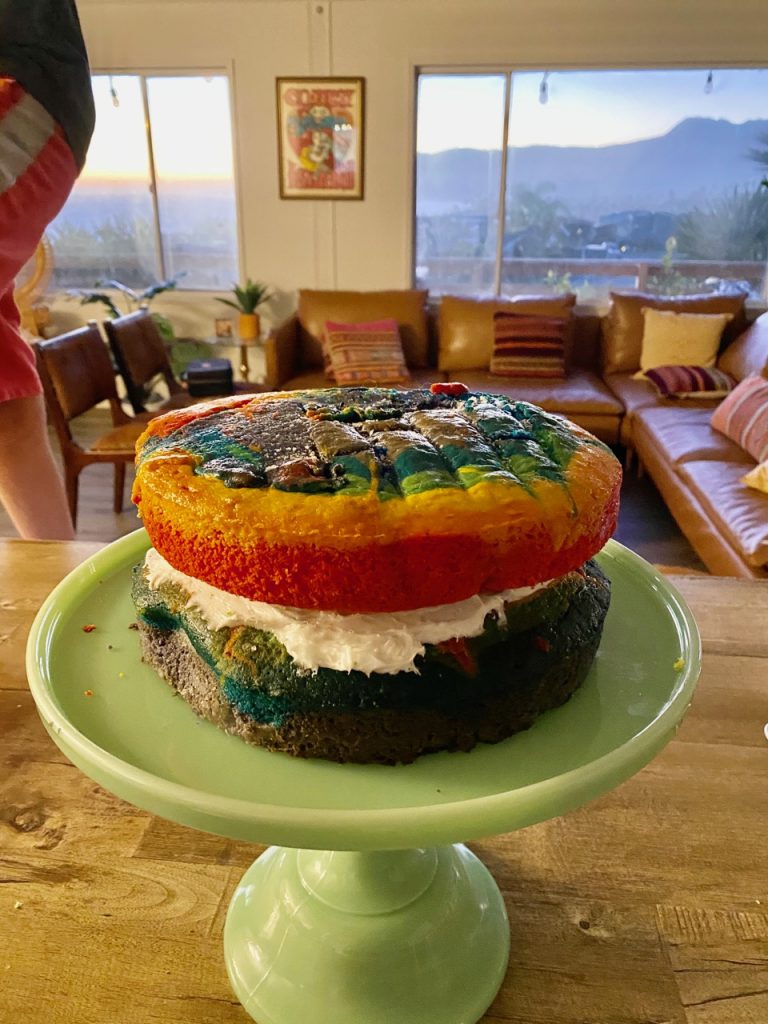
Frost the top of the first cake, and plop the second on top. (I know, the top of my cake looks weird – that’s because I had to make it in a convection oven and…long story, not interesting. But it was totally fine, because like I said: The sprinkles and candy cover allllll the sins.)
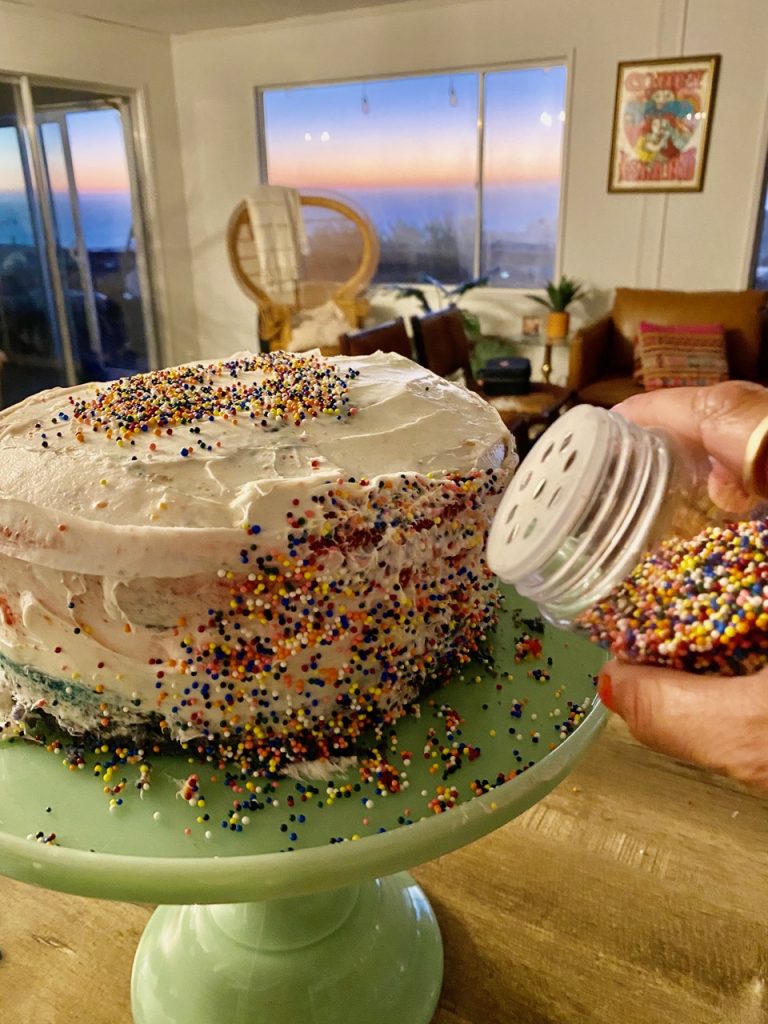
Frost the outside, and then cover completely with sprinkles.
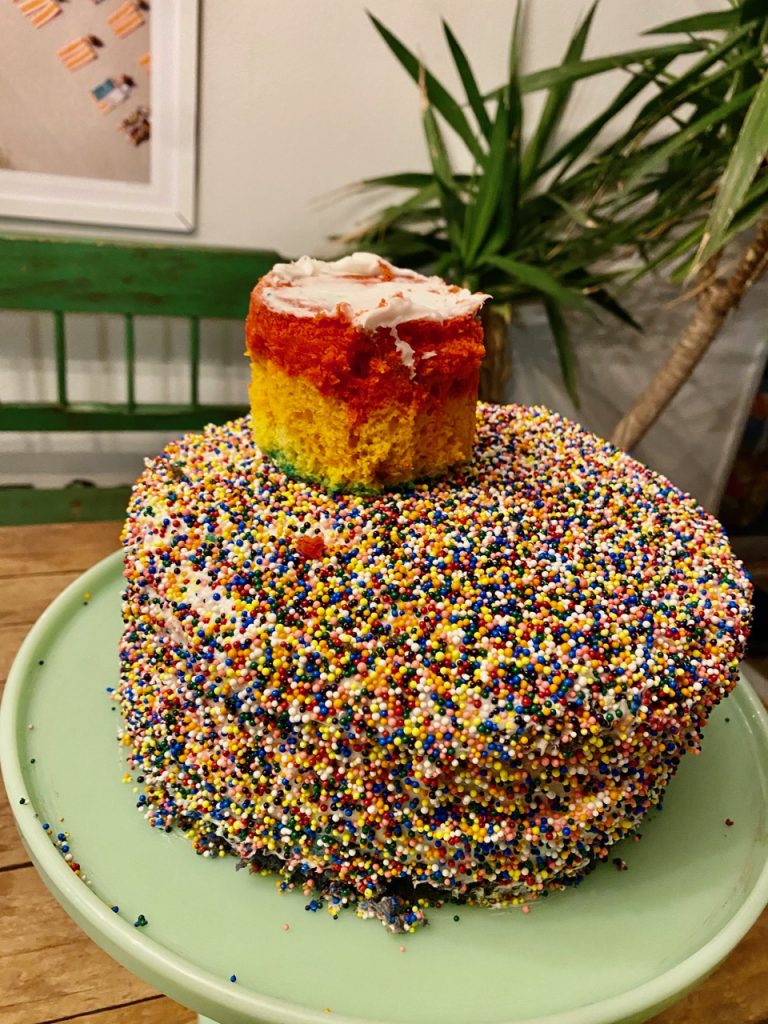
Now take the little cake you cut out of the bottom layer, and stick it on top. I like it a little offset, for that Wonka-y effect. Frost your mini cake. Cover it with sprinkles.
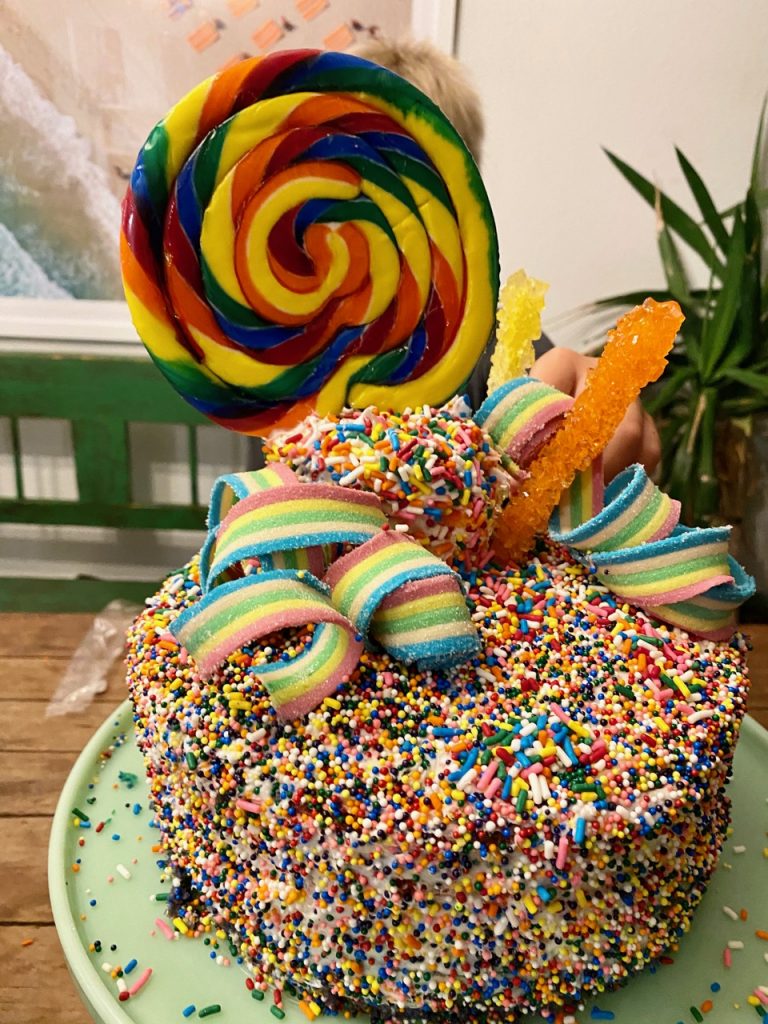
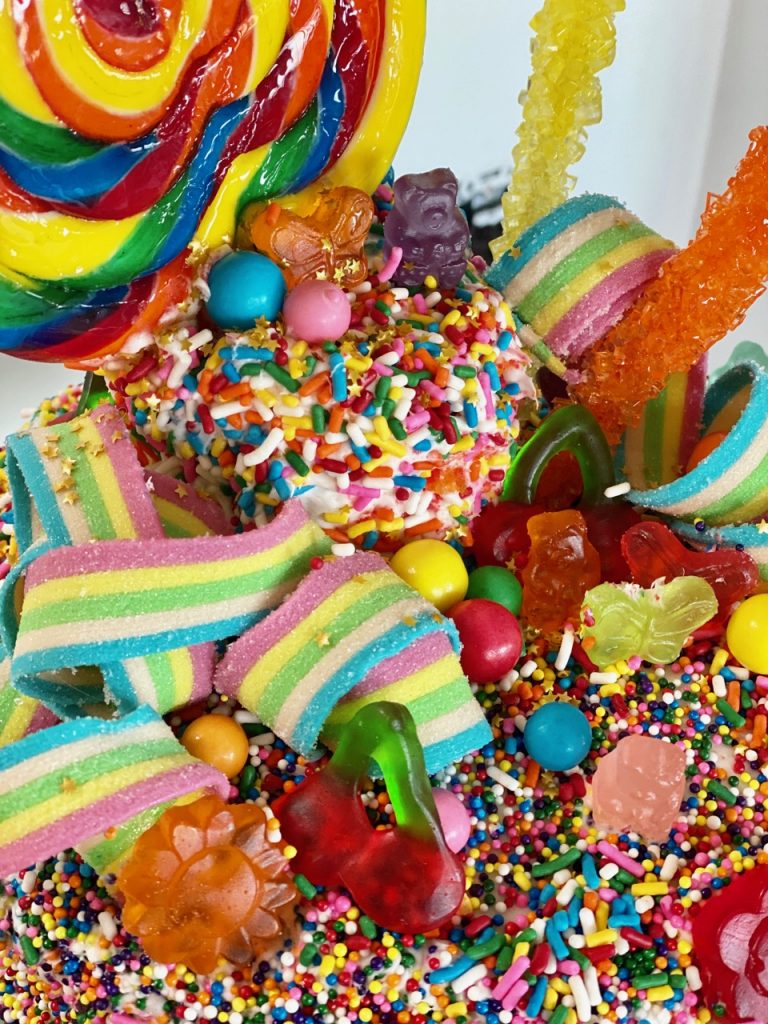
Last step, but the most fun one: Secure the mini cake to the larger cake with the handle of your lollipop…and then just start piling on the candy. This is a “more = better” situation.
