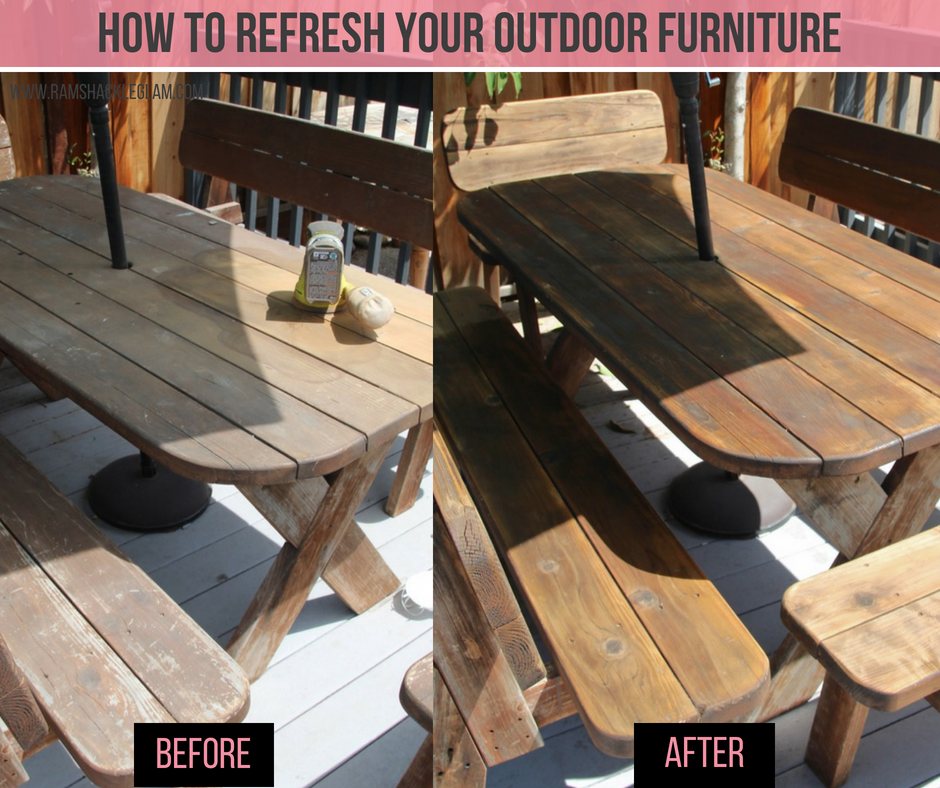
Winter can be rough on wood.
During the purchasing process for our home, the one thing I asked the former owners if they’d be willing to sell me was their patio table and benches (you can see the set here). It was rustic, and sturdy, and fit the space perfectly – but it was also clearly handmade, so I doubted they’d say yes. And I was right – they said no – but then we moved in a couple of months later…and there they were, waiting for us.
Yay, right?
Except then winter happened, and unbeknownst to me what winter in San Jose means is three solid months of rain. Rain is good, yes, but rain is not so good for wood furniture that you left outdoors and failed to cover or otherwise protect. By the time I realized that the rain was legitimately not stopping, ever, my lovely patio furniture was effectively trashed. And then it happened again the next winter: the same selective memory as to how long the rainy season would be, the same failure to prepare, the same trashing of all things wooden.
(I know, I could have just covered my outdoor furniture. But we have huge windows facing out into our backyard, and I couldn’t stomach the idea of having big plastic tarps be a central decor feature of our home for months on end. Six of one, half a dozen of the other, et cetera.)
A Light, Bright Backyard Makeover
My (Super Boring) 1960s Ranch House Got an (Incredibly Cool) Exterior Makeover
Aaaaanyway, now that we’re thisclose to being finished with our pool renovation (I have always wanted a pool with a black bottom, and it is HAPPENING and I cannot wait to show you pictures), I realized that it’s ridiculous to spend all that time making our backyard beautiful, and then leave the furniture dinged and uneven. The fixing-up process required nothing more than a power sander and some teak oil, and the results were so spectacular that I decided I had to show you. If you have wood furniture that’s seen better days – whether indoor or outdoor – you have to give this a try.
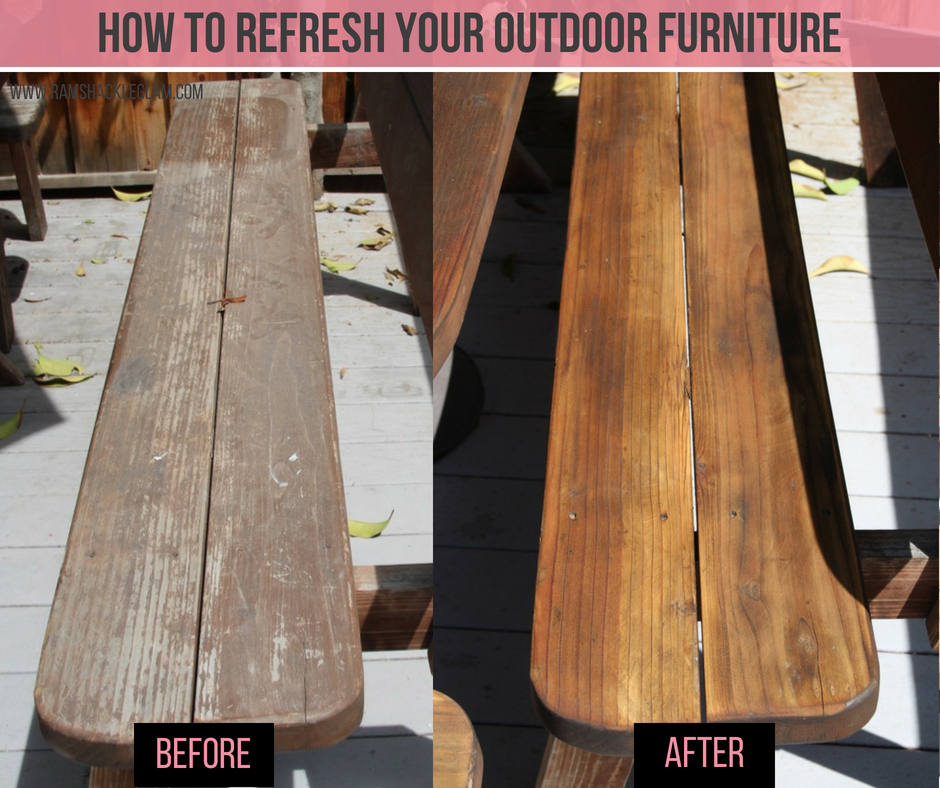
HOW-TO: RESTORE WOOD FURNITURE THAT’S SEEN BETTER DAYS
What You Need:
- A power sander (don’t use regular sandpaper if you’re dealing with a substantial surface area; a power sander will make your life far, far easier, and you can pick one up for about $25)
- Teak oil
- A brush or rag to apply the oil
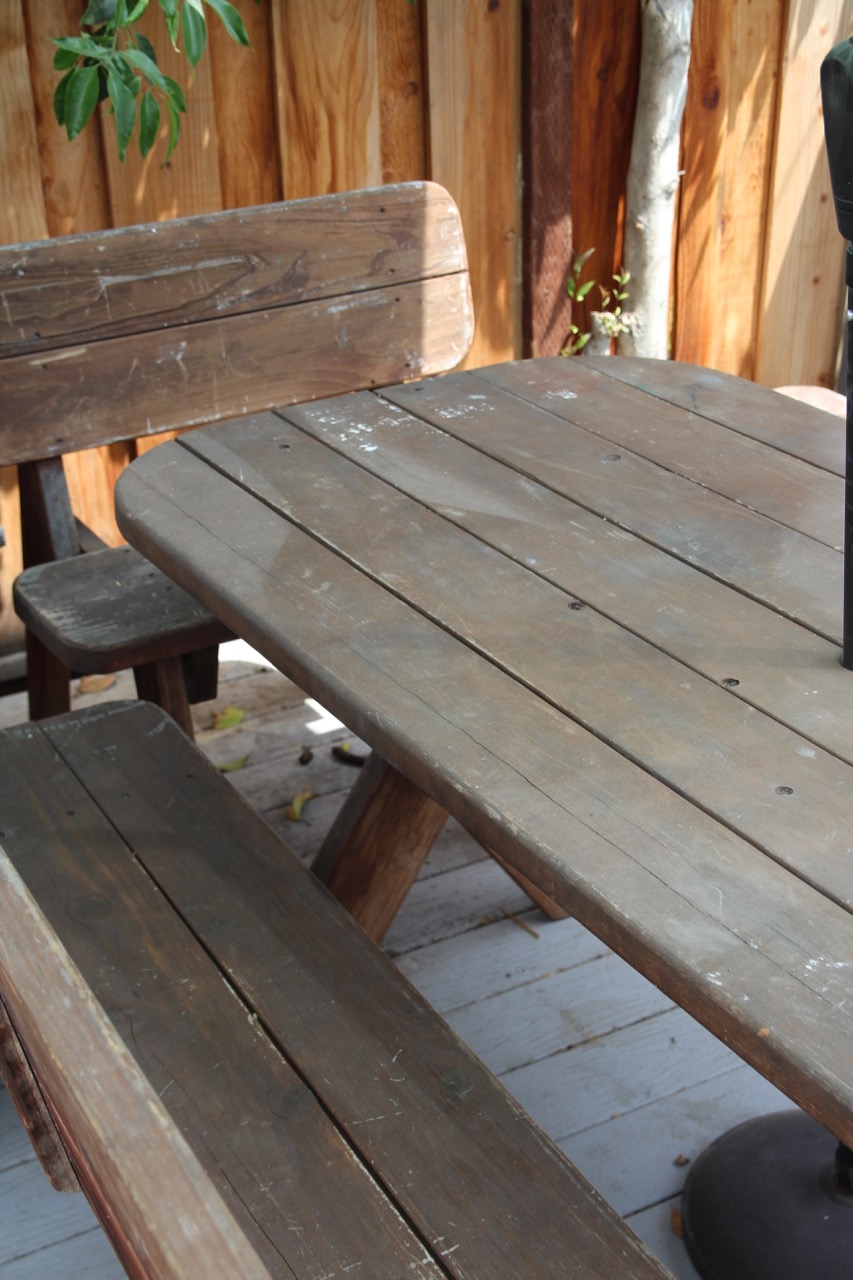
First, here’s what the wood looked like to start with.
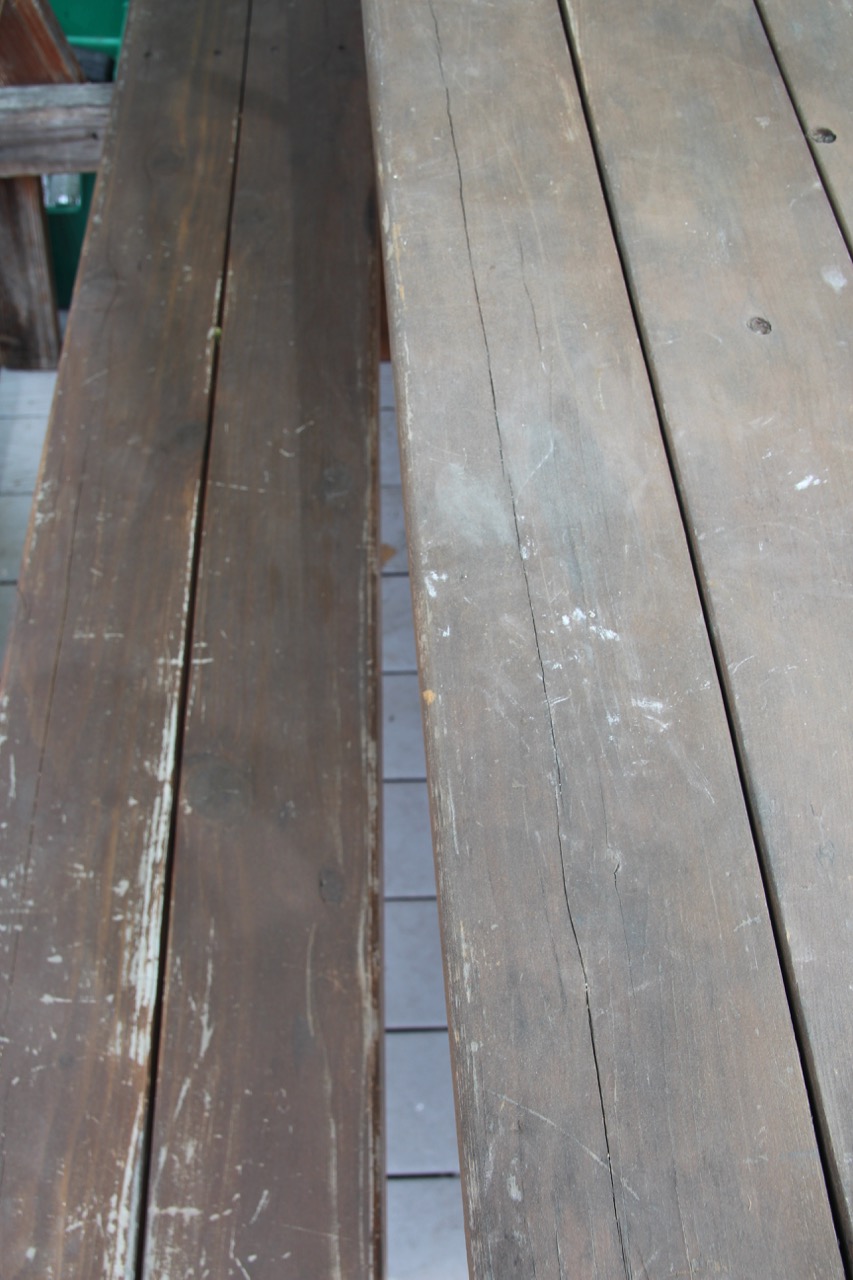
Ick.
So to start, you’re going to use the power sander to sand down the wood as far as you need to go to get a smooth, even surface. I’d estimate the table and benches you see here took me an hour and a half to sand down, but that’s including MOM I’M HUNGRYYYYY breaks every 10-15 minutes.
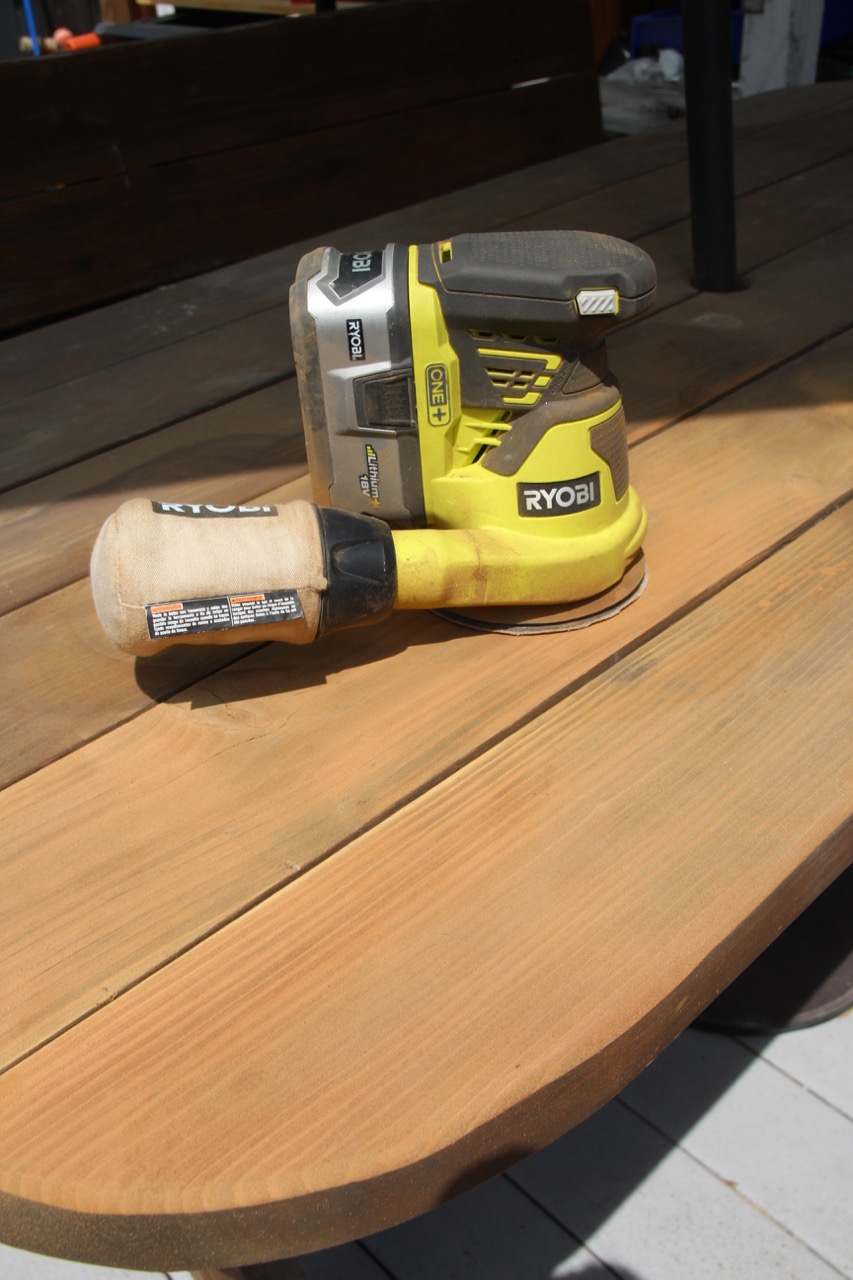
It was actually really fun. And extremely satisfying.
Quick aside, because this is something you should know: power sanding furniture is not for the fastidious.

Sorry about the PG-13 shot; I felt like you needed to see this.
Oh my god, you get SO DIRTY. I’ve used a power sander before, but in a much smaller space – I had to smooth out my ceiling while repairing a hole in the plaster – and this was a whoooooole other level of disgusting. Just be forewarned, and dress accordingly.
Anyway, here’s what you end up with after a thorough sanding.
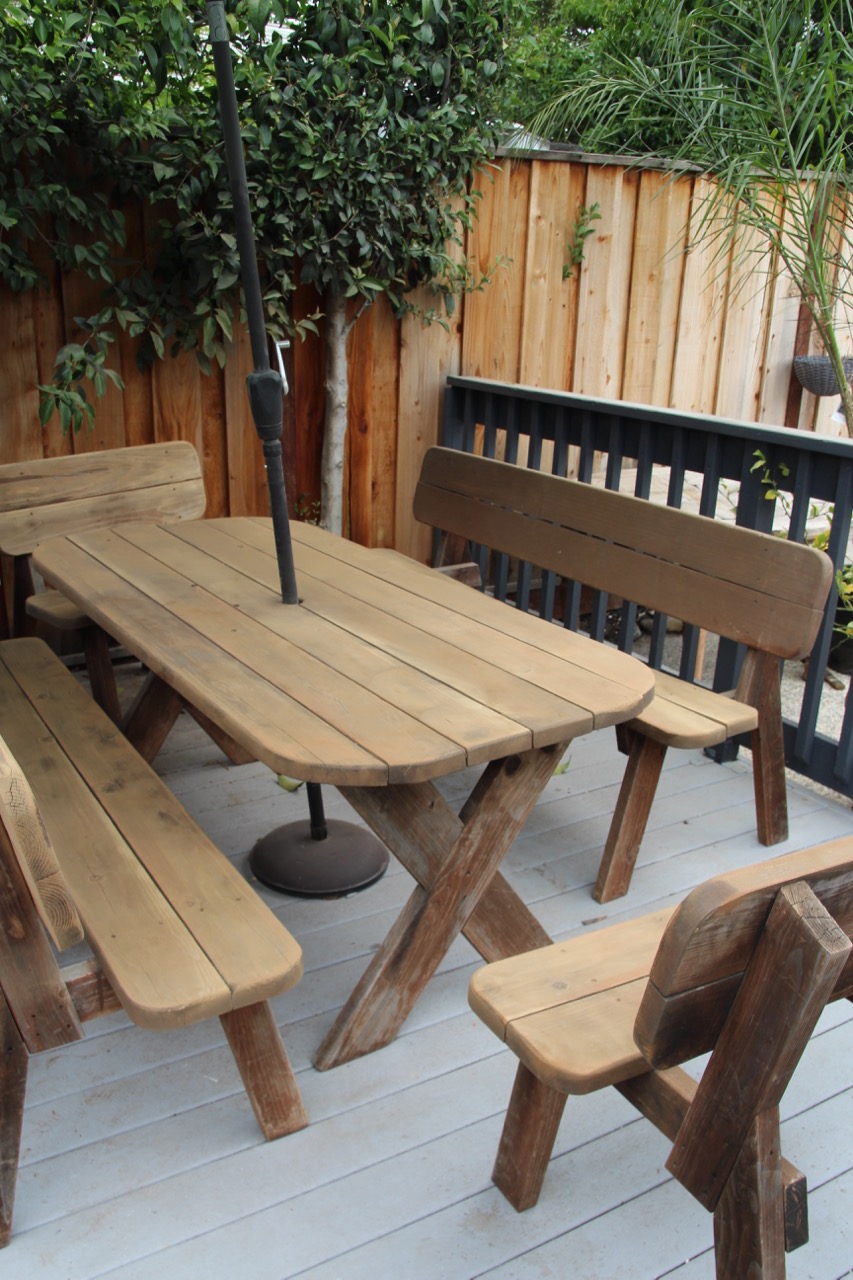
I skipped the legs because I was exhausted and needed to start dinner, but obviously that would have been ideal. Such is life.
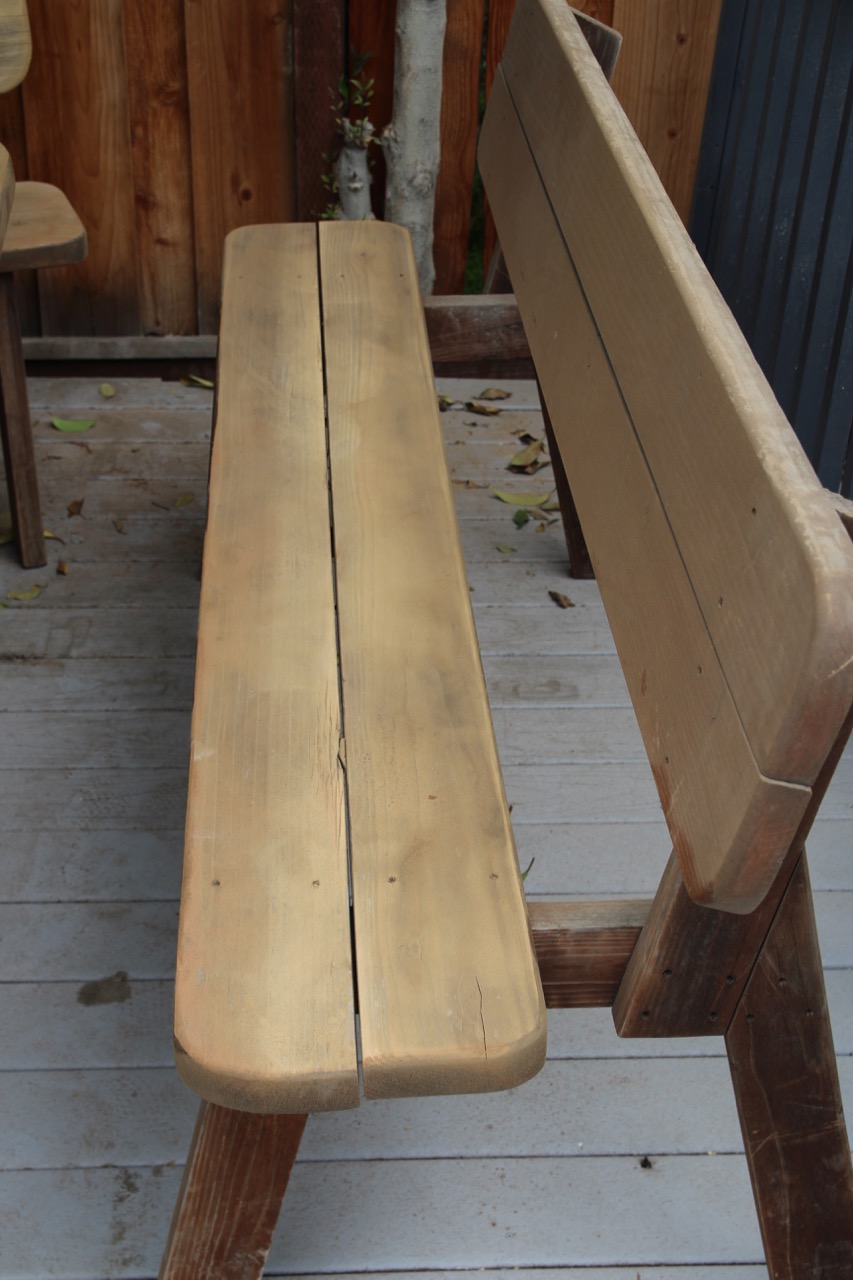
Soooo much better already.
The next step is the teak oil application. This is pretty self-explanatory – pour oil onto rag or brush, then apply to surface of wood – but there are a couple of important points to note.
First, the way teak oil is supposed to work is that you apply the oil, wait 30 minutes, and then wipe off any excess, but I found that the oil absorbed completely almost instantly. My wood, in other words, was really thirsty. If some oil remains on the surface of the piece you’re refinishing, be sure to wipe it off after 30 minutes, but either way a second application half an hour or so later is a good idea. I did not do this, because I ran out of teak oil, but I’ll get around to it.
The second important thing to note is that you can’t leave the brush or rag you used to apply the oil outside in the sun, or it will literally catch fire. I am so, so happy that my contractor happened to be there when I was refinishing the table and mentioned this fact, because otherwise you KNOW the end of this story would have been “…And then I burned my house down.”
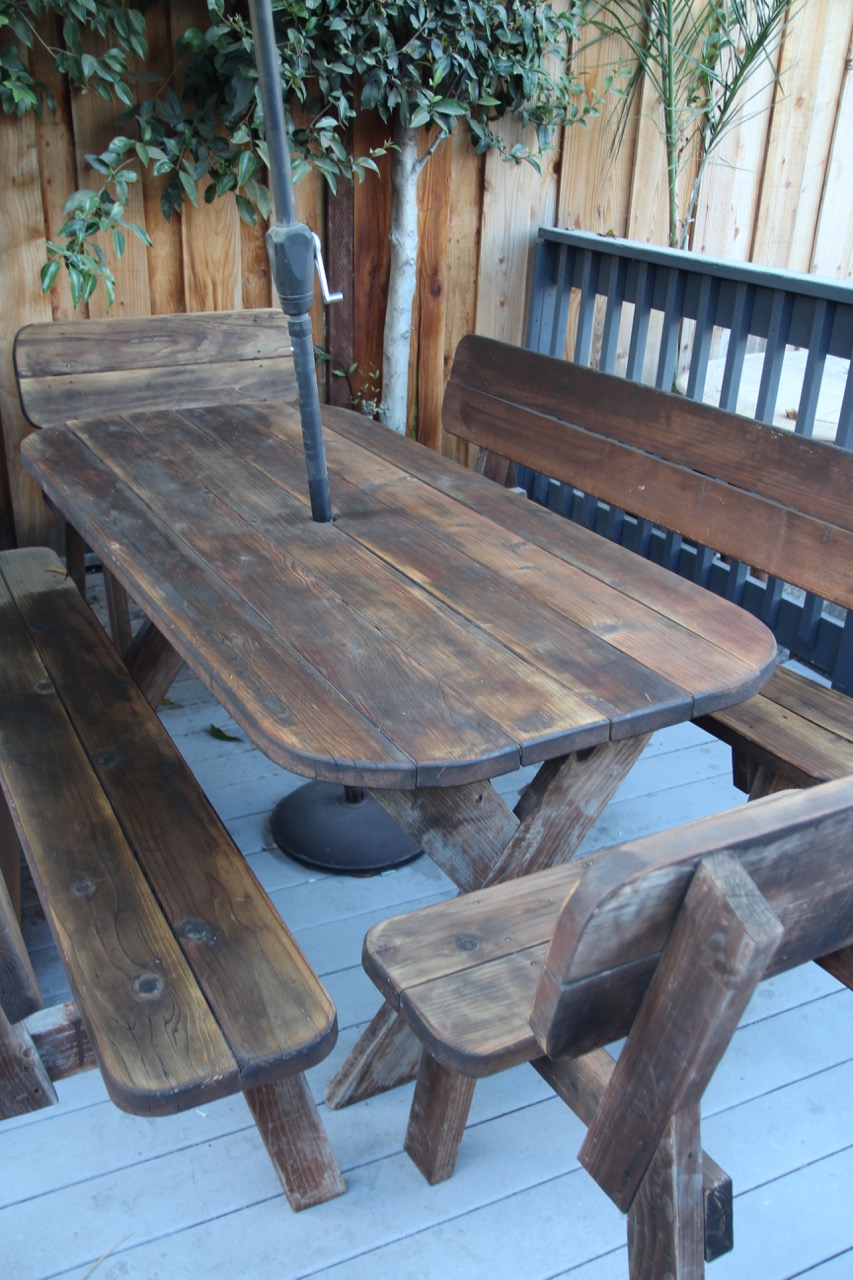
Here’s what the wood looked like right after I applied the teak oil – you can see that it soaked in immediately, but is kind of uneven and dark.
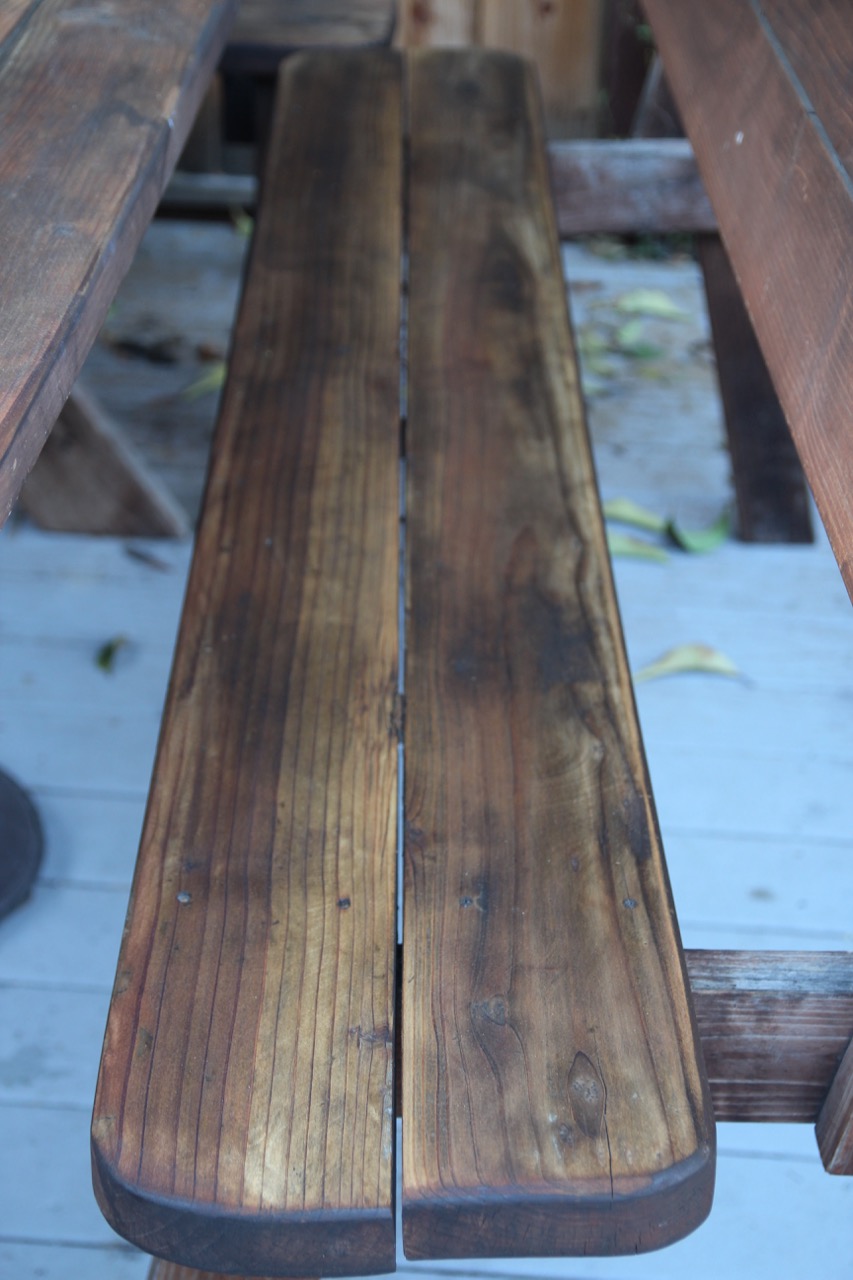
It’s still way better than what I started with, but I wasn’t over-the-moon about the effect.
But by the next morning…
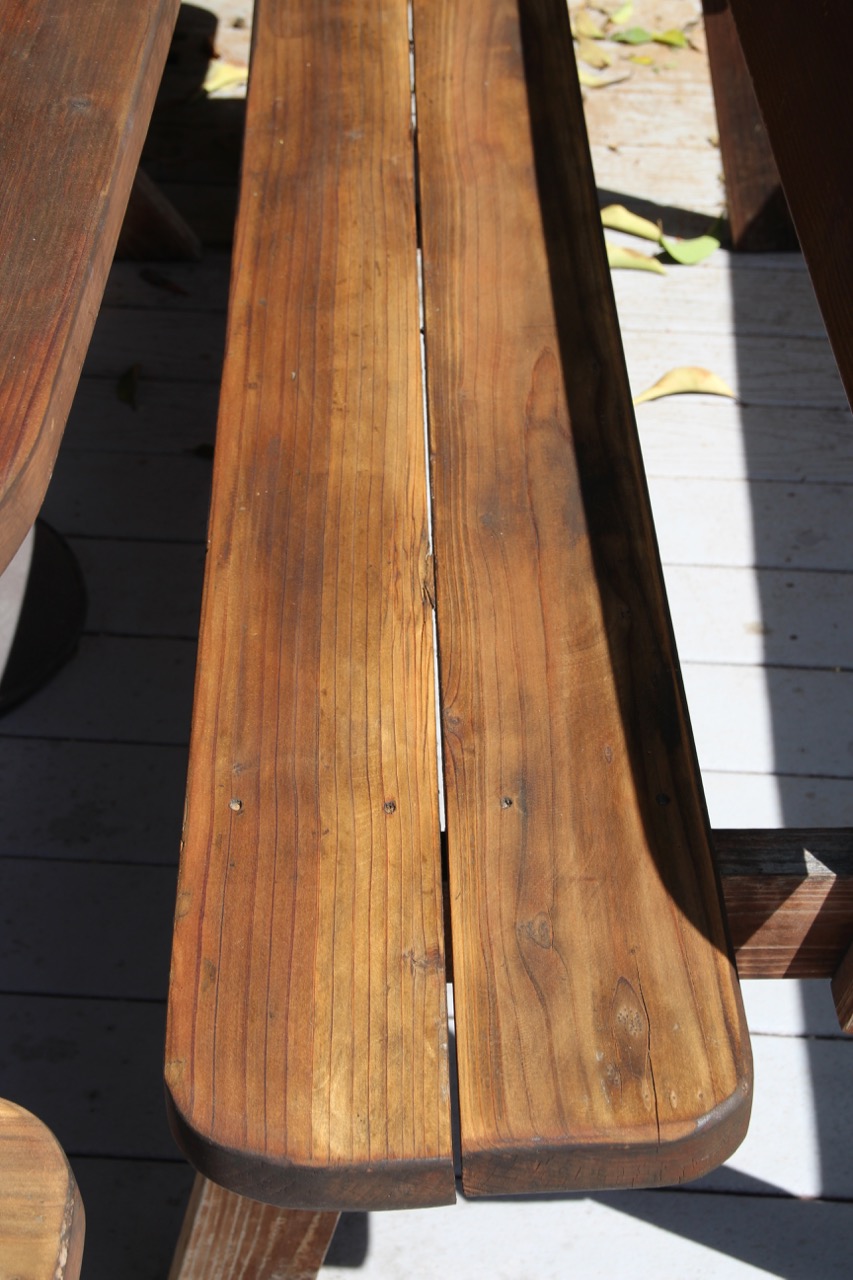
Theeeere you go.
Much, much better.
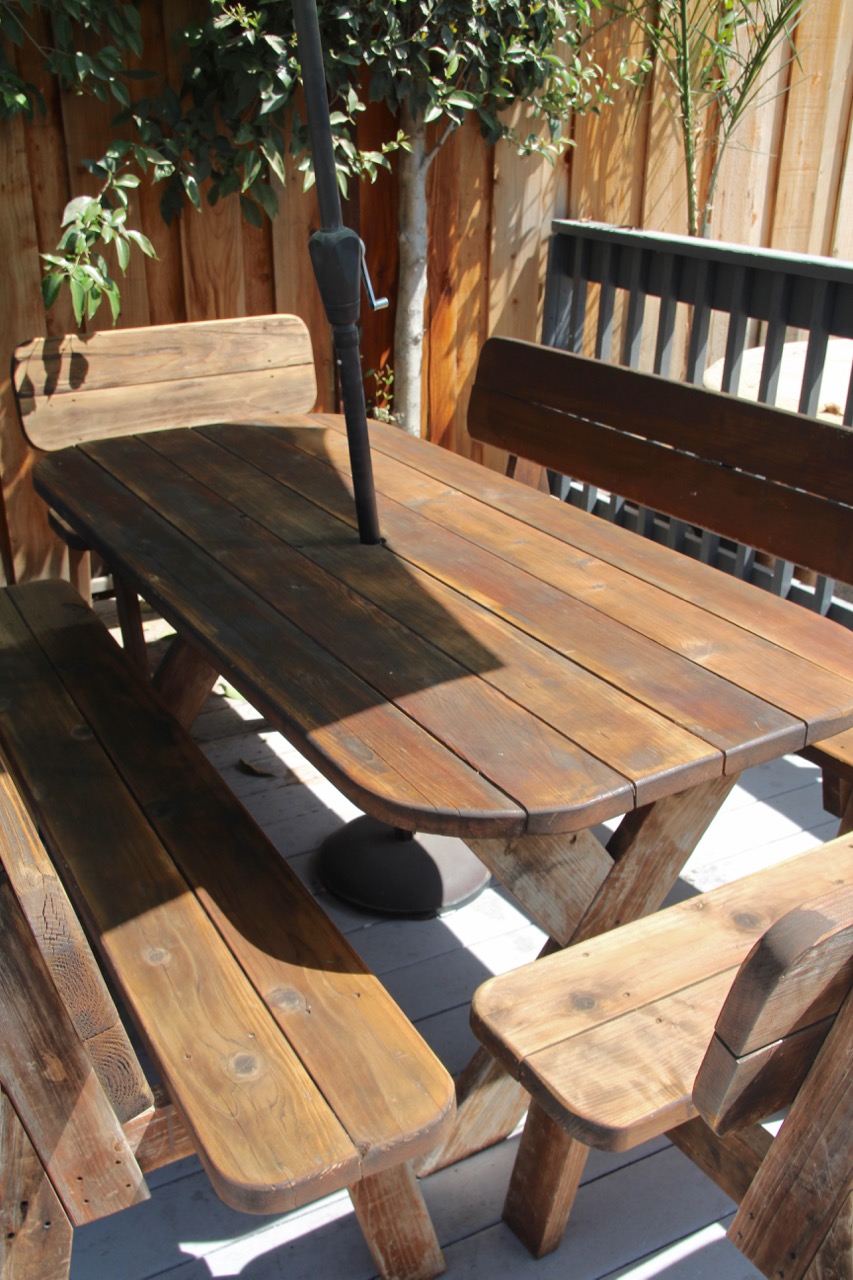
Like new, even.
Next up: Stocking up on teak oil, and repeating this process with all the wooden and destroyed things in my life (and oh, there are many).
