The poles in front of our house have always vexed me. They’re ugly – just blah wood that’s been painted white – but they’re also necessary, being as they sort of…hold the house up. We’re getting towards the end of our full exterior makeover – which I’ll be posting later this week, as soon as I finish up the last few details – and over the course of the process I’ve toyed around with a few different ideas for what to do with them. I didn’t want to paint them an accent color, because they’re not particularly attractive and don’t really need to be “accented,” and sure, I could just paint them the same color as the body of the house…but eh. They felt like an opportunity to do something cool.
I considered “wrapping” the posts (basically covering them with pieces of nicer-looking wood), and even dragged a bunch of barn wood boards home from Home Depot, but ended up realizing that even if I could make this look good, the wrapping would create a weird gap at the top of each post. And then I also realized that the boards were too narrow, and dragged them all the way back to Home Depot, and got frustrated and decided to try something else.
That’s how I found myself standing in front of my bathroom door – the sliding barn wood door in our bathroom. You know, this one:
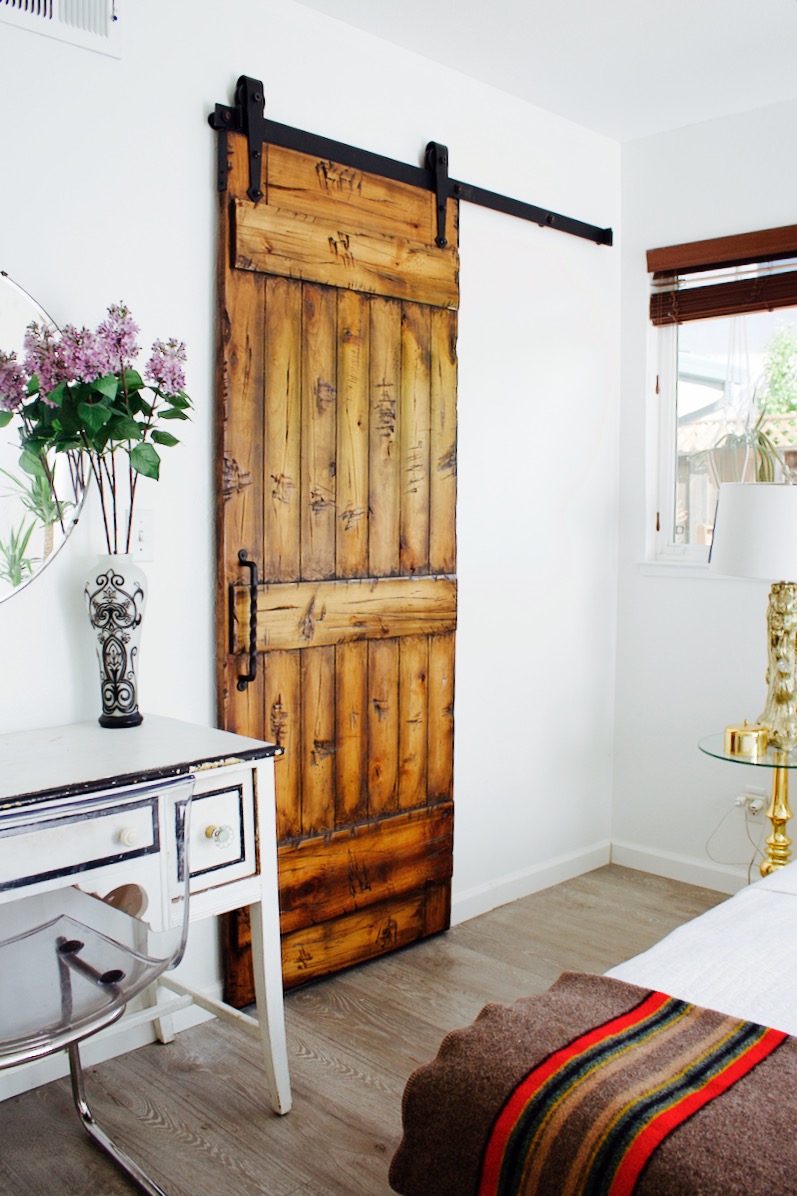
I love it SO much. It’s exactly the look I wanted to create on the posts outside my house. And then I looked at the door more closely…and you know what I realized?
IT’S PAINTED. You can actually see the brushstrokes if you look closely enough. From what I can tell, whoever made this door started with a stain, banged up the wood to look reclaimed, and then layered on lighter and darker shades of paint to create the gradient effect.
So I decided to give it a try myself. What’s the worst thing that could happen? I’d end up with ugly posts? I’ve already got a pair of those.
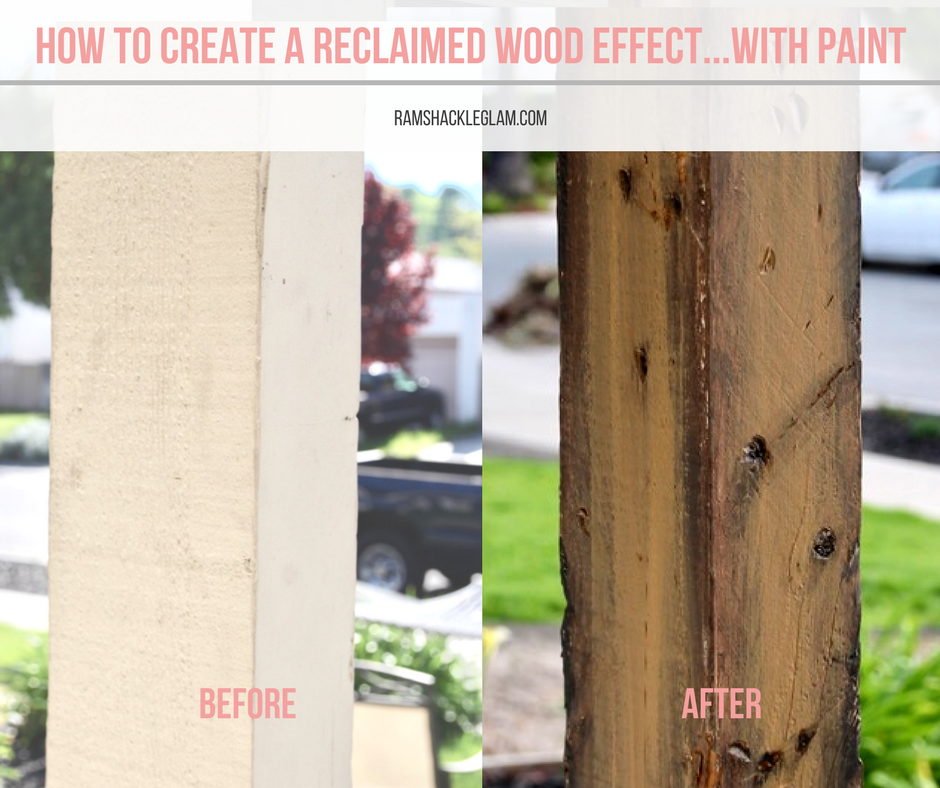
First, here are a couple of images of the posts outside my house “before.”
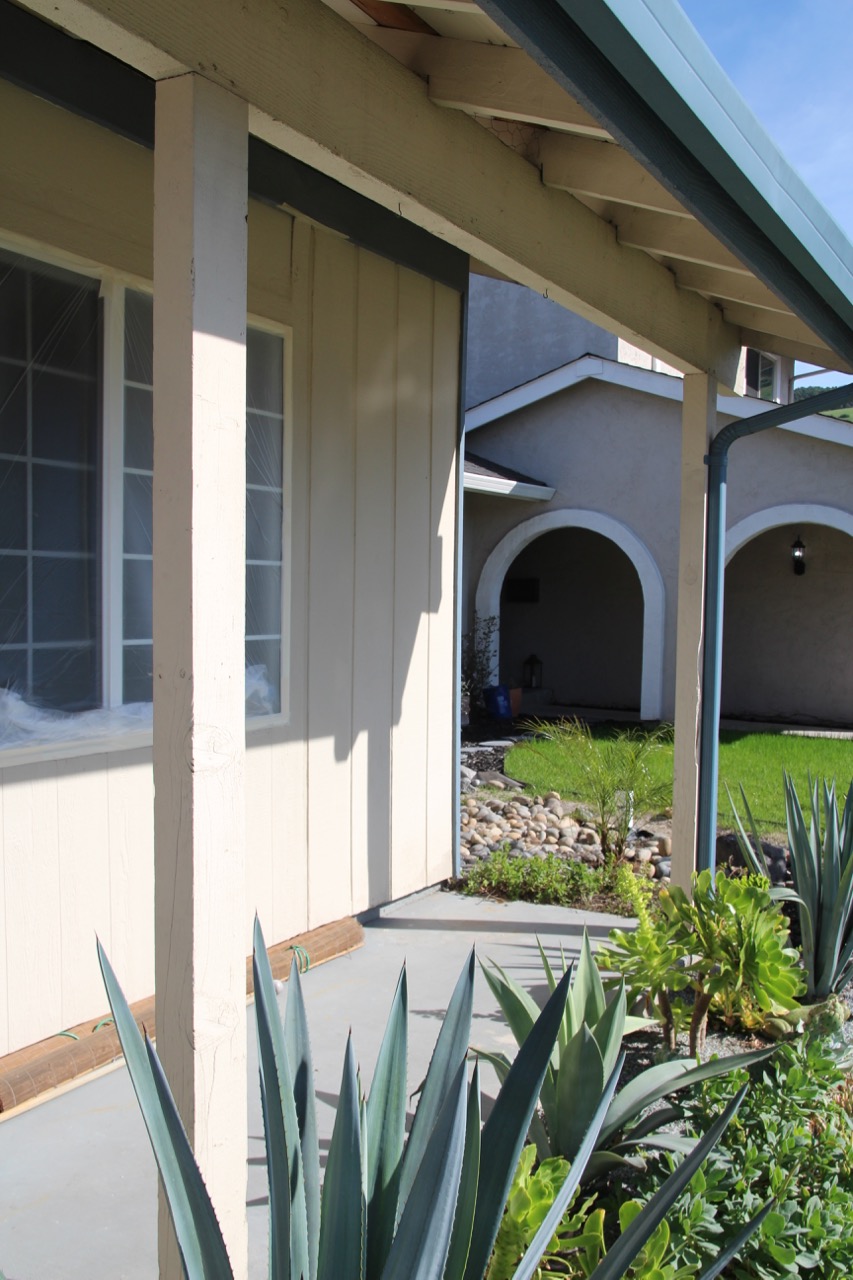

Not cute. They’re basically just cheap wood that’s been painted white. Or…like…ecru. Or something.
So here are the supplies I assembled to give hand-painting wood to look like distressed barn wood a shot. (Caveat: I did not think this would work.)
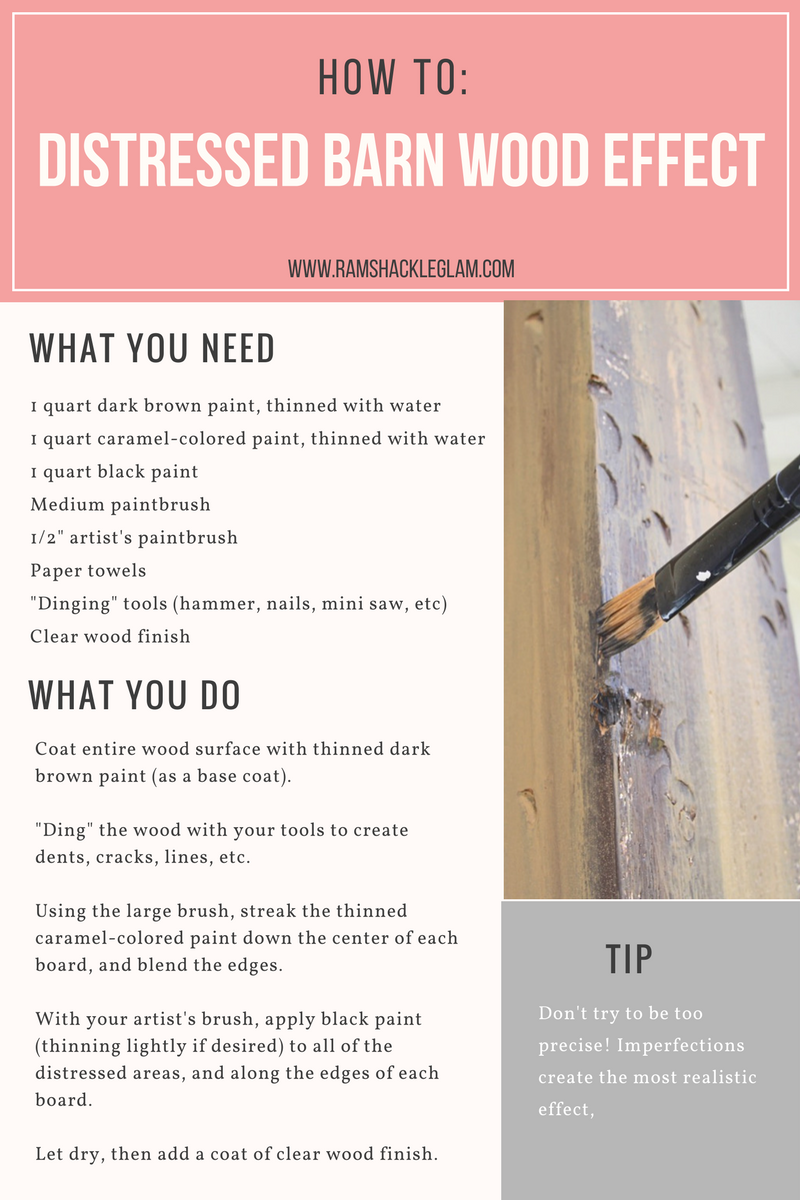
- 1 quart dark wood-colored paint (I used Kelly-Moore Oxford Brown)
- 1 quart caramel-colored paint (I used Behr Syrup)
- Small amount black paint
- 1 wide brush (mine was 2 1/2″)
- 1 smaller flat brush (I used a size 10 acrylic artist’s brush, but it really doesn’t matter)
- Wood-distressing implements (a small, heavy hammer, nails, screws, saws, files, whatever you’ve got)
- Paper Towels
- Water (to thin the paints)
- Clear water-based wood finish (I used Minwax Polycrylic)
The first thing I wanted to do was darken the base color, but wood that’s been painted won’t really take a stain. So I bought a dark wood-colored paint, thinned it with water, and then brushed it all over the posts.
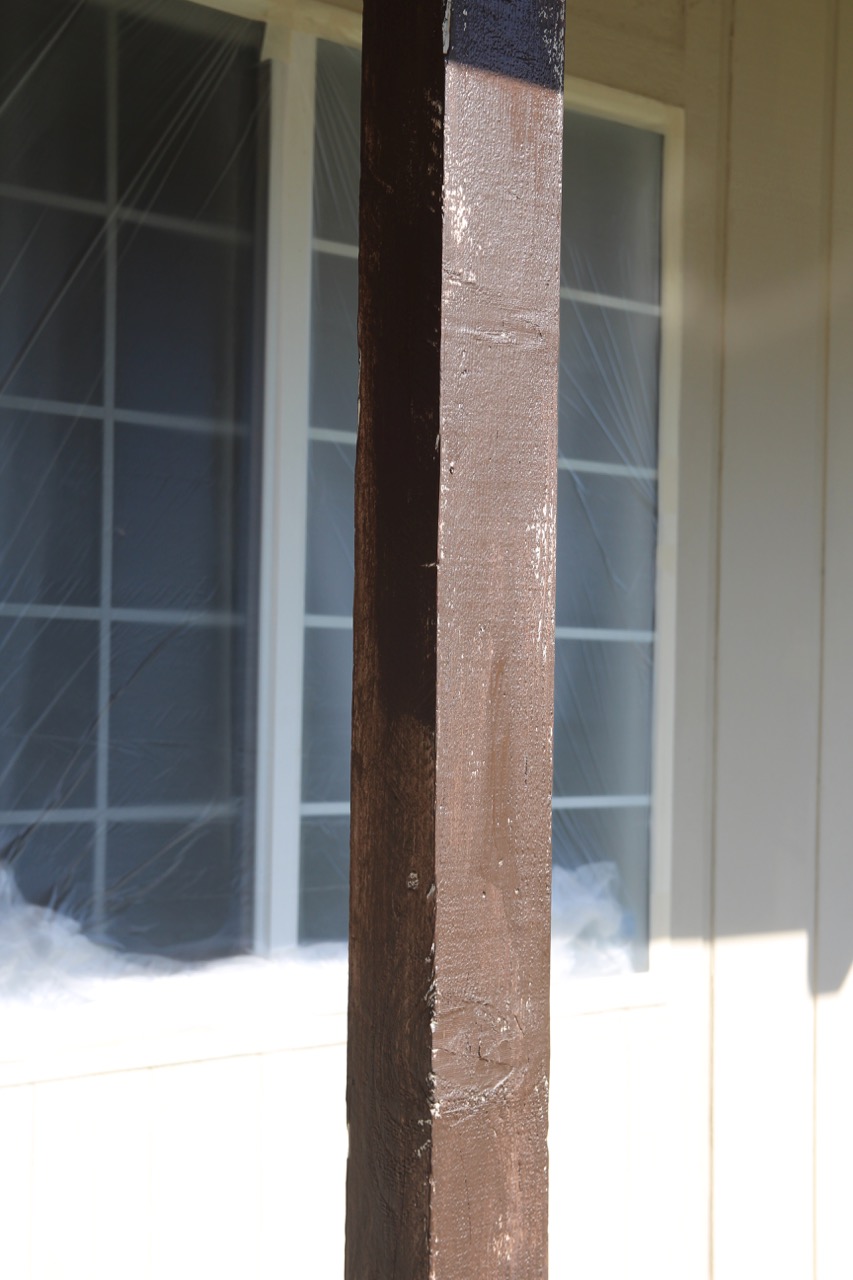
I didn’t want it to look perfect or have full coverage, hence the thinning and the haphazard application. (If the wood you’re working with is already dark – whether painted or not – and is the approximate base shade yo want, you can skip this step.)
Next, the fun part: grab yourself some sharp metal objects, and F up your wood.
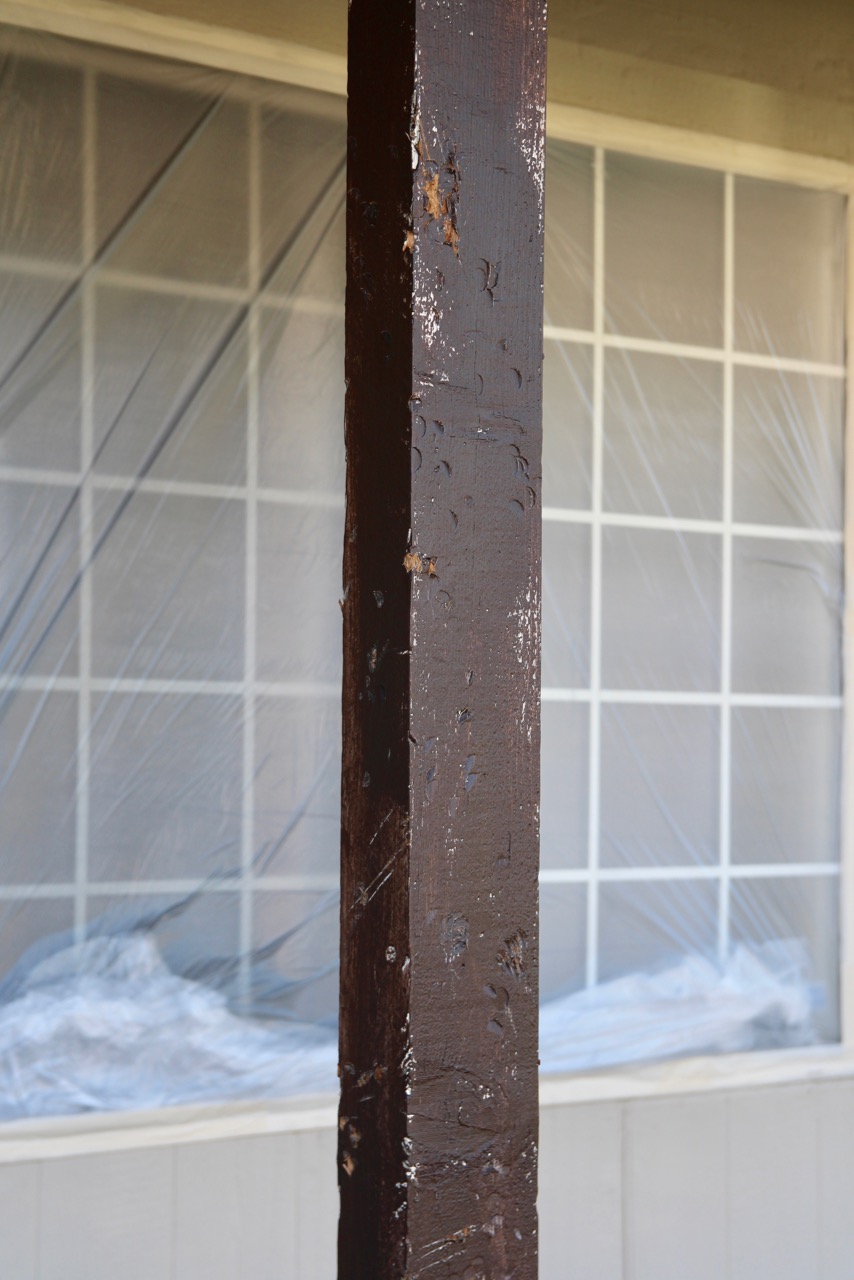
What I did: whacked the posts with a small, heavy hammer (using the side to create those half-moon shapes, and using the flat part to create larger dents), then used a flat blade to create scratches, focusing on the edges of the posts. You can go as dramatic as you like – on the other post I even used the hammer claw to rip out sections a few inches long, and it ended up looking great.
Note: You can do this step either before or after the base color, but the dings are a little easier to fill in later if you apply the base color first. You’ll see what I mean in a second.
Now, assemble the rest of your supplies (the caramel and black paints, the smaller paintbrush, paper towels, and tub of water). Don’t forget to tape off whatever surrounding area you don’t want to end up painted.
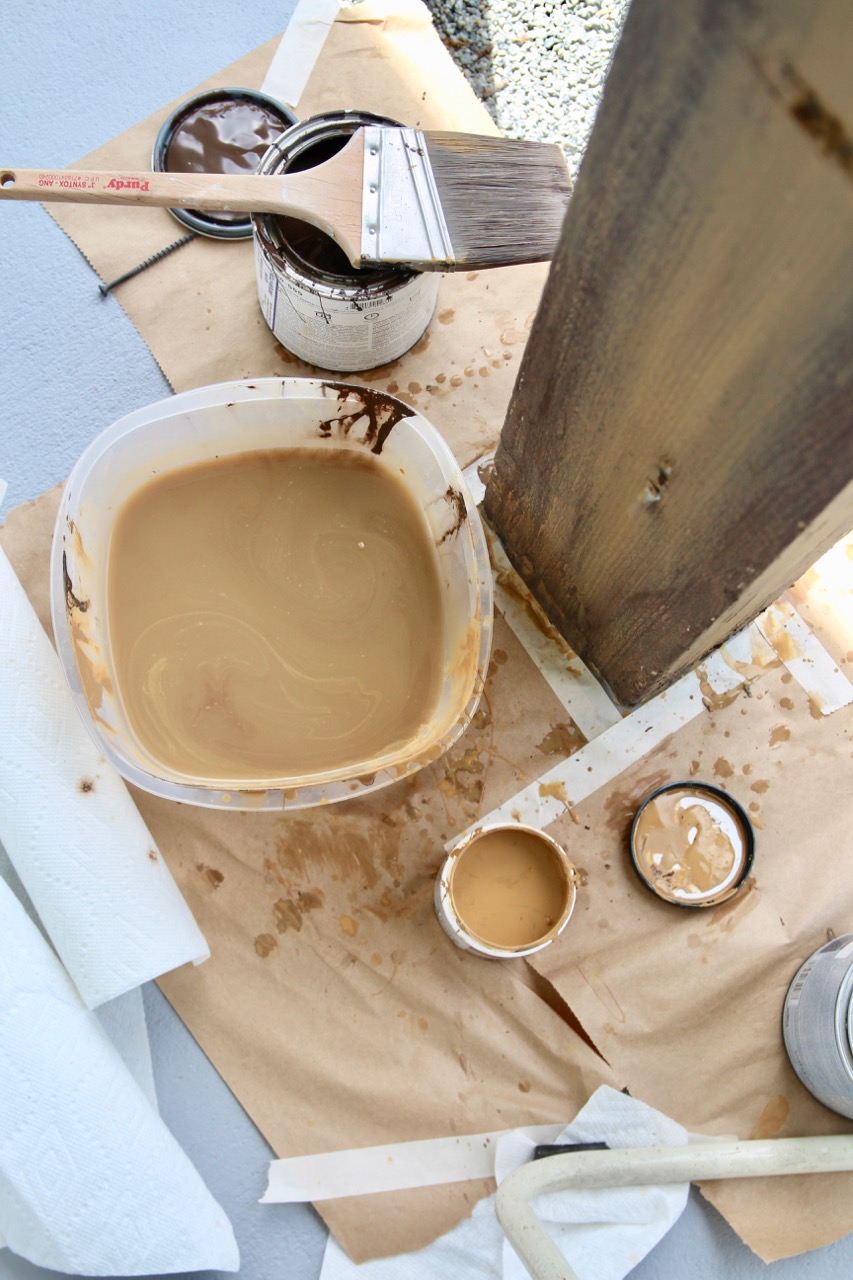
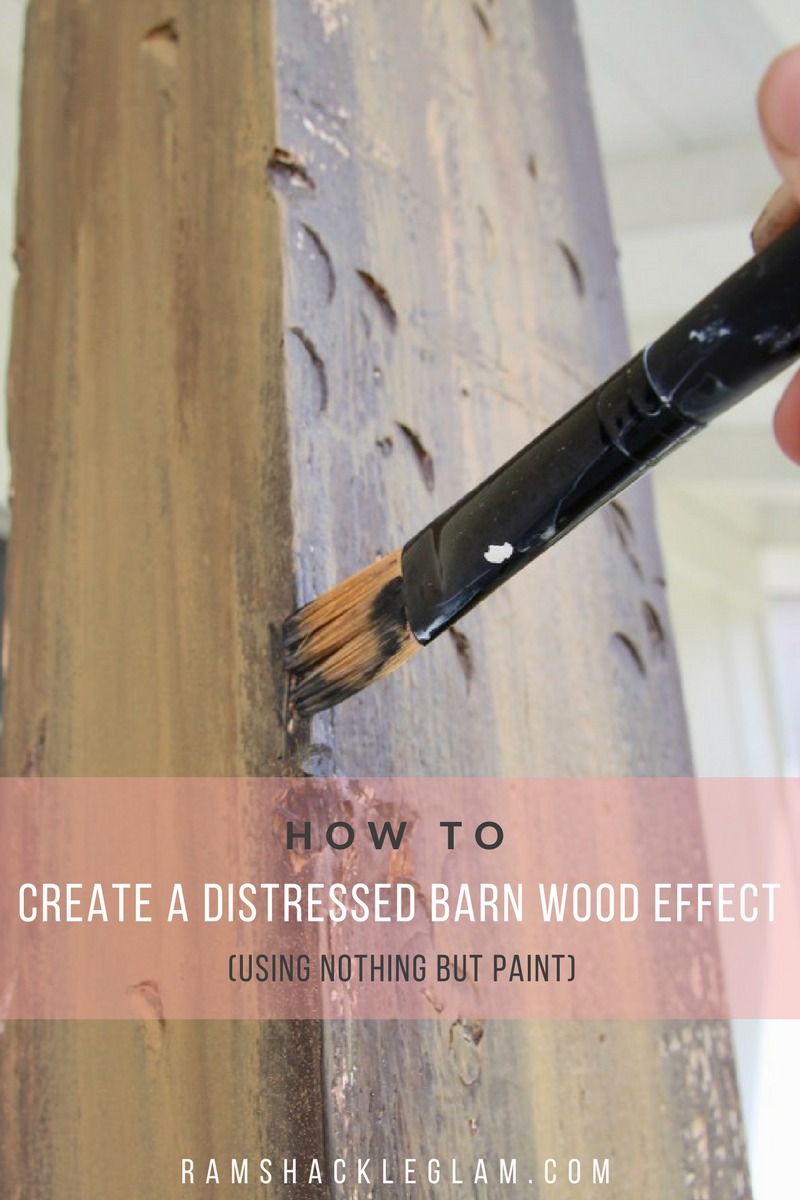
Thin out the caramel paint with water (or do what I did and dip the larger paintbrush into the tub of water before dipping it into the caramel paint), and paint a big stripe down the center of each board.
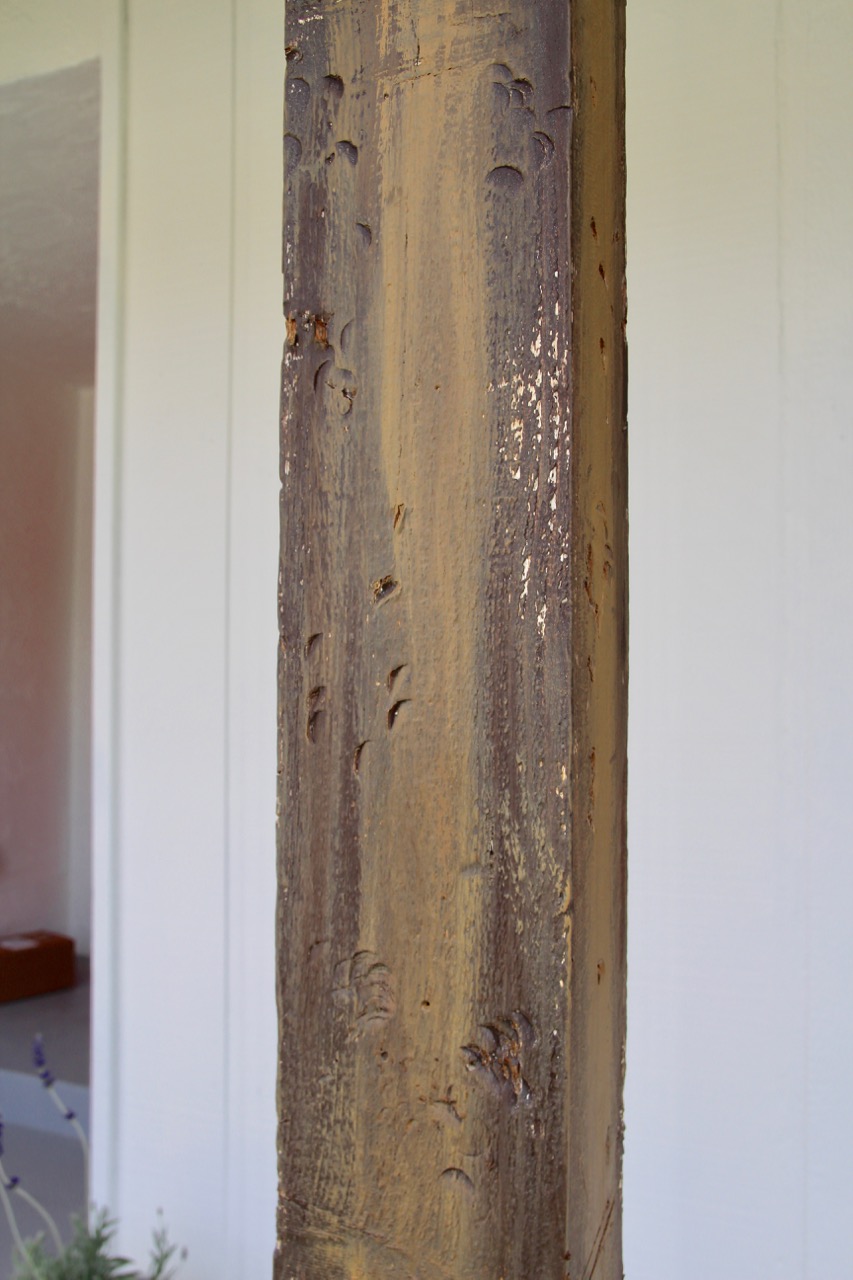
Like that. See how it’s kind of drippy and not perfect? That’s what thinning out the paint does; it creates a natural effect with a lot of gradation.
Now it’s just a matter of layering on the darker and lighter shades (always watered-down) to get the effect you want, and to get the edges blended nicely (although try to leave in some obvious streaks, because the shades in real wood aren’t perfectly blended together).
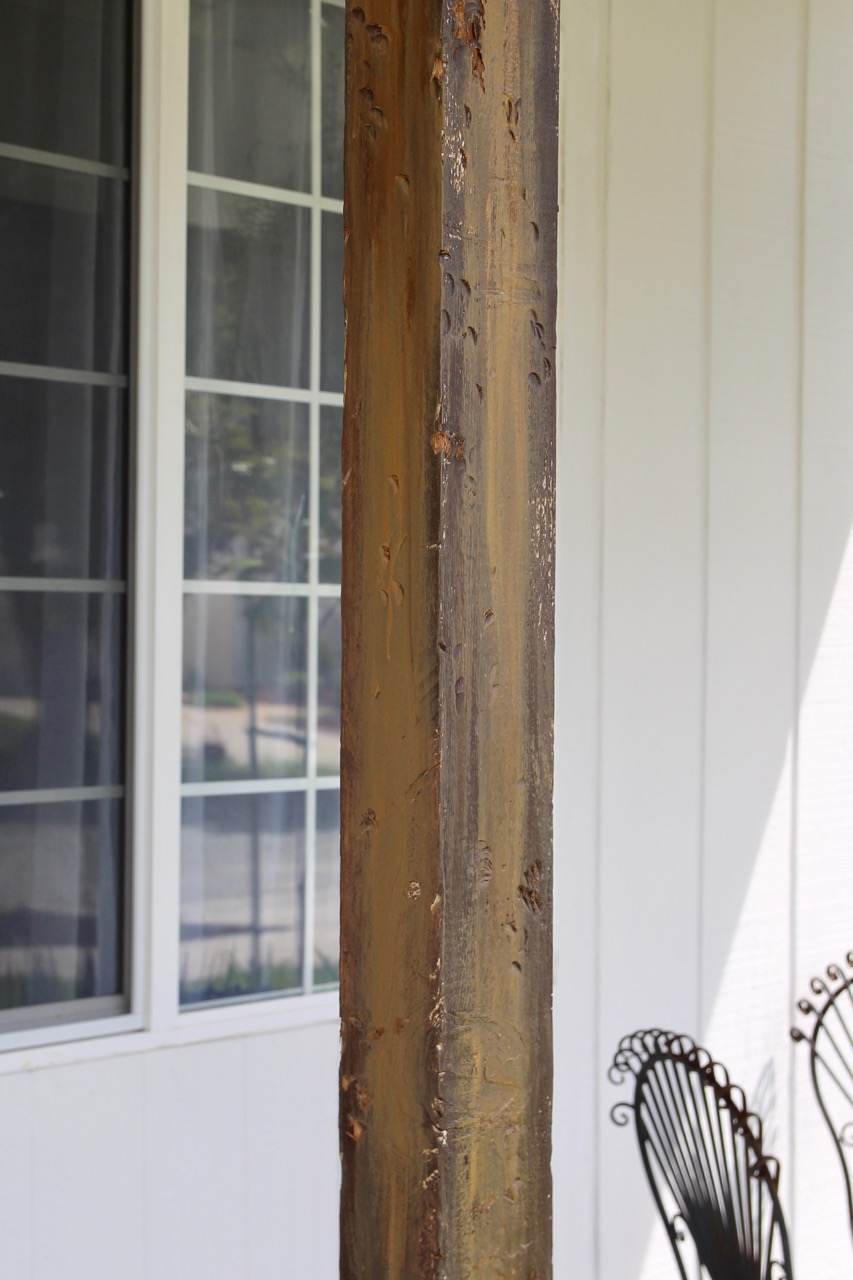
This is what I ended up with.
Now comes the detail work. When I looked at my barn door, I realized that a big part of what makes the piece look so dramatic is the contrast between the dings and the wood boards. You know what you need to do to get this effect?
Paint the dings black. That’s it.
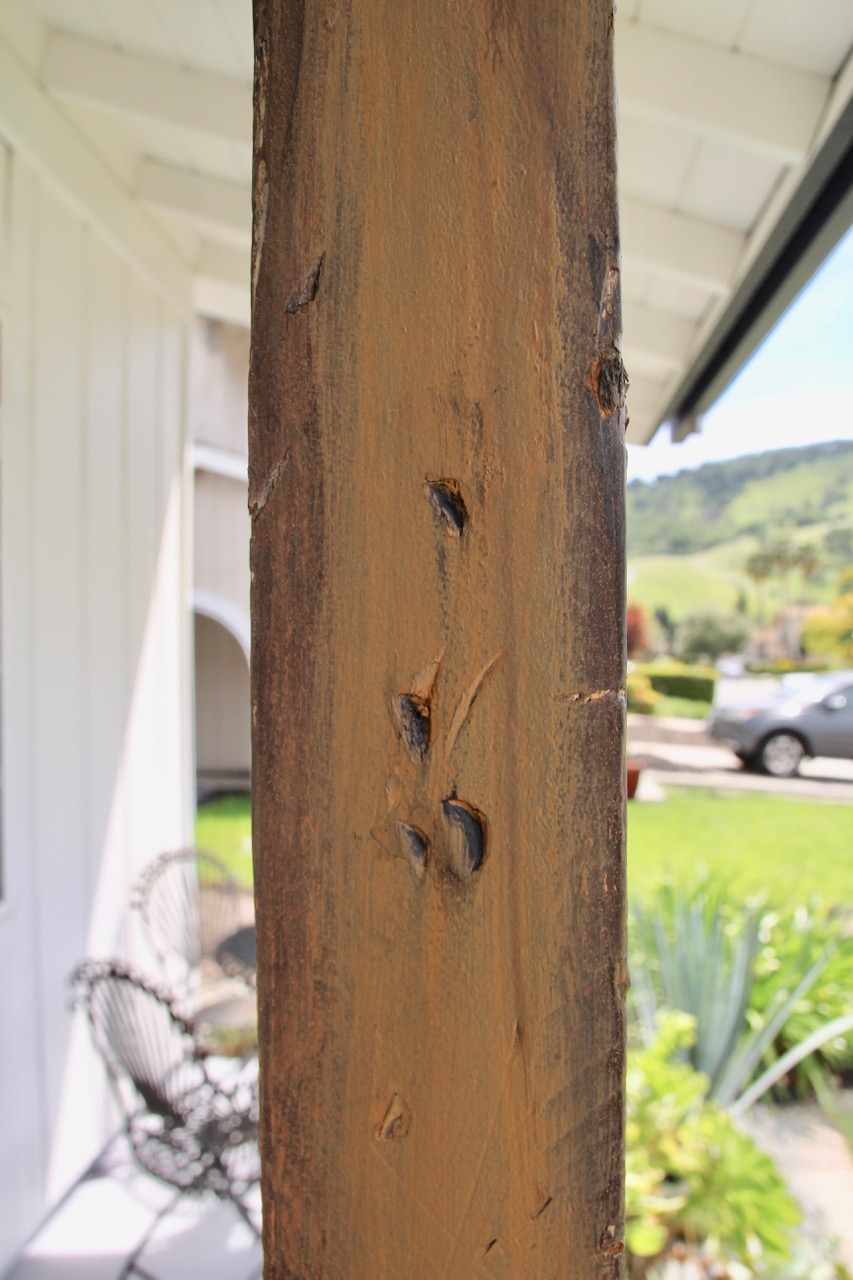
So again, thin out your black paint a little – you’ll have to play around with the proportions a bit to see what works on your piece – and use the smaller paintbrush to tap it into every scratch, dent and mark.
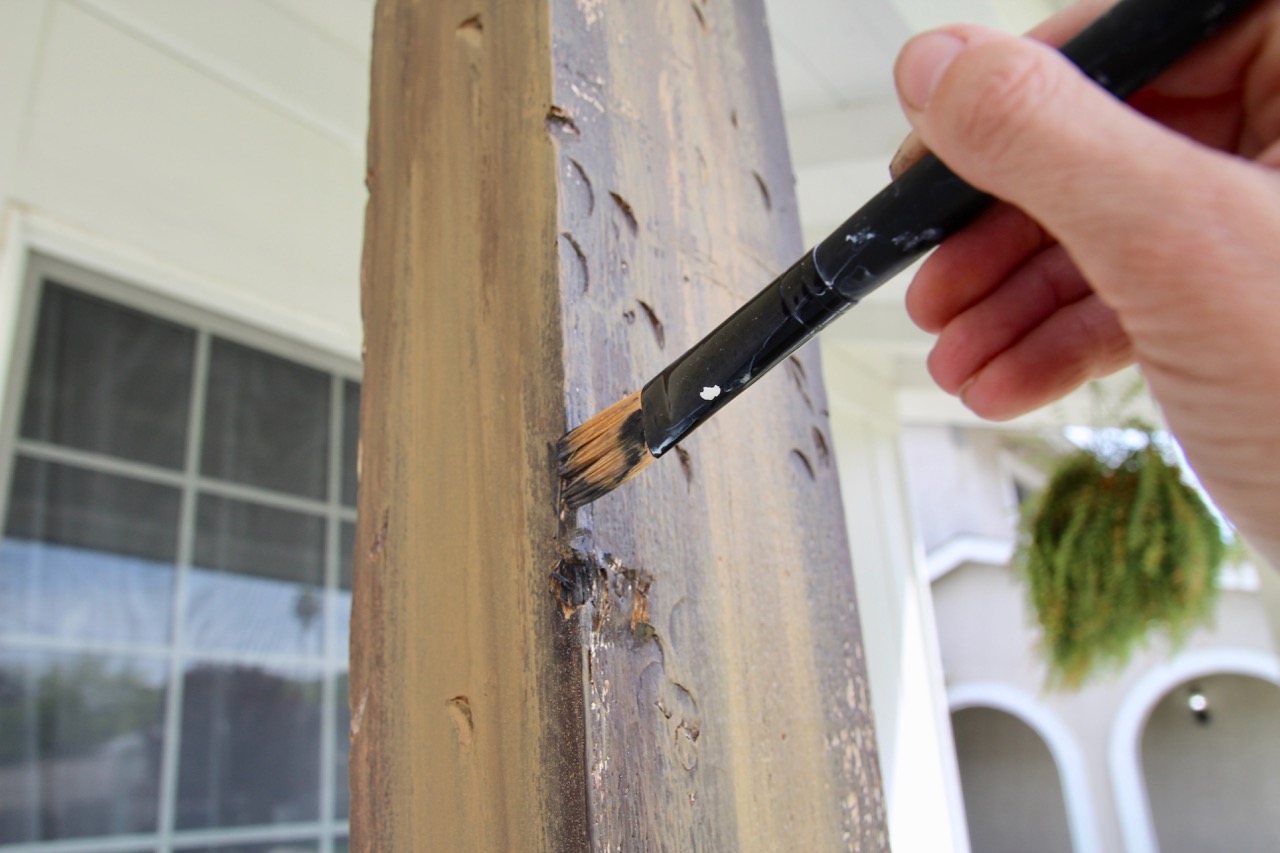
Run a few strokes of watered-down black paint along the edges of the boards to make them look even more weathered. Keep a paper towel close by – if the paint feels too thick or runny, you can just rub it with the paper towel to blend it in. You can also use the paper towel to pat around the dents if the black paint goes outside the indented parts – it’ll darken the area around the indentations while still leaving the dents themselves black.
Here are those larger holes I created with the hammer claw on one pole:
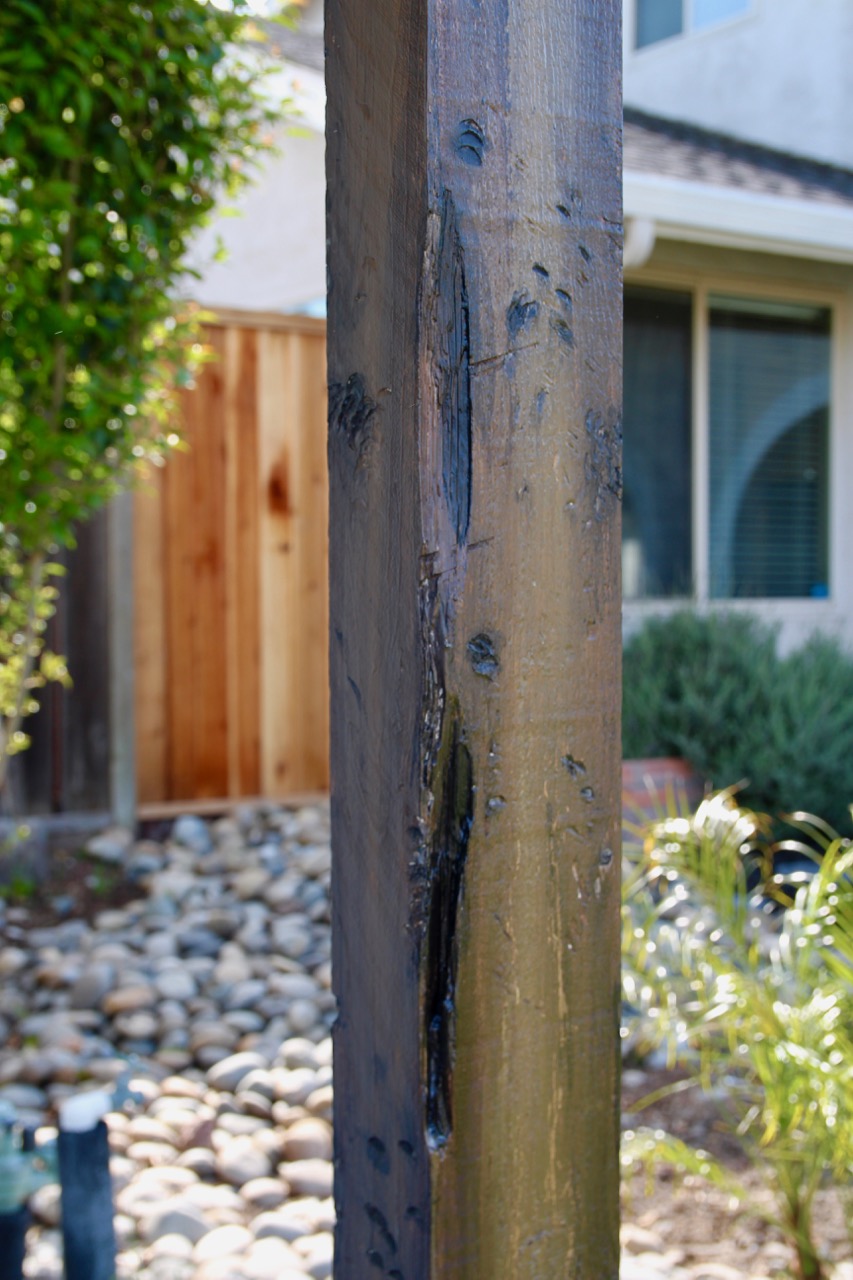
I went pretty dark on these, and like them so much I wish I’d done this in more spots.
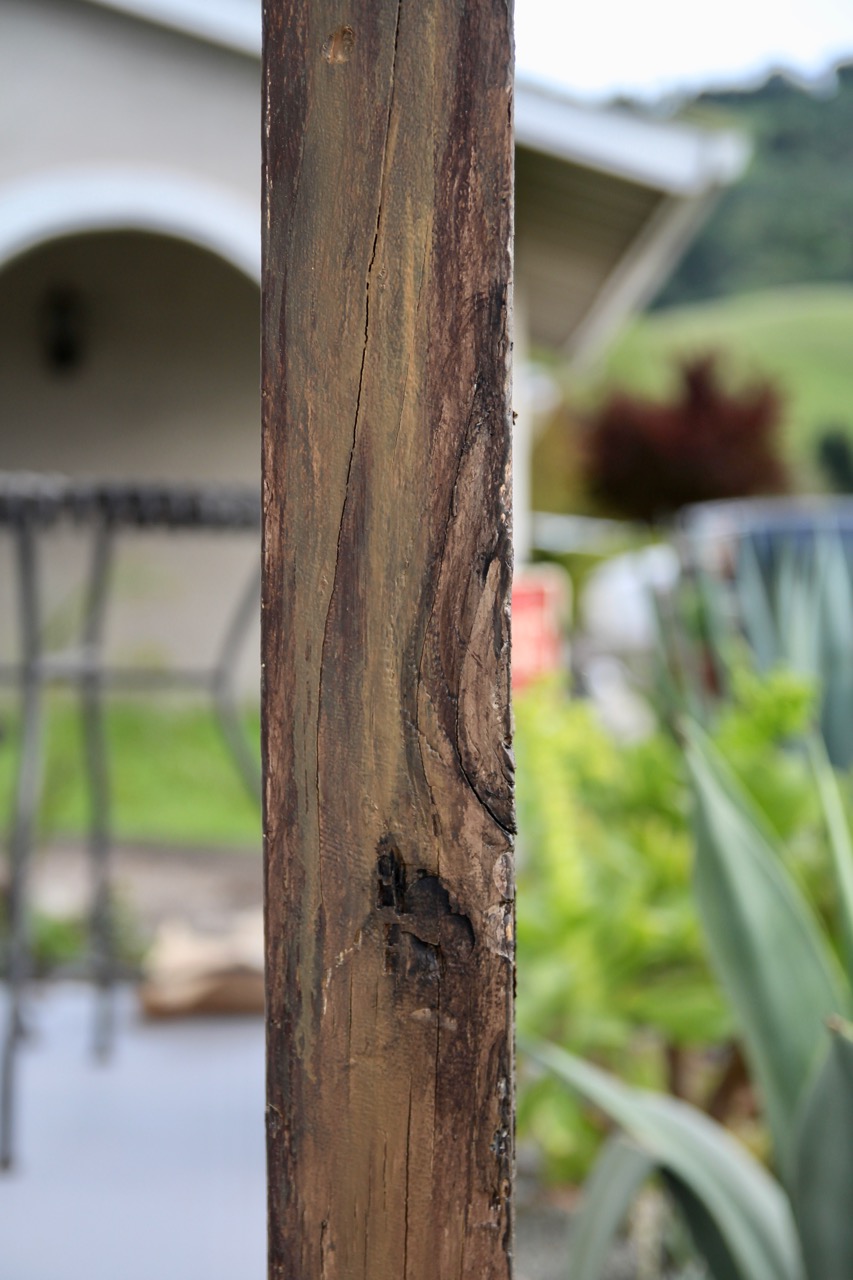
Pay attention to knots and other natural imperfections: you can play those up by running your brush with thinned black paint along the lines.
And finally, add a coat of water-based polycrylic to protect your gorgeous artwork (because thinned paint isn’t especially hardy, you’ll want to reapply the polycrylic once every couple of years).
The finished product:
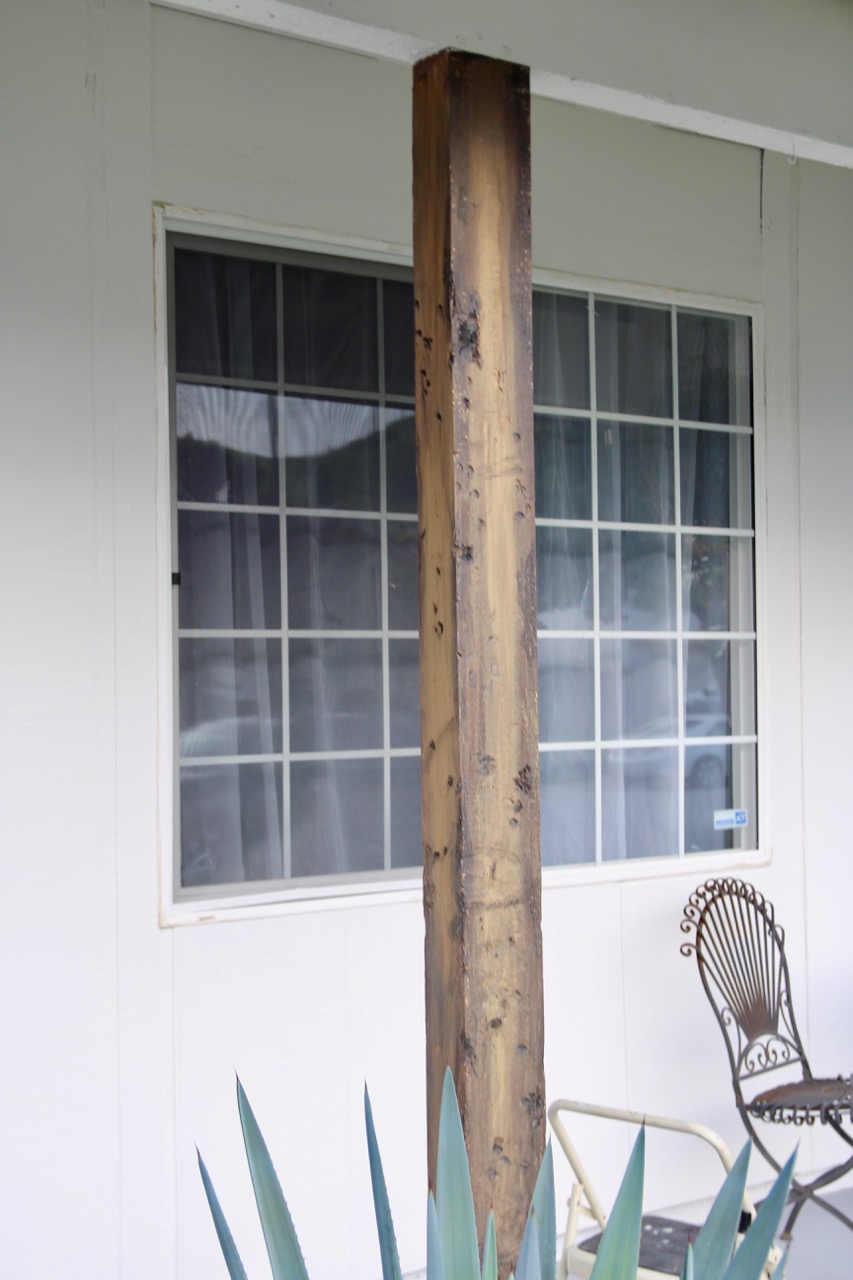
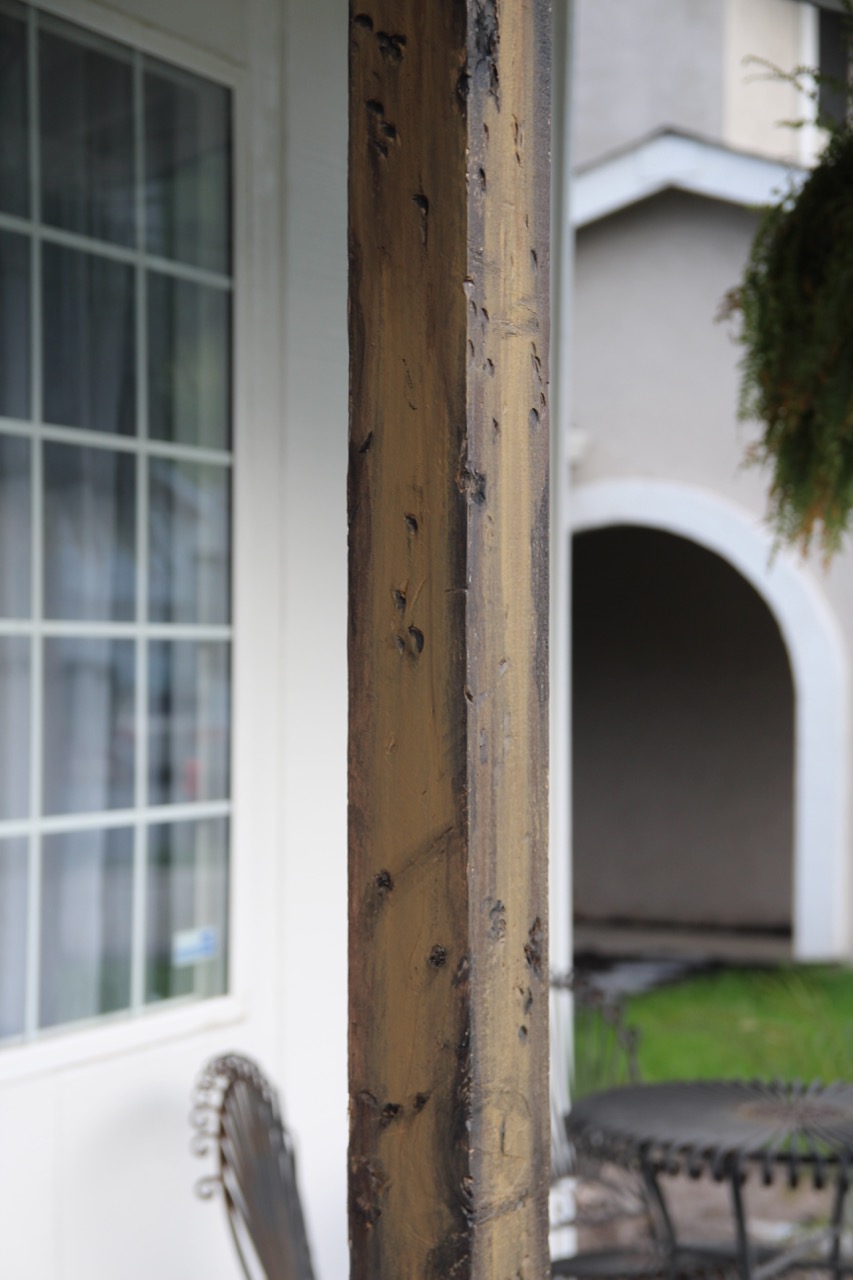
From far away, there is no way you’d be able to tell that this is hand-painted wood, as opposed to the authentic reclaimed stuff.
Even close up: you can’t tell.
I’m obsessed.
