Hey there buddy.
OK sooooo this weekend was a bit of an emotional hailstorm, between my daughter’s second birthday and my son’s first day of school today. Not a “bad” hailstorm, per se…just, you know: feelings. Like, all of them. (Evidence is presently over on my Snapchat @ramshackleglam.)
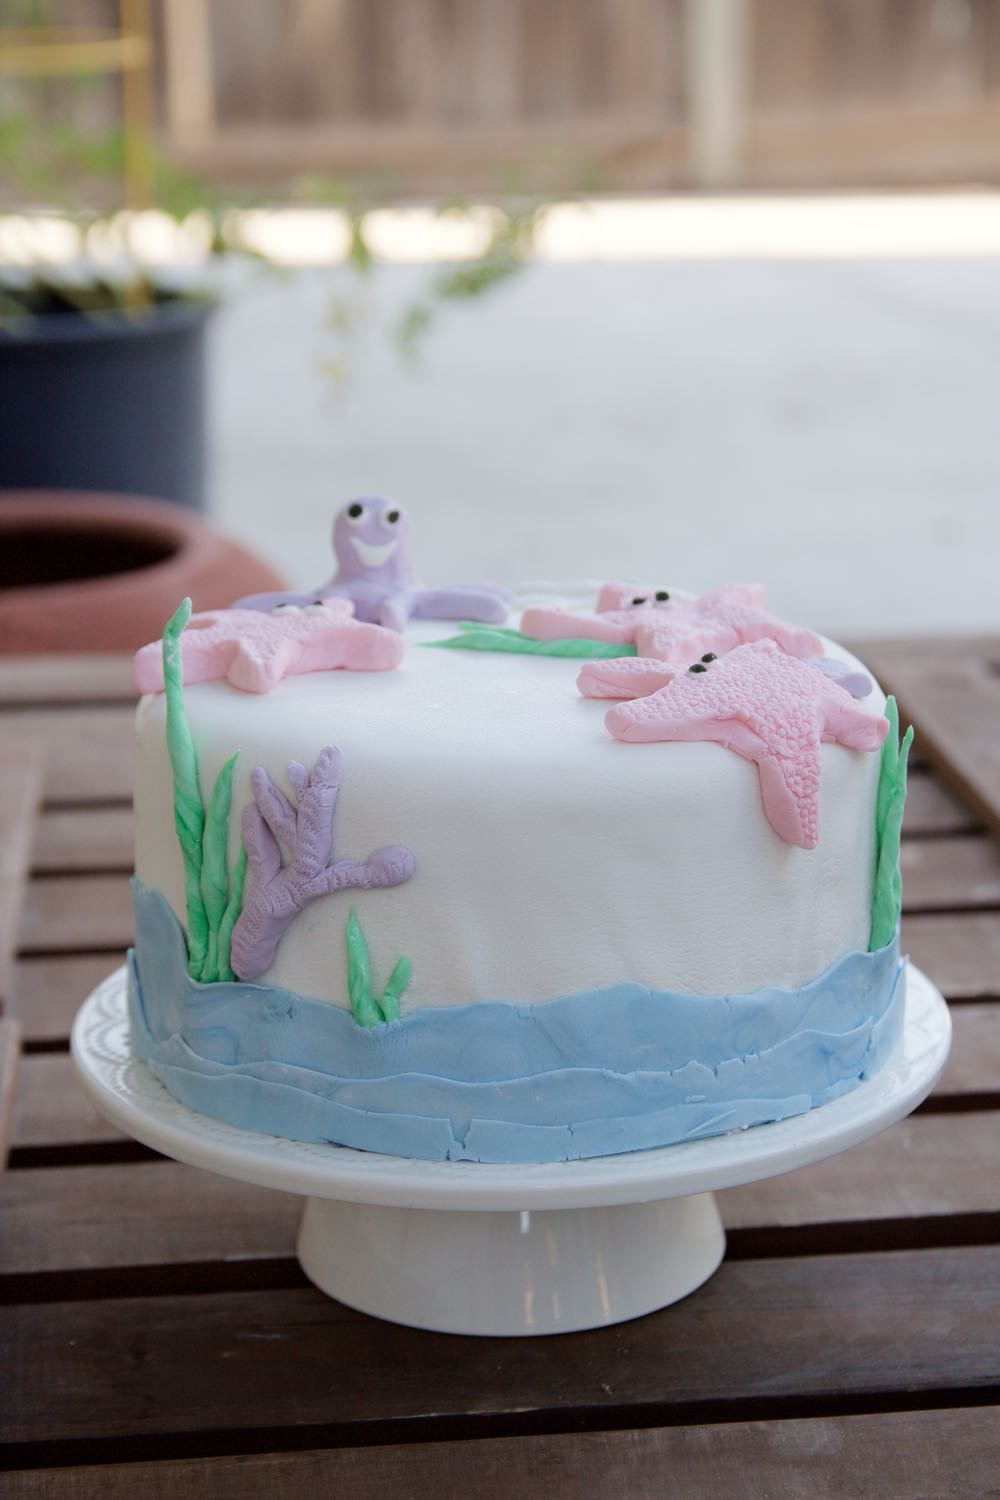
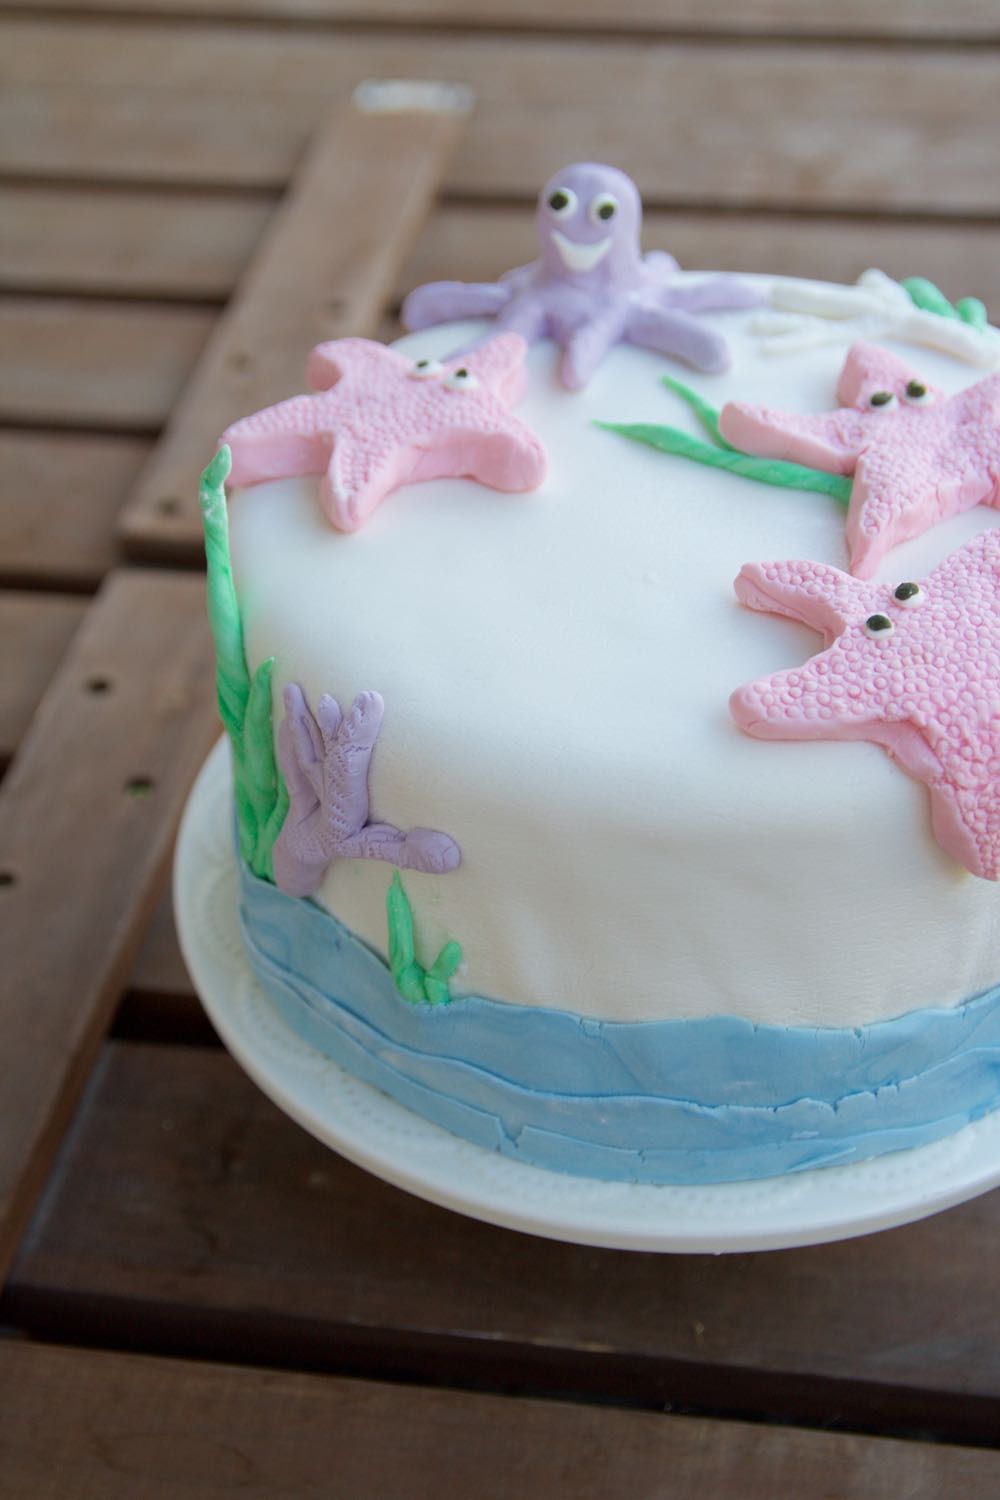
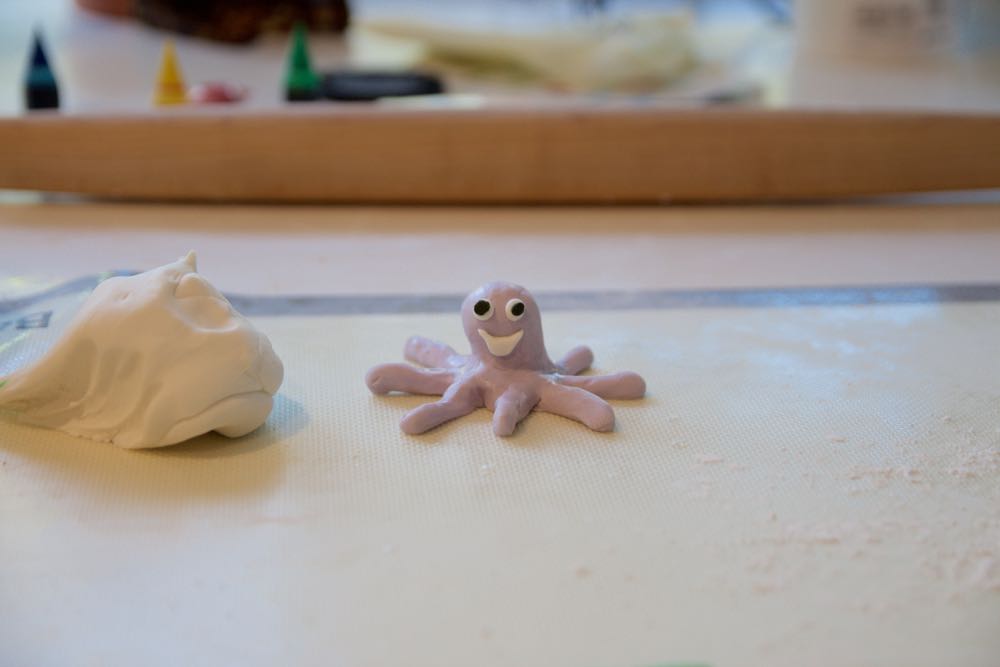
So while I have bazillions of photos to show you and tons of things I want to write about, let’s keep it light today. It’s Monday. Nobody needs any more feelings on a Monday; they need OCTOPUS CAKE. (I’m going to officially call this the Under The Sea Cake, because that sounds prettier, but excuse me did you see that octopus? He’s adorable, and I think he should probably make an appearance on every cake I make forever and always.)
Also, in case you didn’t catch the utterly jaw-dropping words in that last sentence: I made a cake. And it did not collapse, crumble, explode, or do any of the myriad other things that cakes typically do when I make them. This is entirely because my friend Alisa is wonderful at things like baking cakes, and decided to teach me. And instead of starting small – perhaps a mini bundt? an angel food cake? – we went for a three-layer fondant-covered MASTERPIECE.
Because I had virtually no idea how one might even begin going about icing a cake with fondant, I took pictures of the process. It is, if not “easy,” certainly manageable. And so fun. (It’s basically adult playdough.)
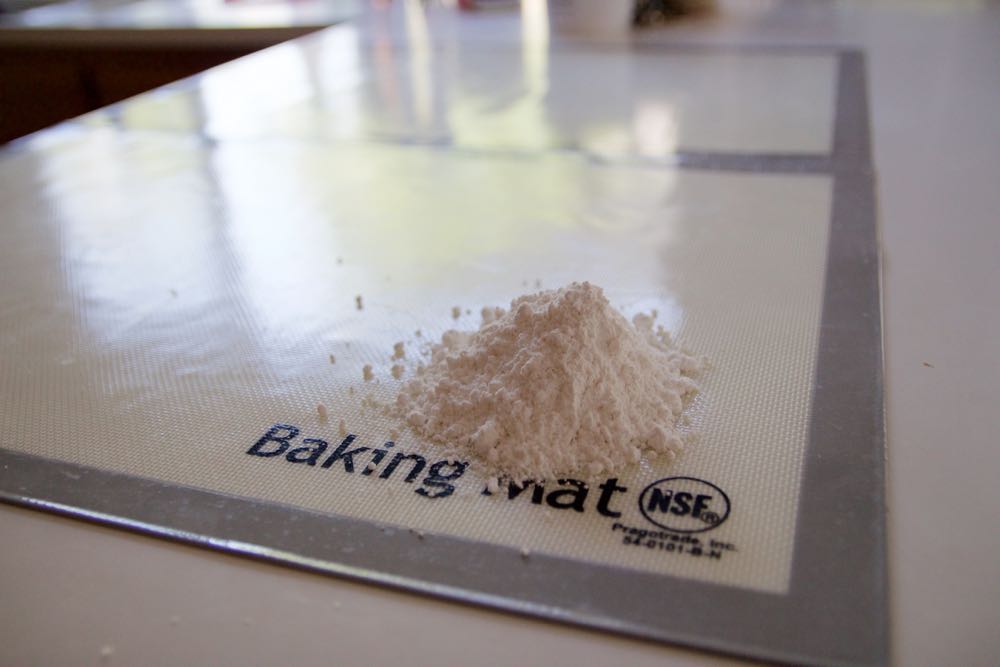
You start…well, by baking your cake. (Apparently it’s a good idea to make it a few days early and put it in the freezer until you’re ready to start decorating). And then you apply a thin layer of icing all over the cake. And then you dust your work surface with what appears to be Tony Montana’s leftovers, but is, in fact, powdered sugar.
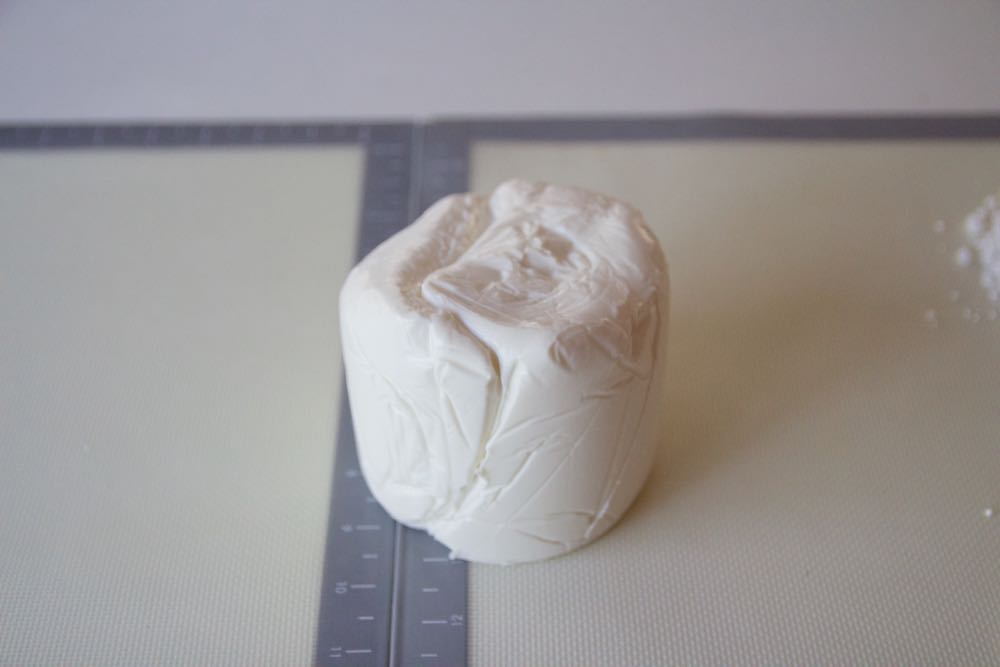
Next, your fondant. I ordered a 2-pound pack from Amazon, and it ended up being the perfect amount.
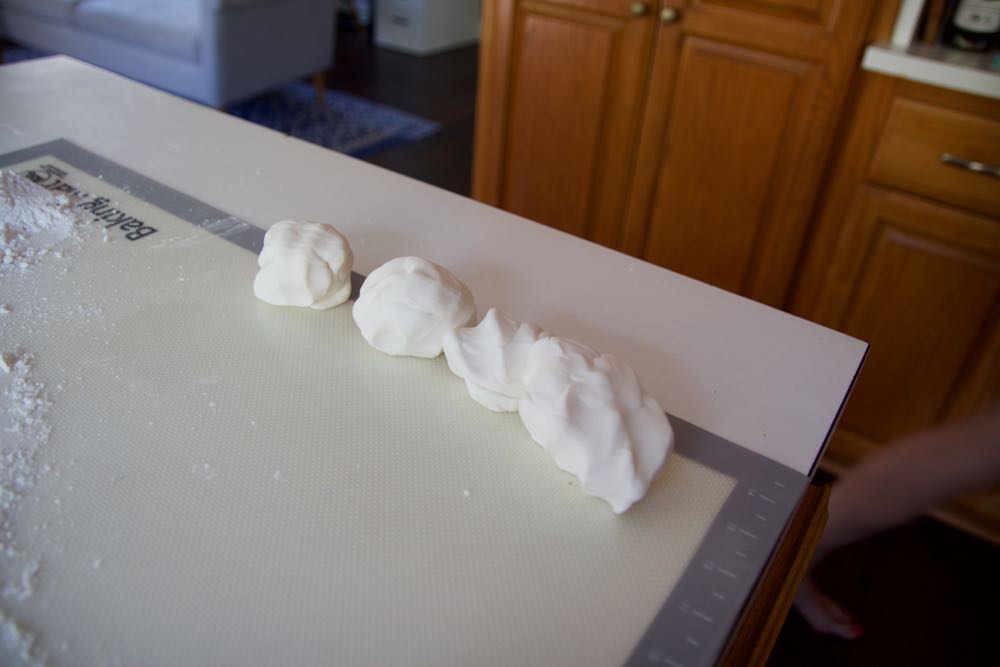
You set aside a bit to use to create whatever creatures you’d like to inhabit your masterpiece (I recommend octopi)…
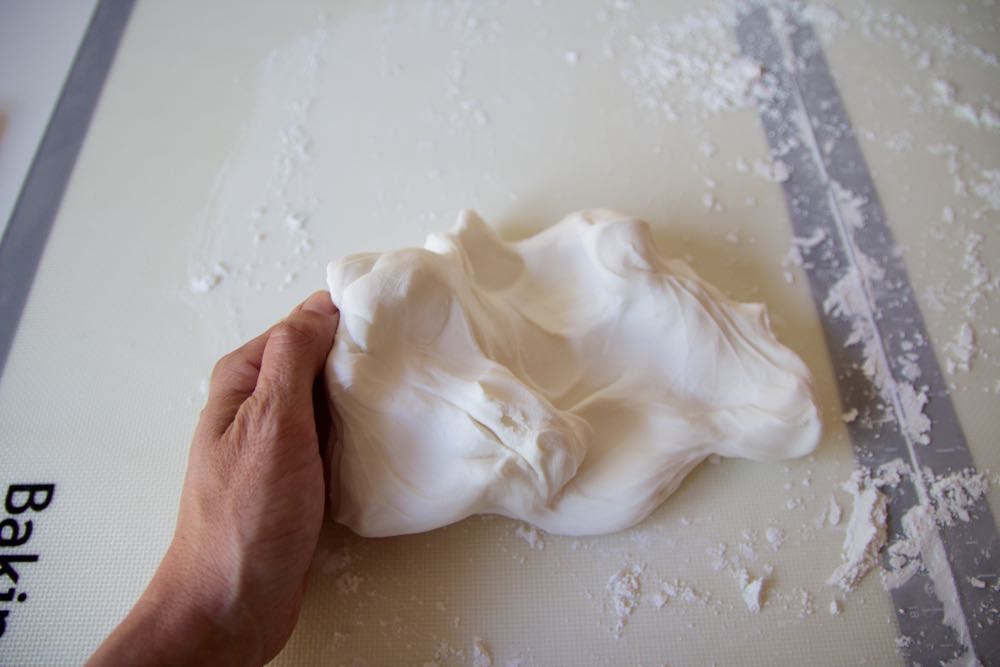
And just start kneading the rest of it until it is warm and pliable. (Is anyone else completely grossed out by the phrase “knead until warm and pliable”? Just me?)
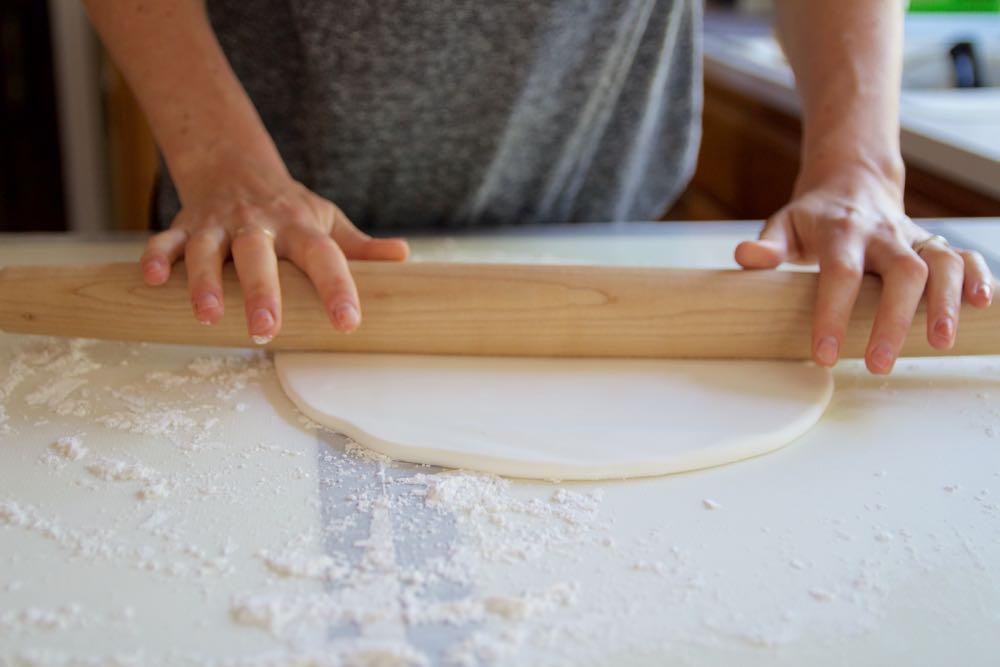
Roll your warm and pliable (ick) fondant into a ball, then start rolling it out. You want it to be pretty thin; about 1/4″ (thin enough to stretch out a bit further in the next step, but not so thin that stretching it creates holes).
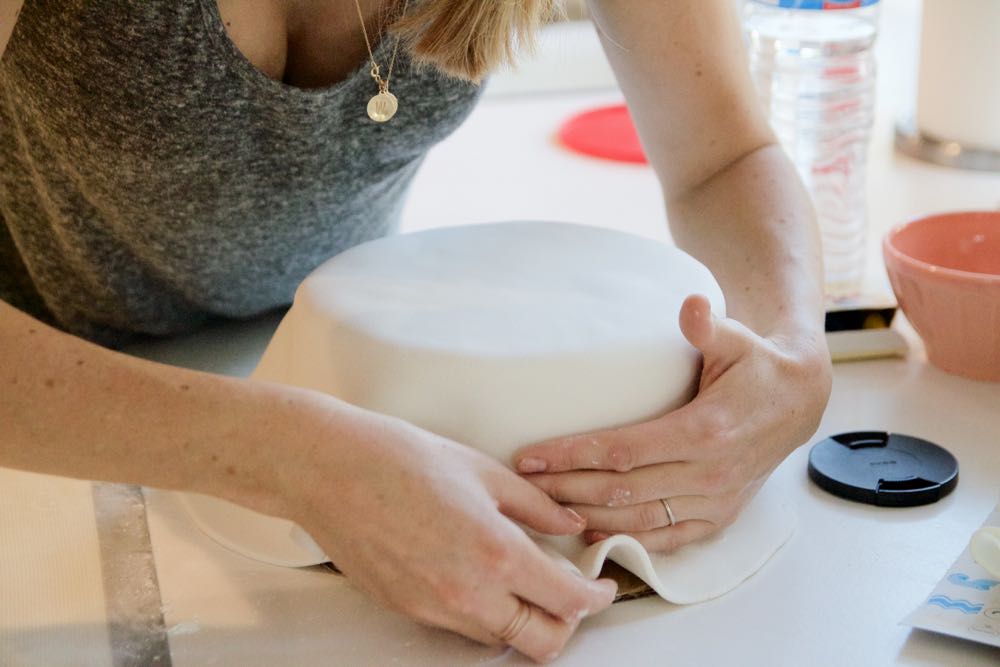
To cover the cake (which, again, must be pre-iced with a thin layer of frosting), you just (gently!) lay your fondant sheet over the top, and then gently pull on the sides so that the folds get pulled down beyond where the cake ends (this video shows you how to do it).
Ba daaaa.
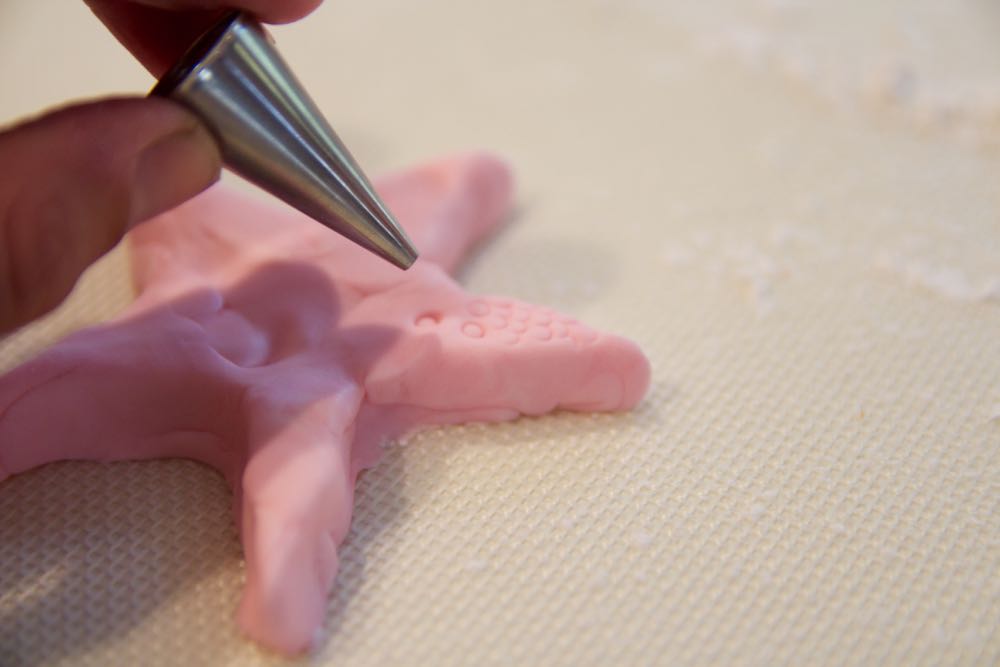
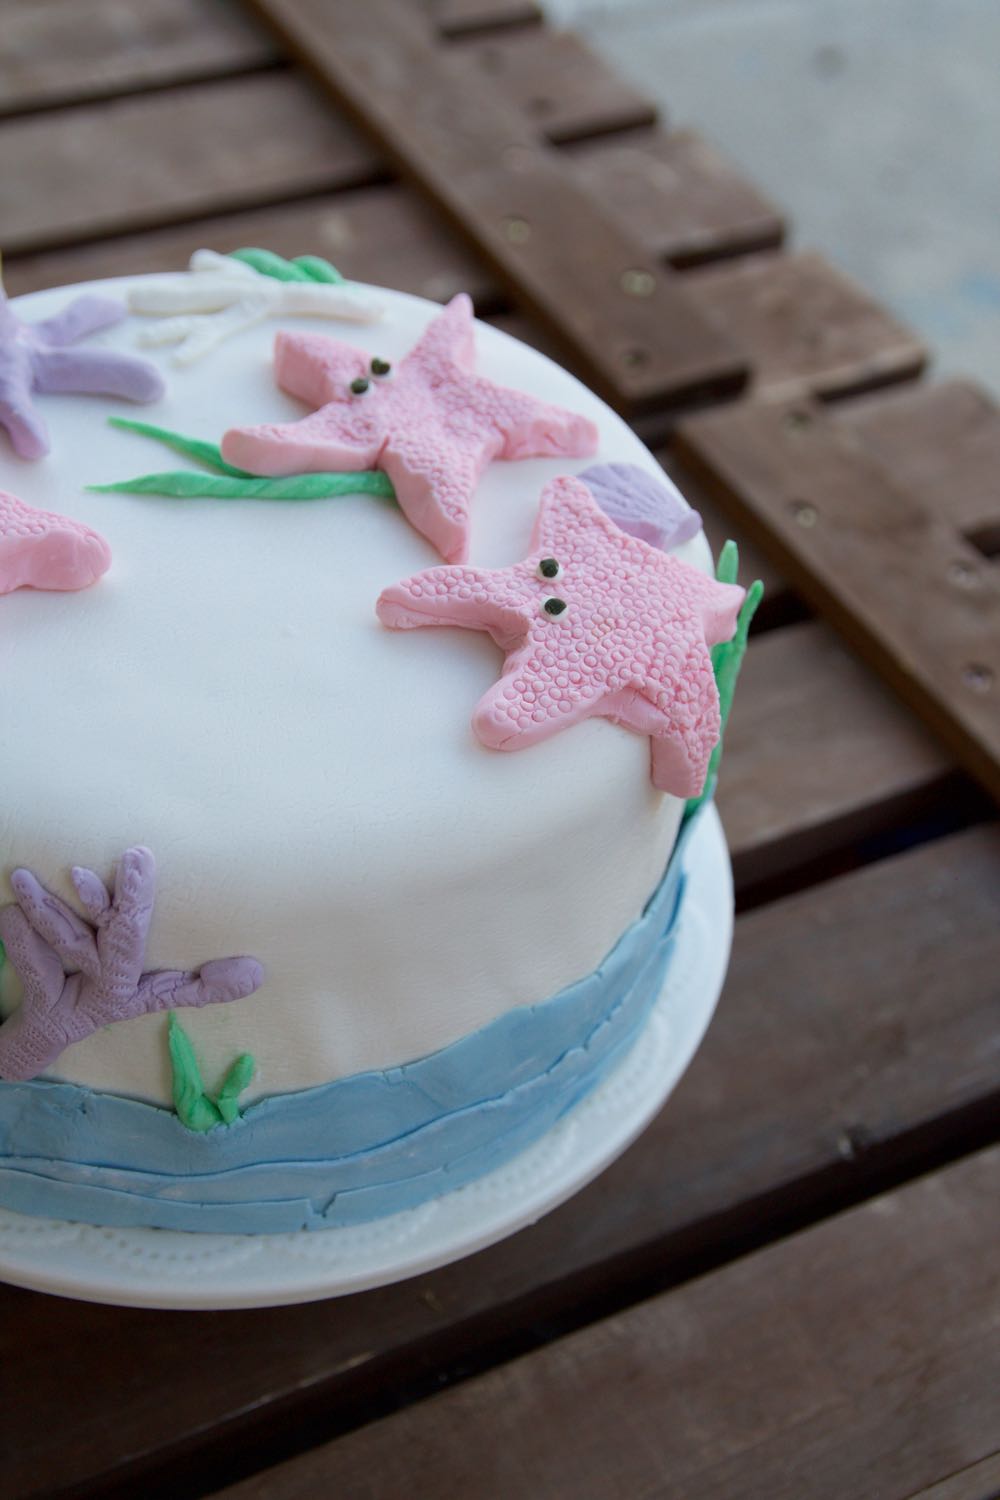
Now the fun part: making the decorations. We were going for a sea creatures theme, so we started by dividing the fondant up and tinting each batch with food coloring (you just add a drop at a time and knead it in until you get the color you want). To make starfish, we used an icing pipette tip to create that cool texture.
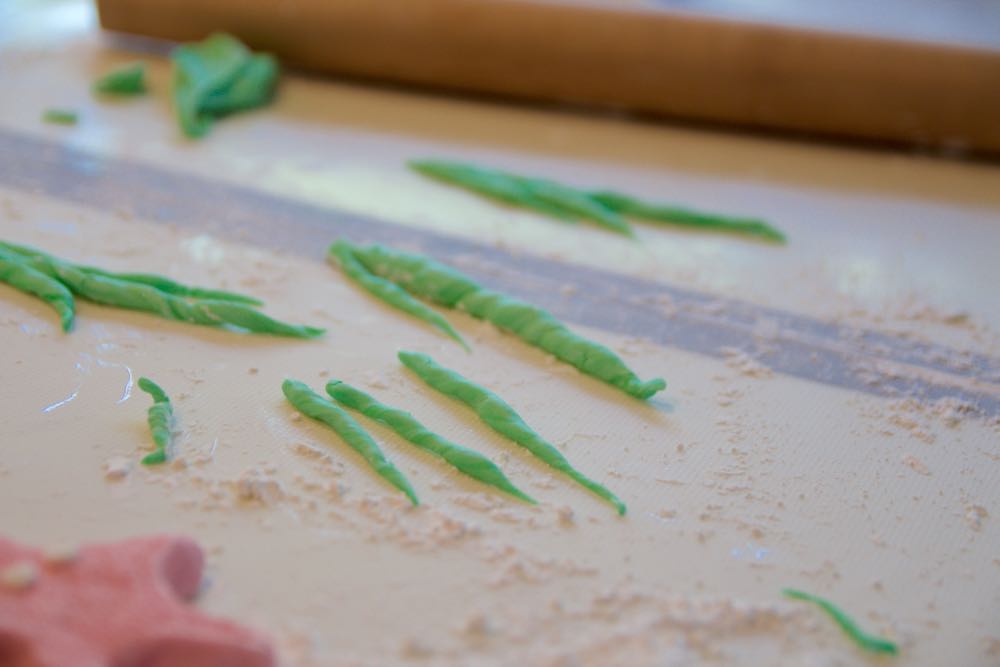
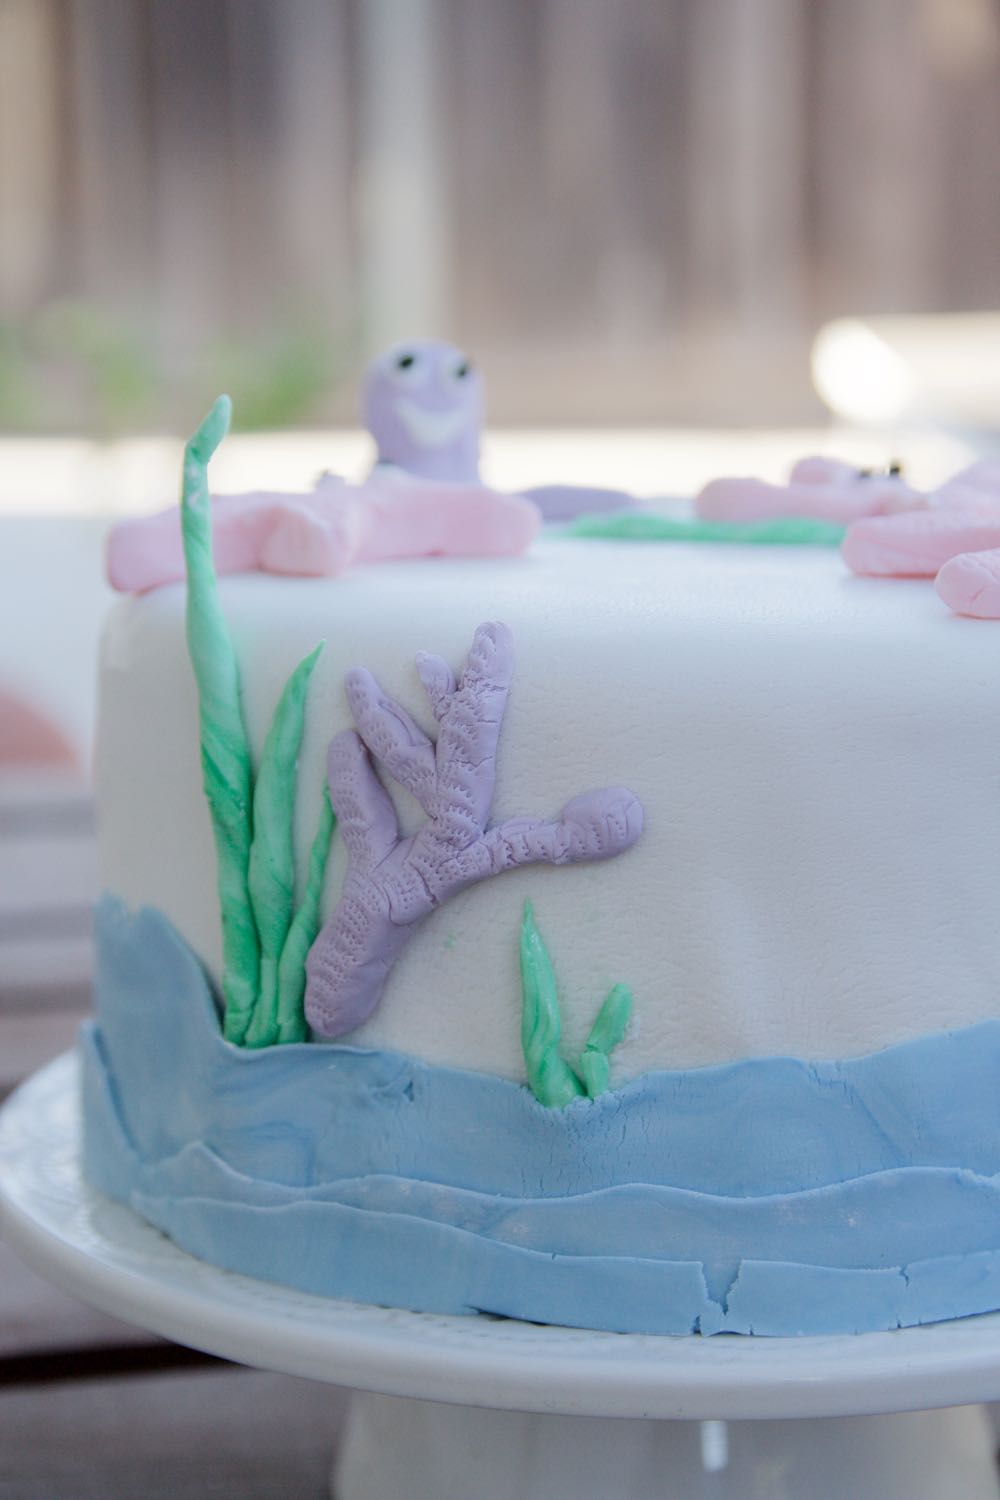
We made seaweed by rolling out thin tubes of green-colored fondant and twisting them gently.

Alisa made this guy, who is obviously the best.
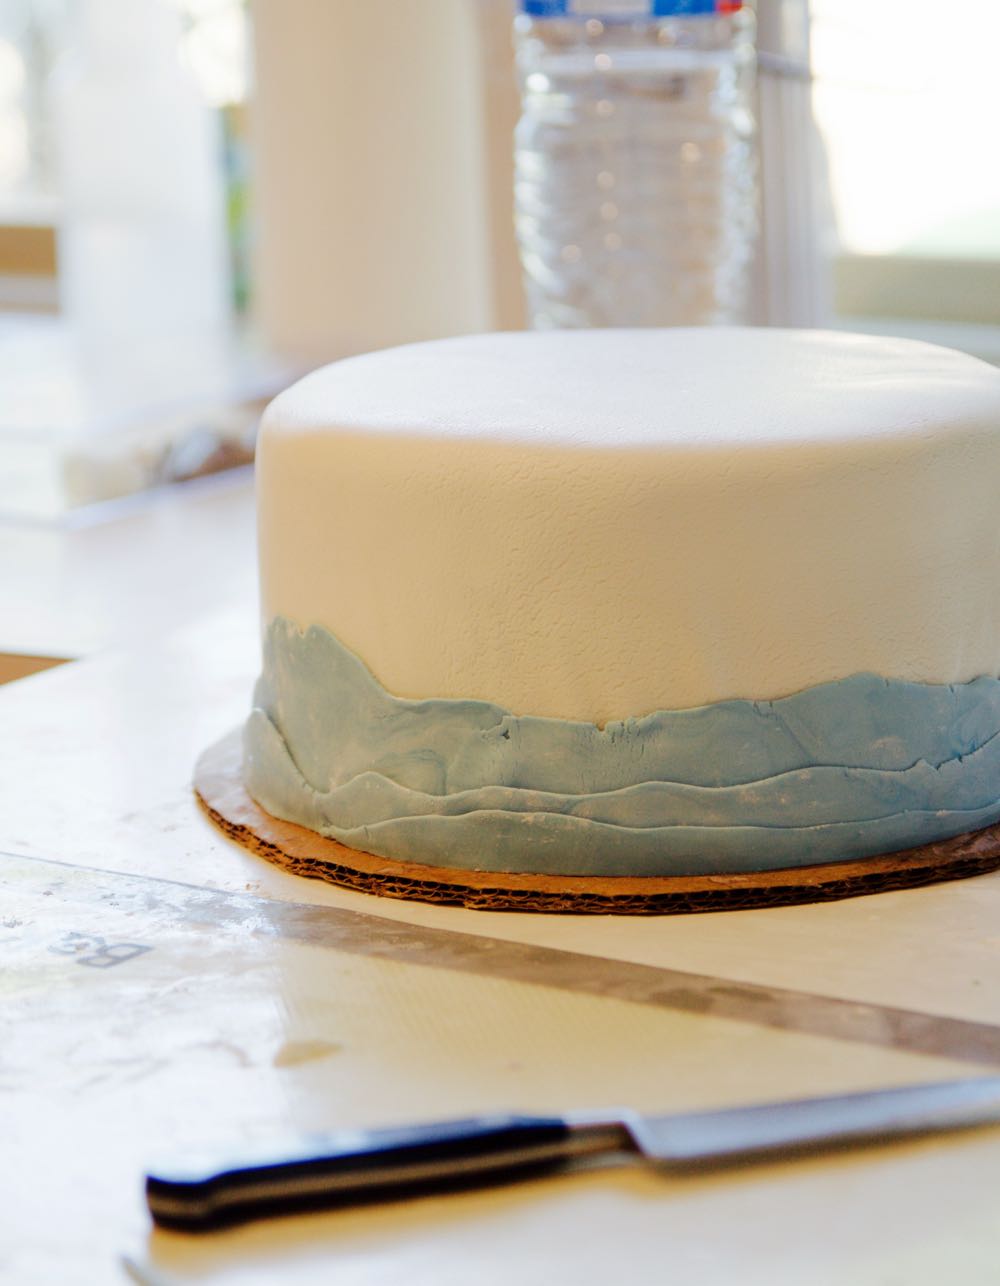
The waves were a last-minute add: we took the excess fondant that we’d trimmed off the bottom of the cake, dyed it blue, rolled it out (leaving one side unfinished and trimming the other side so it was straight), and then just layering on the strips.
Cake!
(Oh my god I have so many emotions today. FOCUS ON THE CAKE.)
More pics and a pinnable step-by-step below.
![]()
![]()
![]()
