We’ve done spooky, Halloween-themed cakes for a few years now, and so this year I thought I’d try something different.
Cat Cake.
See, my son loves cats. LOVES them. He has an especially deep bond with Riggs, who trails him from room to room, sleeps in his closet during the day, and lays next to him reading books (on his back!) like a furry little human at night. But I also didn’t want to test my sculpting powers by going full-on Here Is A Cat, so I had to get a little improvisational.
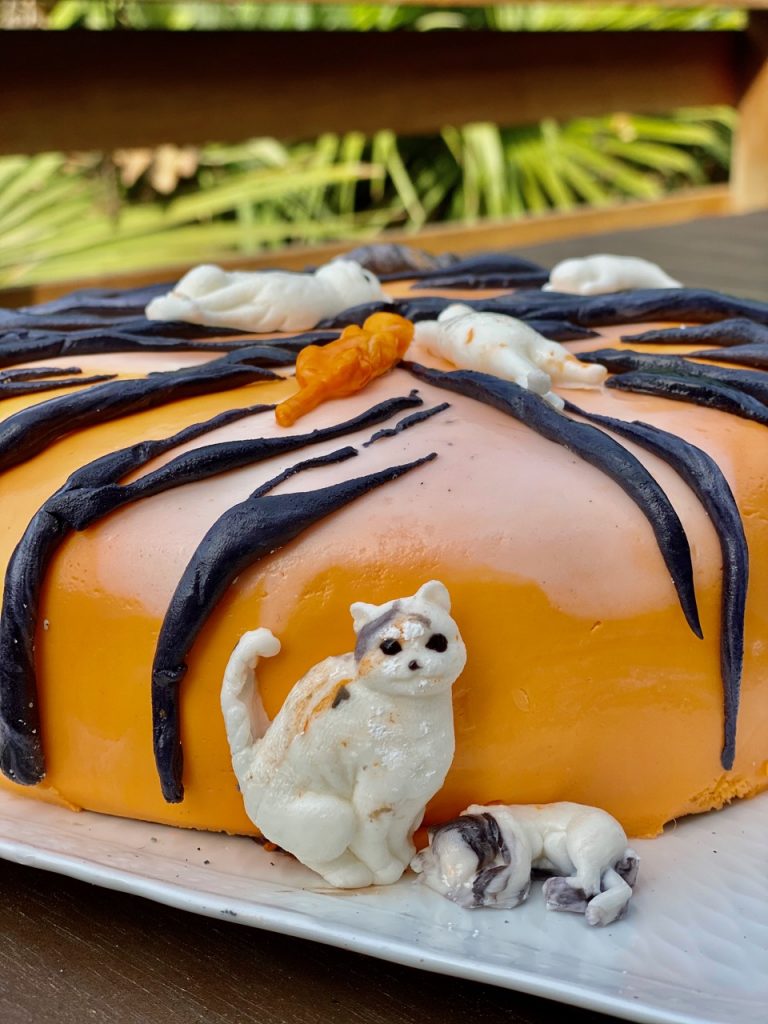
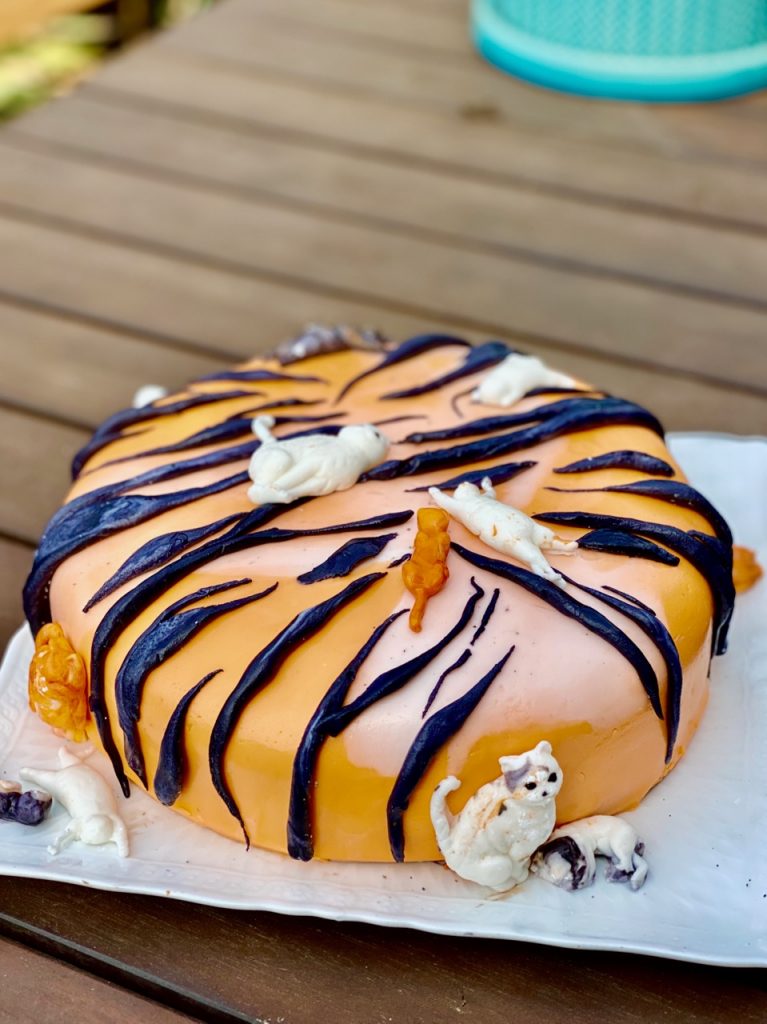
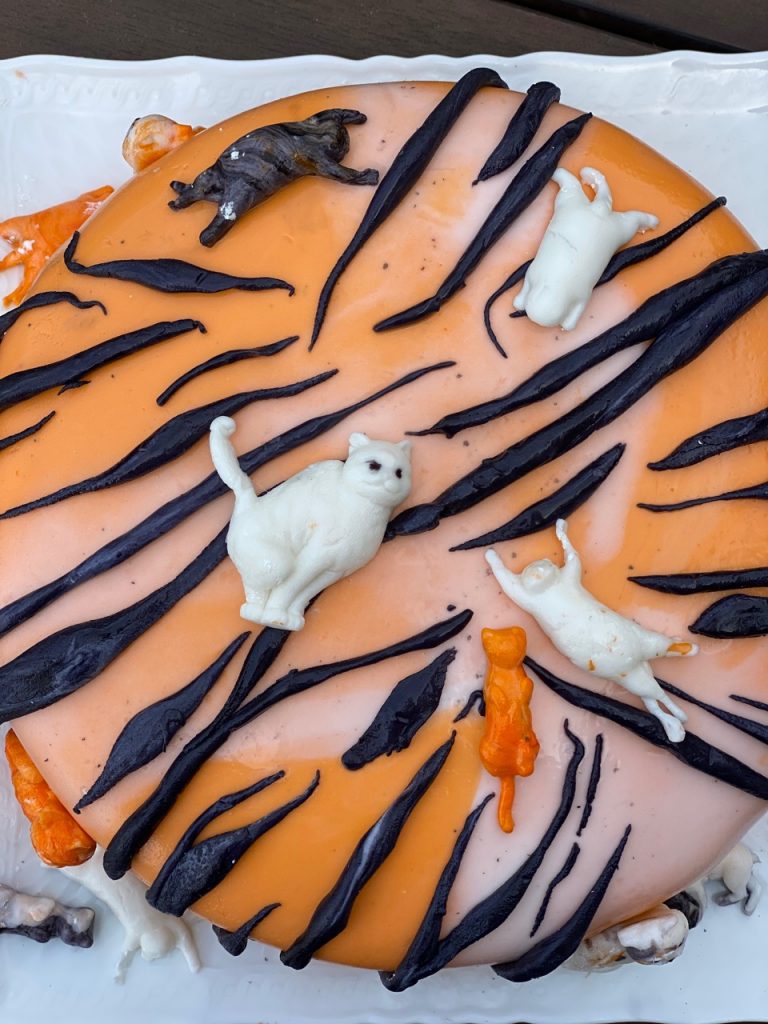
What I did: Found some silicone molds on Amazon, and used them to create some custom critters with which to decorate a tiger-themed cake (with a double-chocolate interior).
What You Need:
- 1 package chocolate cake mix (plus the eggs and oil you need to make it according to package instructions).
- 1 can dark chocolate frosting
- 1 package fondant
- Orange and black gel food coloring (you won’t get the same brilliance of color with regular food coloring, but if you have trouble finding black food coloring you can also buy black fondant online)
- These silicone molds
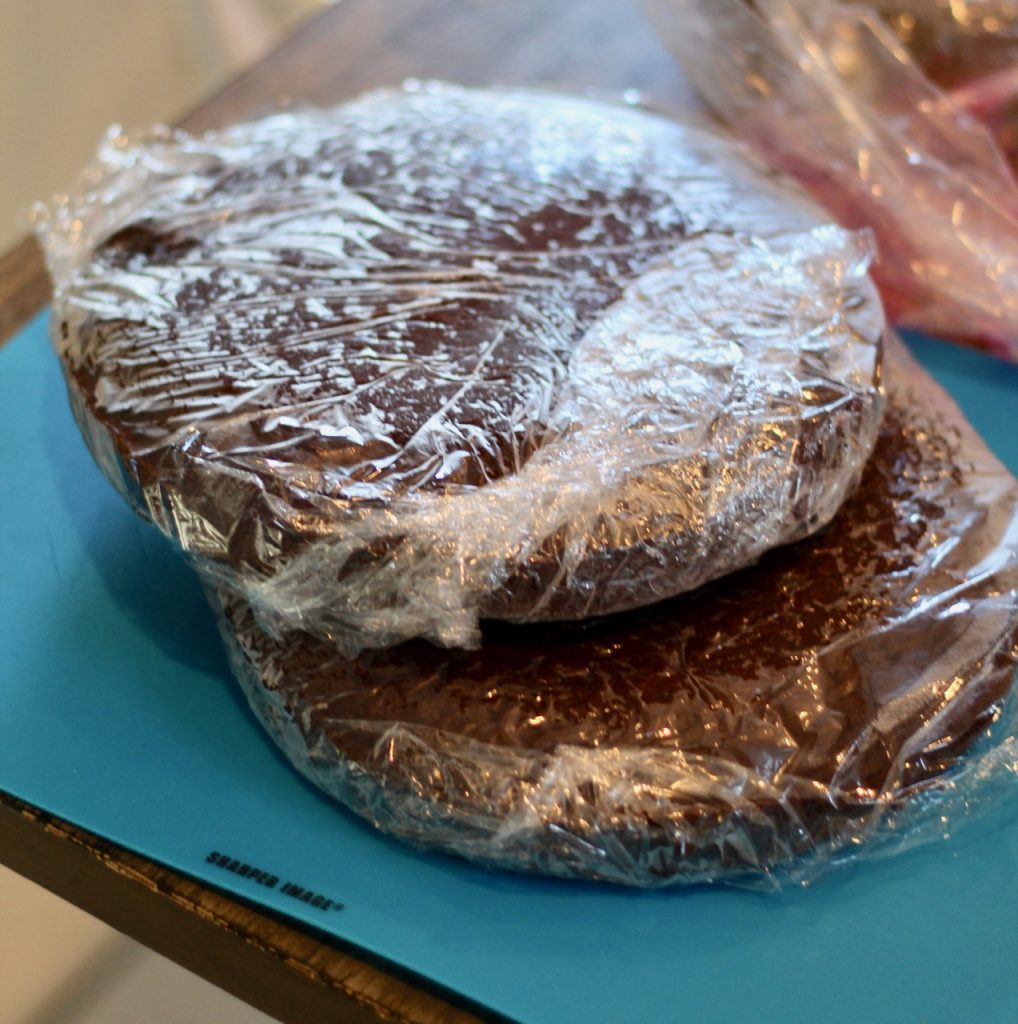
Step 1. Cook the cake (in two round pans) according to package directions. Once cooled, wrap in plastic wrap and refrigerate a few hours or overnight.
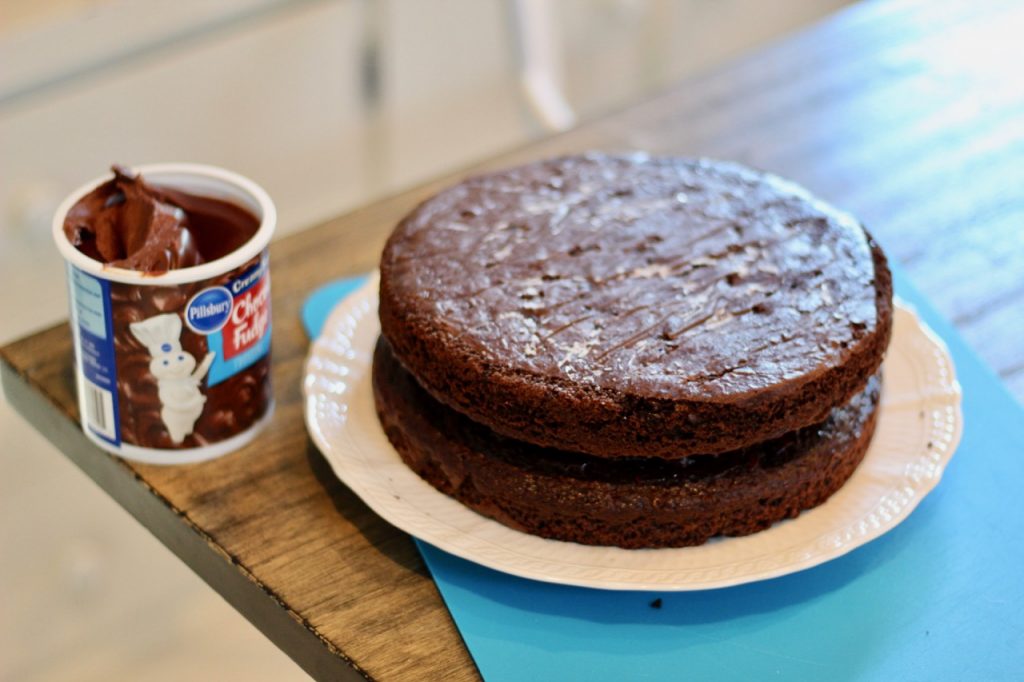
Step 2. Using a very sharp knife, level the top of each cake to create a perfectly flat surface. Spread a layer of icing onto just the top of one cake, then place the other neatly on top.
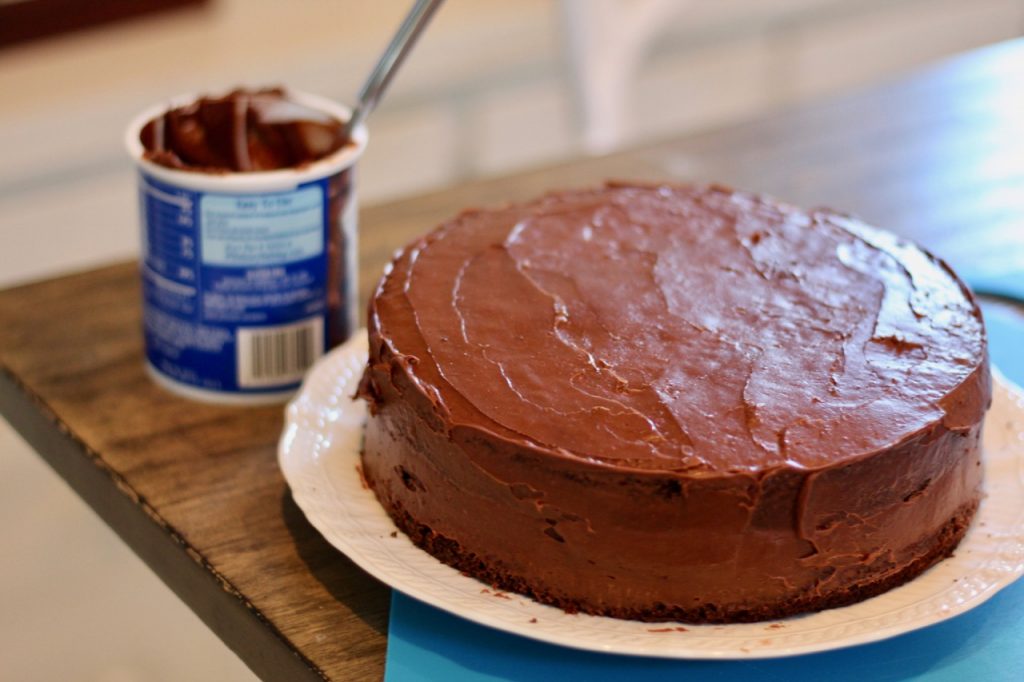
Step 3. Spread a thin layer of frosting all over the outside of the cake.
Step 4. Divide the fondant in half. Then divide one of the balls in half again. Then divide one of those balls in half again – so you have one large ball, one medium ball, and two small balls (that’s what she said).
Step 5. Add a few drops of orange food coloring to the large ball, and knead until the fondant is pliable and the color is evenly dispersed. Set aside a little of the orange fondant – maybe a shot glass’s worth – for later.
Step 6. Take one of the small (white) balls, and combine it with the orange ball, but don’t knead it to the point that the colors are combined – you want a mottled orange-and-white effect.
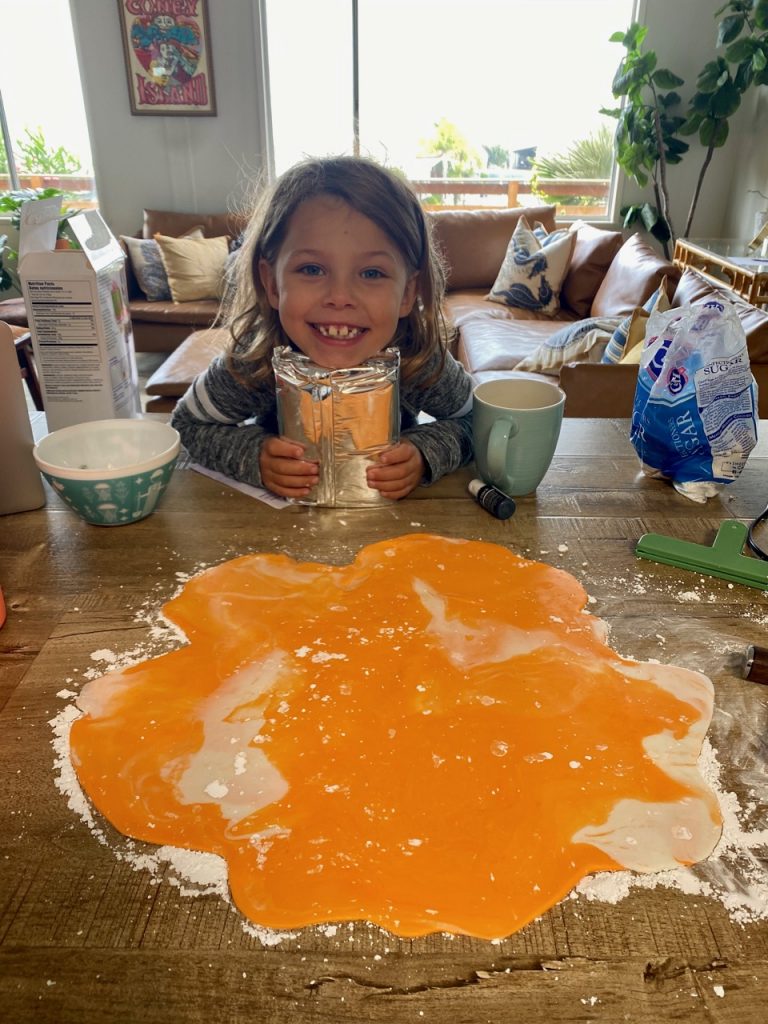
Step 7. Lightly coat a clean work surface with powdered sugar, and roll out the orange-and-white fondant into a thin layer (approx 1/4″). Gently drape it over the top of the cake, then pull it down along the sides and use a sharp knife to cut off the excess. If you’ve never done this, you might want to watch a quick tutorial.
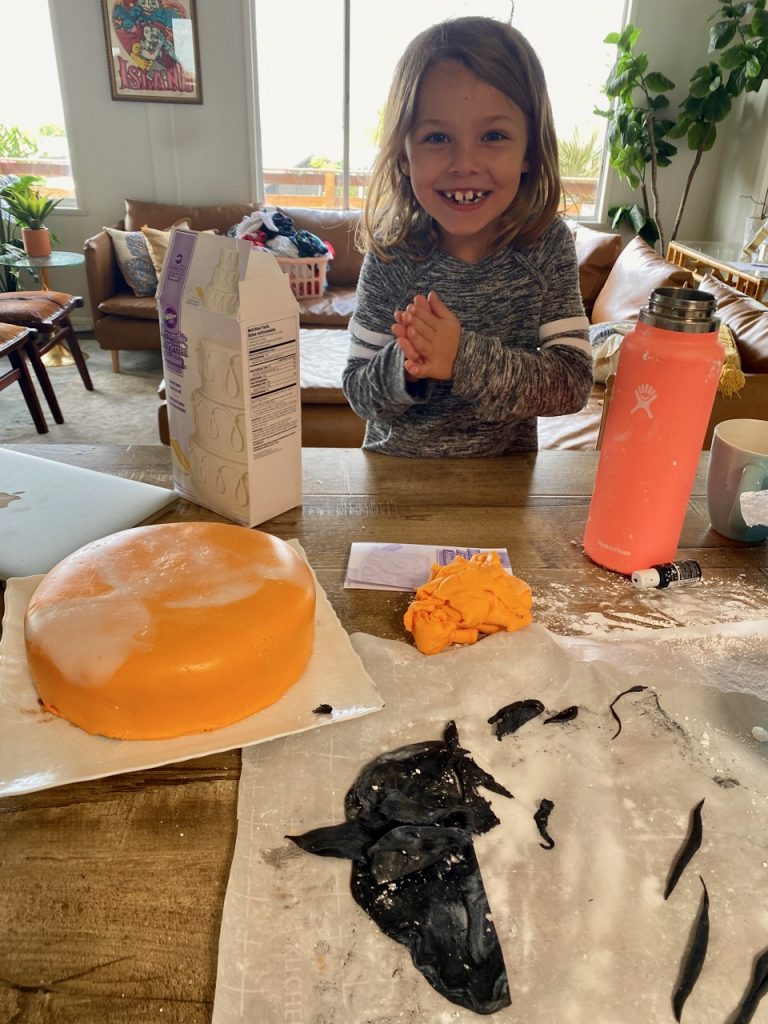
Step 8. Add a few drops of black food coloring to the medium fondant ball and knead until the fondant is pliable and the color is evenly dispersed (you want a deep solid black here, so make sure to either use enough food coloring or just work with store-bought black fondant).
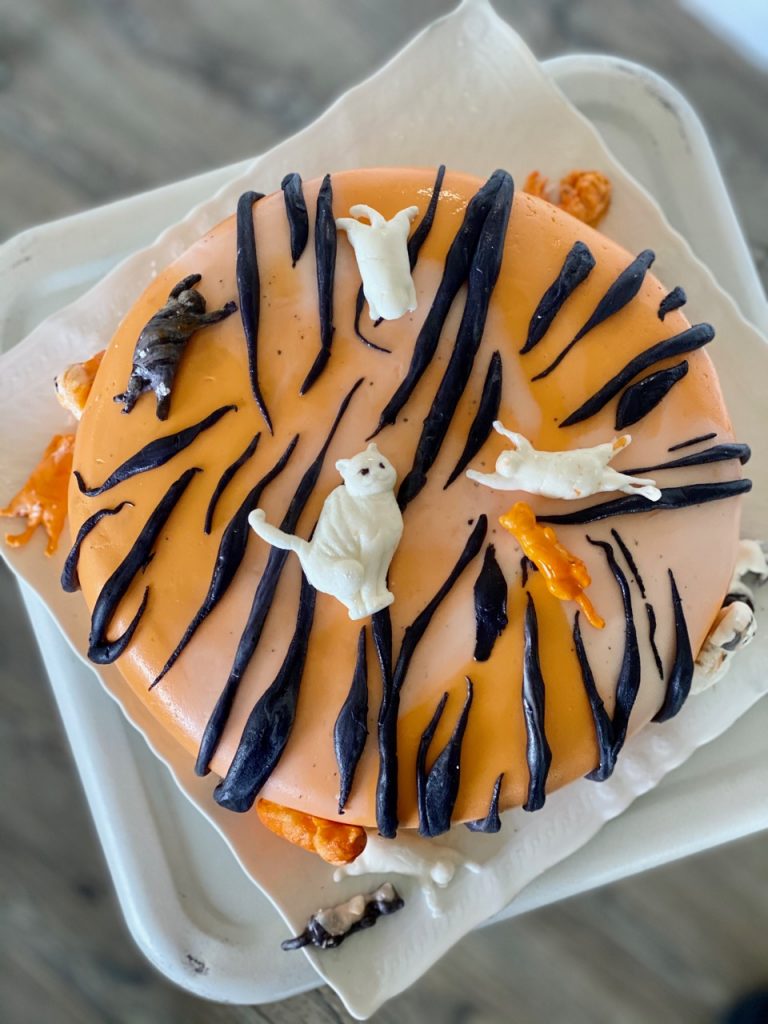
Step 9. Take small pieces of the black fondant and roll them in your hands to get bunches of stripes of varying length and thickness. I like combining a couple of stripes to get a V-shape, too. Make sure to reserve a small amount of the black fondant to use when making your remaining decorations.
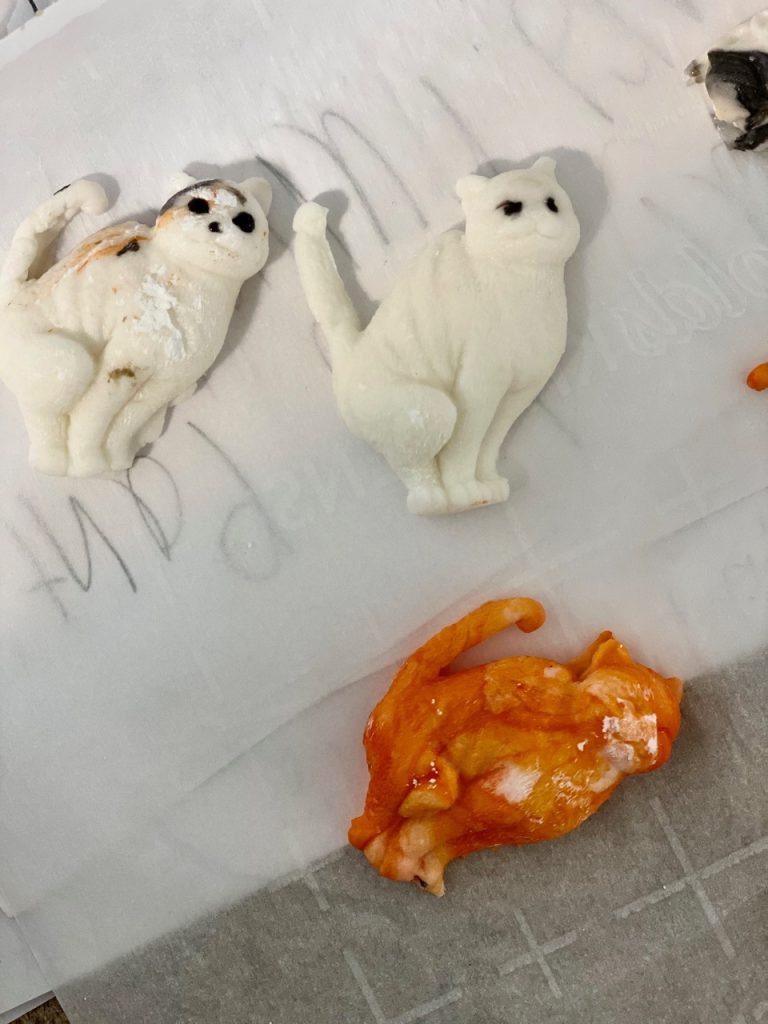
Step 10. Now we’re going to make our cats ‘n’ kittens (#Caroleforever). Lightly dust the cat mold with powdered sugar, and then fill the molds with various combinations of white, orange and black fondant. Remove the cats by gently pushing on the mold from the other side, and set on some parchment paper until you’re ready to use them. (I also used liquid decorative icing to dot on eyes.) This step can be done well in advance – just make sure you store the decorations in an airtight container.
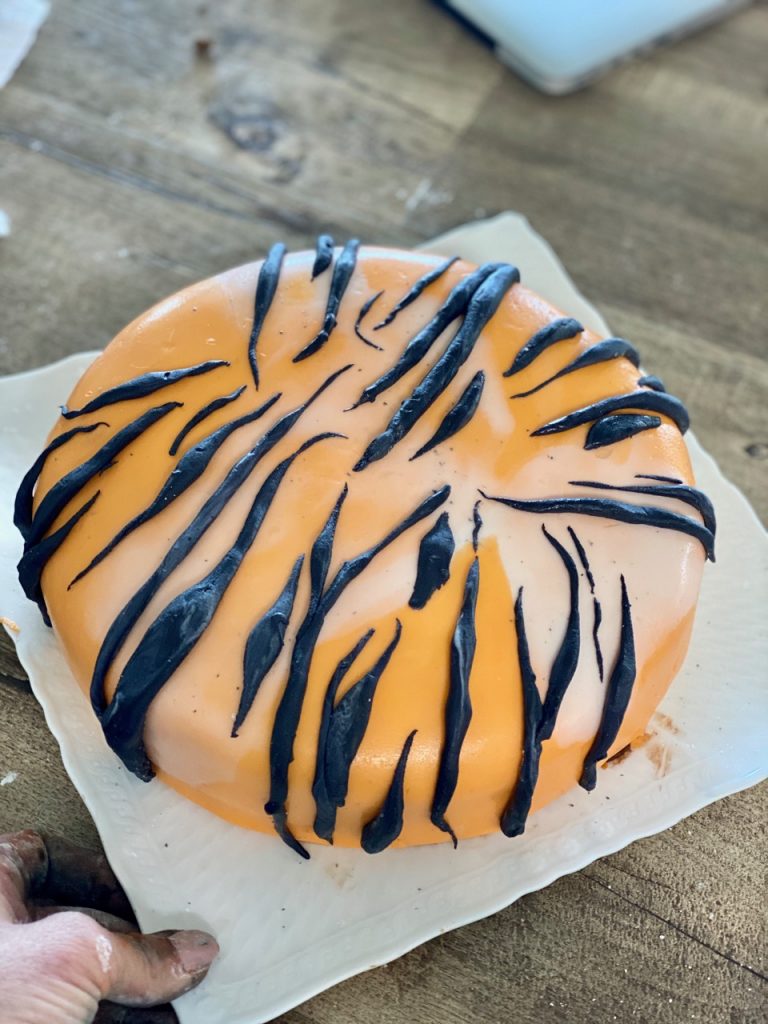
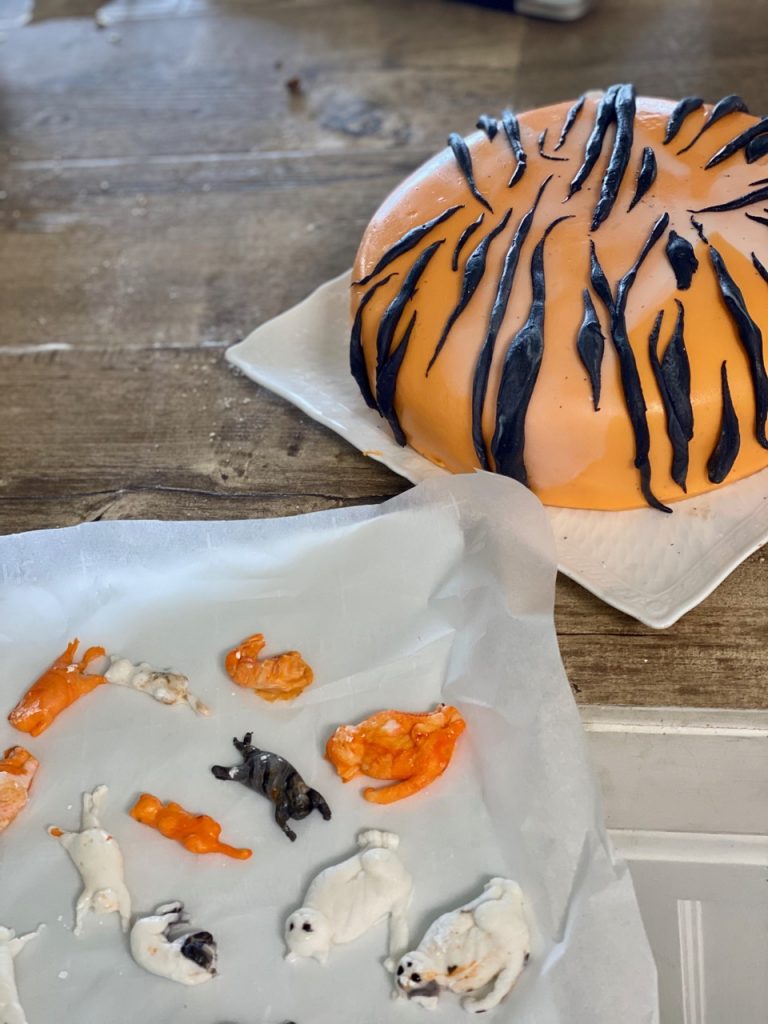
Step 11. Lightly dampen the surface of the cake and layer on the tiger stripes so that the ends meet in the middle, as shown. Then lightly dampen the reverse side of each cat and place them on the cake in whatever formation you like.
Store in the refrigerator and eat within 1-2 days.
