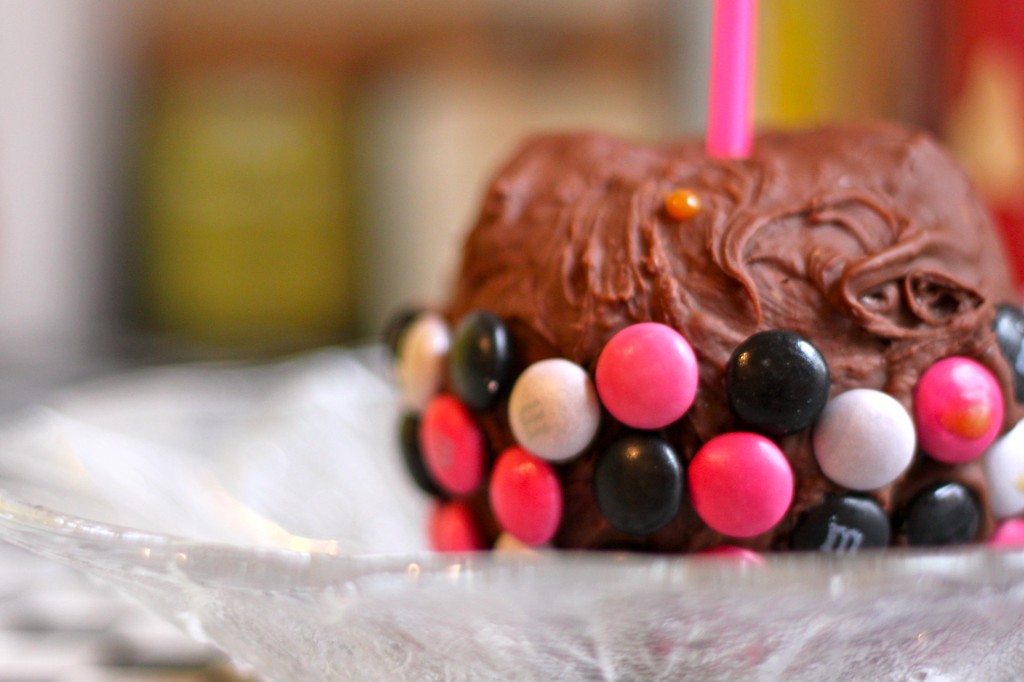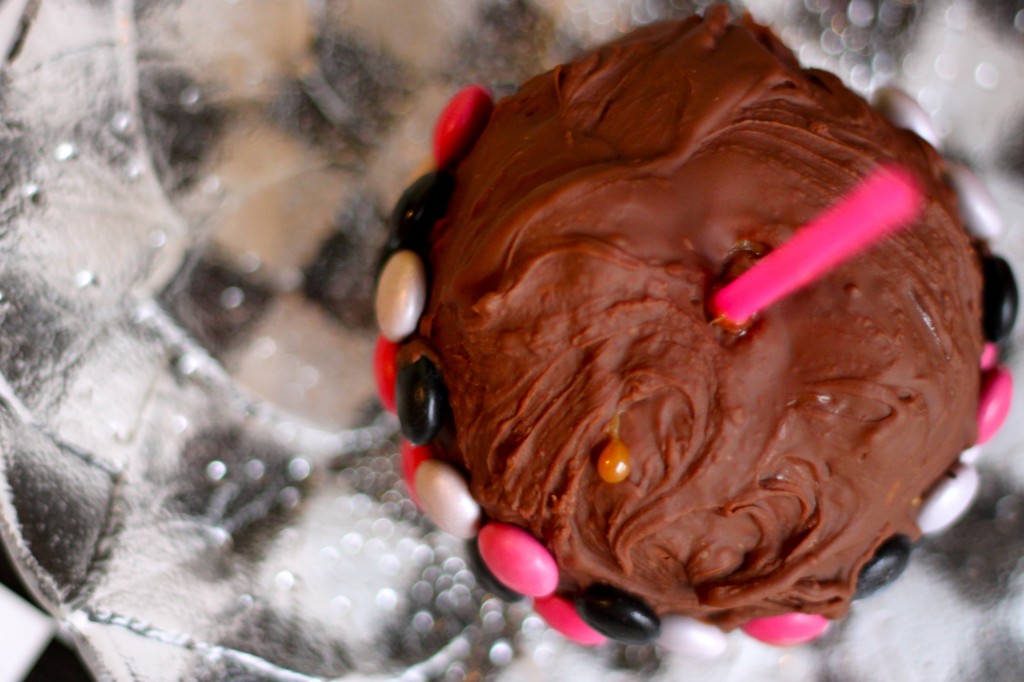
When I was in college, my mom had a yearly habit of sending me two enormous, chocolate-and-all-things-delicious-covered apples from Harry & David. I’m not sure what happened to that mini-tradition (ahem), but no matter: these things are seriously easy to make yourself. And as a bonus, if you make ’em yourself you can tailor them to your tastes, adding whatever toppings strike your fancy.
And! They obviously make lovely gifts, so if you’re feeling a little crafty this year and looking to save money (or in search of a unique hostess gift for your holiday parties), try individually wrapping your apples in cellophane and tying them up with a ribbon to make simple, pretty gifts.
CARAMEL & CHOCOLATE-COVERED APPLES (makes 2)
What you need:
2 large apples (I like Granny Smith for this)
2 popsicle sticks or similar
6-8 caramels, unwrapped
Splash of milk or cream
About a cup of chocolate chips
About 1/2 cup M&Ms (or decorations of your choice)
What you do:
1. Wash and dry your apples, and insert a popsicle stick into the center of each. Set the apples on wax paper.
2. Melt the caramels in a heavy-bottomed pot or double boiler, adding a tiny splash of milk if necessary, and then use a spoon to drizzle the caramel over the apples. If the caramel is too hot when you pour it over the apples it’ll mostly slide off; that’s no big deal, just keep scooping it off of the wax paper and pouring layers of caramel back over the top, and it’ll gradually harden up and stay put as you scoop and pour.
3. Next, melt your chocolate (I just do this in the microwave in 30-second increments, stirring in between) and drizzle it over the apples, covering the caramel layer.
4. Now’s when you can get creative. I covered the lower half of that apple in M&Ms, but you can use nuts or crushed toffee bits, or add white chocolate stripes (just pour a little melted white chocolate into a Ziploc and cut off the corner to create a pipette)…whatever you like.
5. Let the apples harden in the refrigerator, and wrap them individually (and loosely) in cellophane before giving as gifts.
Click here for more DIY gift ideas!


