Q. Hey Jordan!
I am traveling to Europe and I’d like to leave the hairdryer, curling iron, and straightener at home. In an ideal world I’d hop out of the shower and 2 hours of air drying later I’d have some sexy tousled waves. Unfortunately I’ve been blessed with not quite straight, not quite curly (but always frizzy) medium-long hair.
Do you have any tips/tricks/or products you’d be willing to share for those of us looking for (super) low maintenance (but still cute) style?
Thanks!
Rachael
A. Oh, hello hair twin! Sorta-straight, sorta-curly, medium-long, prone-to-frizz? I hear you.
I shot this video about how to create a beach bun that transforms into loose waves by day’s end last summer…but you can use these tips for an easy travel style, as well.
1. After you get out of the shower, leave your hair down and let it air-dry for awhile (if you pull your hair up when it’s still soaking wet it’ll take forever to dry).
2. While hair is still damp, apply a smoothing cream (concentrating on ends) and pull hair into a low bun as shown in the video. The key is to make sure that you pull your hair back while it’s still damp enough that you can smooth out the top section; once it dries that way, the pieces around your face should stay nice and sleek even after you’ve removed the pins for pretty, beachy waves.
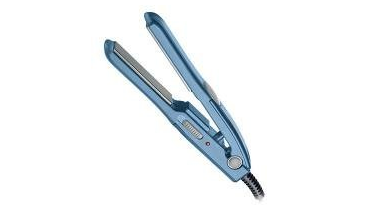
One more tip: I know you don’t want to bring any tools with you, but if you can find room for a teeny-tiny iron (I have the super-small – but extremely effective – Babyliss Pro Nano Titanium Mini Straightening Iron) I’d highly recommend it: it’s all you need to polish up your look in seconds if you’re heading somewhere you’d like to look extra-nice for. If I’m running short on time I just pull my hair into a topknot and use the iron on the front pieces, and I’m done.
Enjoy your trip!


