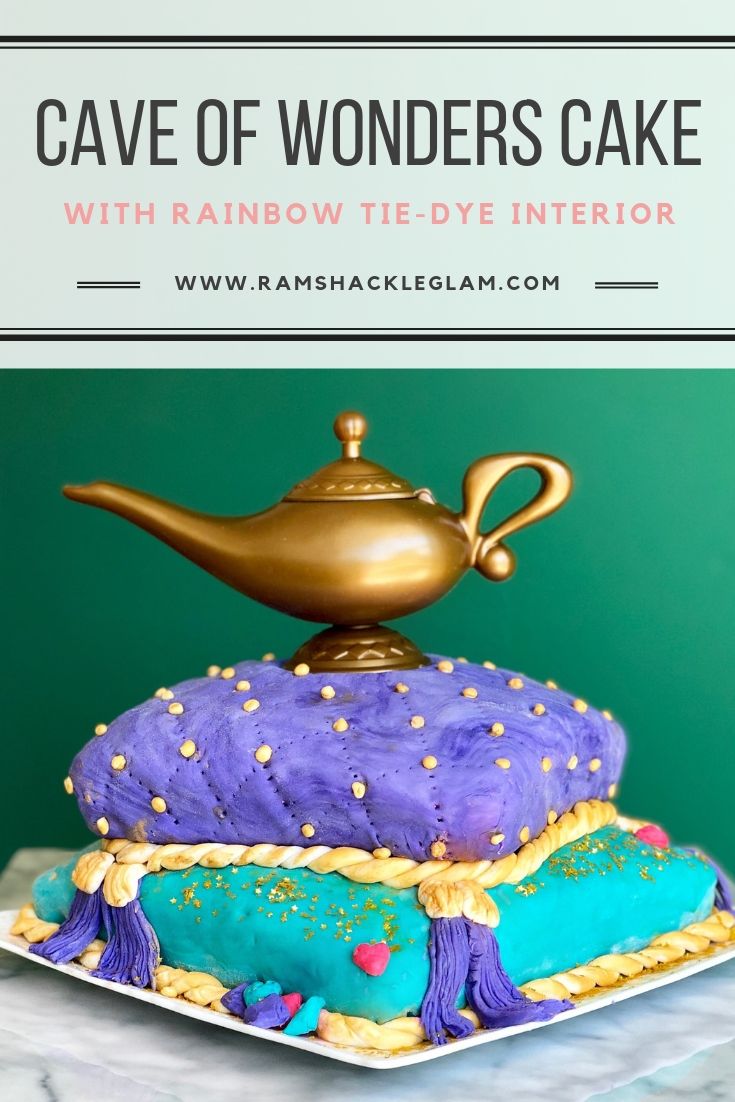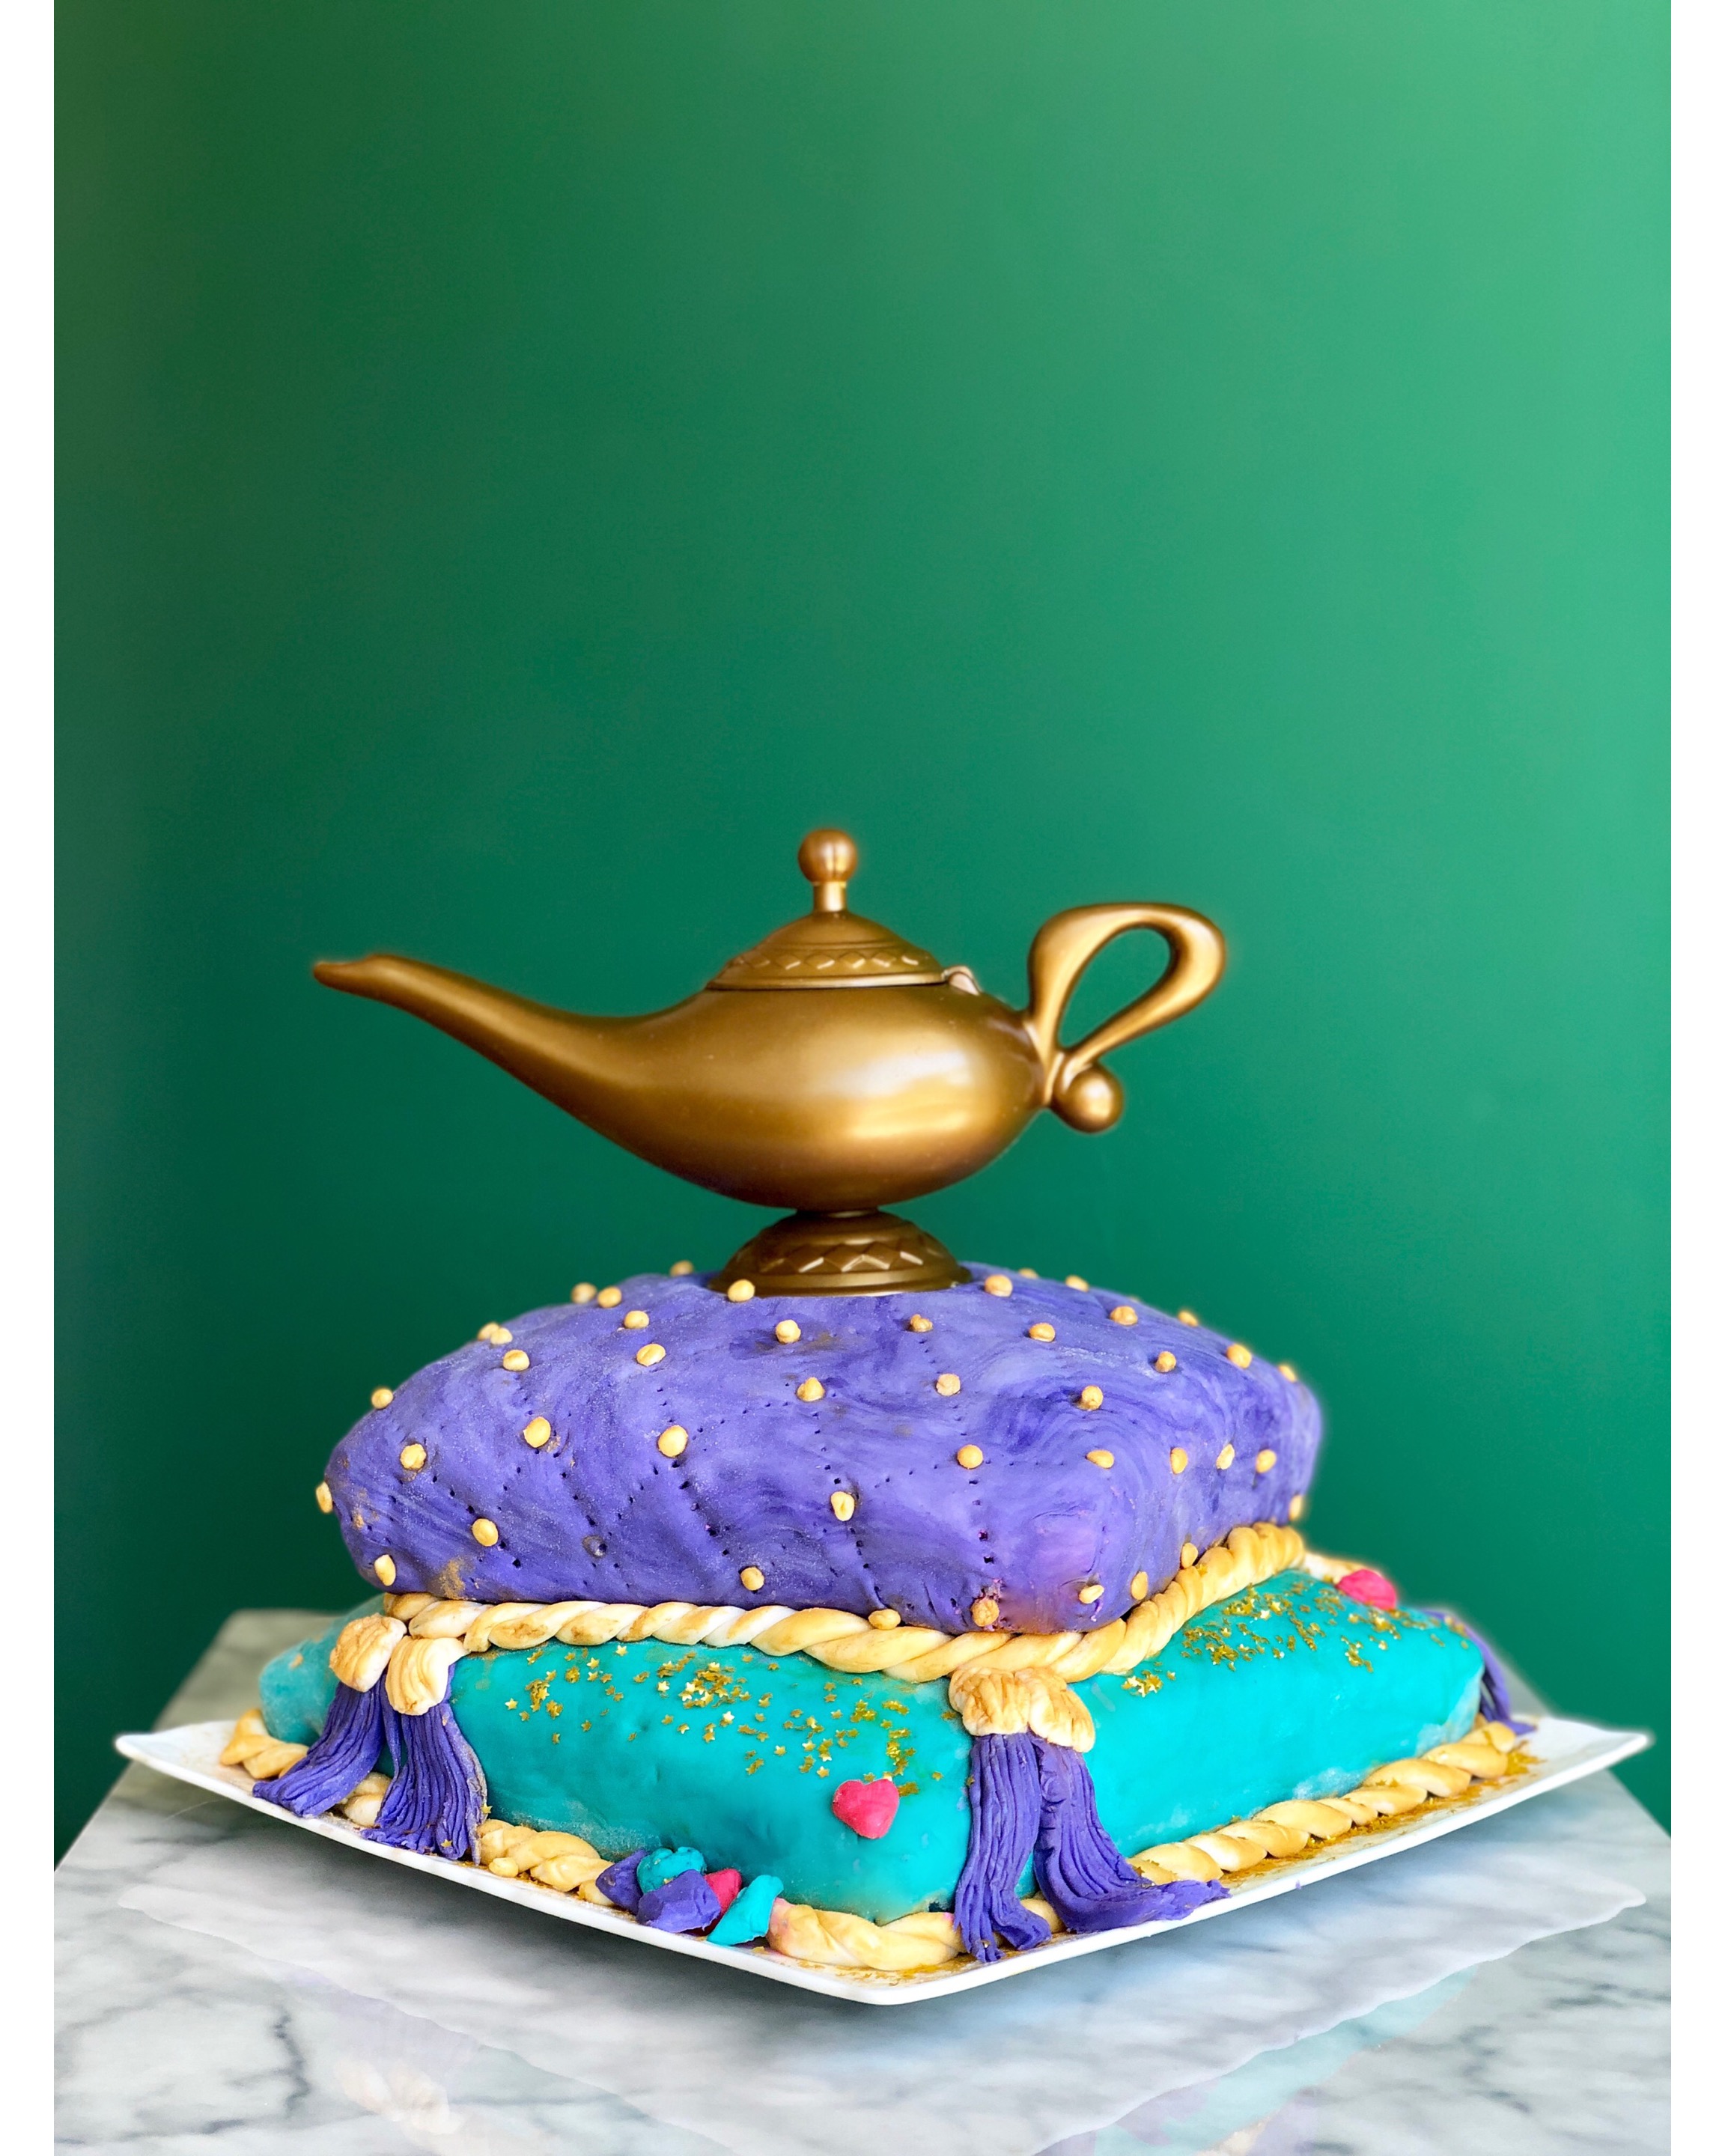
I want to be humble about this one, but it took me five hours, so I’m not going to be. (Granted, the creation process might have been slowed down ever-so-slightly by the fact that I was catching up on the 2-part season finale of The Bachelorette while fondant-ing, but STILL.)
So. To recap, the make-an-impossibly-fancy-birthday-cake-for-my-child tradition started with the Mermaid Cake (a process that began with my friend Alisa taking pity on me and teaching me how to make a cake that did not turn out like this).
Then came the Spooky Ghost Cake, the Moana Cake, the Bloodshot Eyeball Cake, and the Tie-Dye Rainbow Cake. This year my daughter suggested a “Moana Rainbow Unicorn Mermaid Cake,” but I gently steered her in the direction of something a) new, and b) not that, because the chances of me executing that extremely specific vision were zero, and?
Aladdin Cake. Which I decided to take in a more “Cave of Wonders” direction, so as not to have to craft a blue Will Smith or similar. I also decided to do a tie-dye rainbow interior similar to what I did last year, just because it was so freakin’ cool.


How-To: Cave Of Wonders Cake with Rainbow Interior
First, the cake. You can see a super-detailed step-by-step of how to make the rainbow tie-dye cake in this post, but here are the basics (with a couple of minor tweaks to the original how-to).
1. Prepare two boxes of white cake mix (any brand) according to package directions, then divide batter equally into six small bowls.

2. Above are the colors I used for my original rainbow cake. I forgot to take a photograph of the colors I used for this one separated out into bowls, but you can see them below – I went with richer jewel tones this time, in keeping with the Cave of Wonders theme.

3. Oil and lightly flour two square baking pans (preferably ones with rounded edges, and preferably one slightly smaller than the other). Cut out squares of wax paper to fit and lay on bottom of each pan, then pour half of the first batter color into the center of each pan. Pour half of each remaining color into each pan, one color at a time. Make sure to pour the batter into the center of the previous color to create the concentric circles pictured above.

4. Starting at the center of the batter, pull a knife outwards towards the edge of the pan eight or so times, creating the spiderweb pattern pictured above.

5. Bake according to package directions and let cool. At this point, you would ordinarily freeze the cakes so that you could level them off for a completely flat surface (ideal for applying fondant), but I wanted a rounded surface to create a pillow effect, so I skipped the freezing/leveling-off step.

Now, let’s decorate! (FUN.) Once you’re all good and set up with an episode of Bachelorette (#nowstreamingonhulu #justsaying), it’s time to start the fondanting/decorating process. Start by dividing your fondant into three equally sized balls, and set two aside.
1. Lightly flour your working surface, and use your hands to knead the fondant until it’s soft and pliable. Add a few drops of your desired color to the fondant ball, and continue kneading until the color is evenly distributed. Roll out the fondant until it’s about 1/8″ thick.

2. Evenly and thinly ice the top of the bottom layer of cake (the larger square, if you were able to use pans of two different sizes).

3. Gently drape the fondant over the cake. Gently pull the fondant so it’s smooth around the outside edges, then cut off most (but not all!) of the excess. Gently tuck the remaining excess under the bottom of the cake to complete the pillow effect.


4. Repeat with the second cake layer, using a different color and applying a thin layer of fondant to the top of the first layer before placing the second layer on top (to secure).


5. With the decorating, you can get as intricate as you want, but here are the elements I went with:
- Used edible gold glitter spray to make fondant “ropes” and little gold balls to accent the top pillow.
- Used a fork to create holes to suggest a quilted effect on the top pillow.
- Used a sharp knife to draw lines into fondant pieces to create tassels.
- Sprinkled over edible gold glitter stars.
- Topped with a plastic genie lamp (about $5 on Amazon) for a finishing touch.
More party pics (and ideas for your own Cave of Wonders-themed event) below.


Favors: Mesh bags filled with pirate coins and gems.


