Please give a warm welcome to the lovely Erin & Lia from YAY! DIY – check out their site for everything from lamp refurbishes (you know I love those) to Grown-Up Arts & Crafts and interviews with yours truly.
– Jordan
First of all, hello everyone! We’re so excited to be guest posting for Jordan while she soaks up the sun this week!
Like Jordan, my co-blogger Erin and I are big fans of dragging in furniture off the street to fix up and make our own. This little end table was no exception. Walking one night in my old neighborhood, I spied it next to pile of trash destined for the landfill and immediately knew I had to rescue it. (There were actually two, but I could only carry one at a time in the cold all the way home. Not going back for the second one is a decision I still regret!)
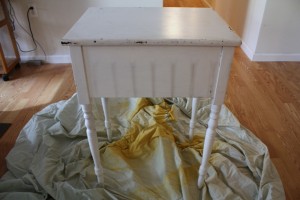
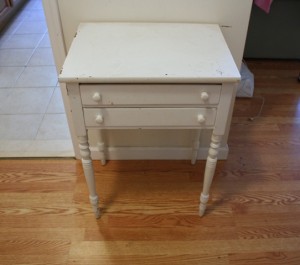
For the last year, the table has stood in the entrance way of my apartment, where I dump everything from spare change to the dog’s leash onto it daily. But when Jordan asked us to post, I knew the time had come for its extreme makeover, changing it from this:
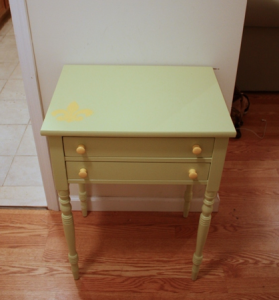
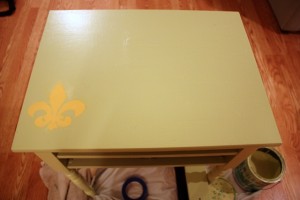
to this:
As you can see, though the table is the first thing you see when you walk in the door, it also sits next to the entranceway that leads to the kitchen (which is bright green and accented with splashes of yellow and blue). So, I got to work on its transformation – and it was quite easy! If you have any kind of plain table that you also want to spruce up, you can follow these same simple steps for the same effect (regardless of your particular table’s size).
Here’s how you do it:
What you’ll need:
– House paint
– A good-quality paint brush ($6 should do the trick)
– Spray paint (Rust-oleum is a personal favorite as the brand offers a wide variety of pretty colors and dries extremely quickly)
– Professional stencil (if you don’t want to make one) or cardstock
– Small paint brush (to fix mistakes)
What you do:
Step 1: Before you get going, give the entire table a wipe down with a damp rag to remove dust and dirt. This will make the painting process much easier.
Step 2: This little table has two drawers that both needed to be painted. I removed the knobs and set them aside for the time being.
Step 3: Apply two coats of base paint to the entire table and drawers. I used the leftover green paint from the kitchen to turn the table from white to green, letting it dry about 12 hours between coats.
Step 4: For your stencil, you can go a few ways. One, you can simply purchase a stencil at your local craft or hardware store. This is makes this project super easy, especially if you want to save some time.
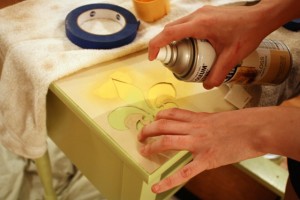
If you want something specific, try making your stencil! I’ve been wanting to put a little fleur de lis accent somewhere in the house for a while, and figured that this was the perfect opportunity. I found a free image of one via Google, held up a piece of light cardstock against the computer screen and simply traced it. If you have a printer, you can also print it out onto the cardstock for an even easier time (Google turns up all sorts of free stencil templates). Once you have something you love, cut it out using an x-acto knife or scissors.
Step 5: Once you’ve got your stencil, lay it down firmly on the table. You want it to be as flat as possible to avoid leaks. Give the inside one good coat with the spray paint, and wait an hour, until dry.
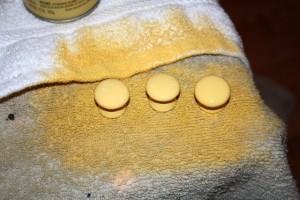
Step 6: I also gave the little knobs I had set aside earlier a coat of yellow spray paint to make them pop.
Step 7: Almost there! Remove your stencil, and fix any spray paint leaks using your small paintbrush and your base paint.
That’s it! We hope you enjoyed reading! For more crafting and cooking ideas, visit us at www.yaydiy.com! (as in yay!).
– Lia of Yay! DIY
