Staining hardwood furniture is a super-easy, inexpensive way to pretty up a boring, unfinished piece. It takes a few hours, sure, but the hands-on time is minimal, and the results are extremely satisfying.
The Basic Steps:
1. Sand the piece all over, moving in the same direction as the grain. Wipe away dust with a clean rag.
2. Apply wood conditioner, which will soak into the grain of the wood and help the stain go on evenly. Let dry, and then lightly sand the piece again to knock down any raised grain. Wipe away dust.
3. Apply stain using short, light strokes (don’t glop on too much at once) and moving in the same direction as the grain. After a few minutes (a maximum of three minutes for the product we used, but check package instructions), wipe away excess with a clean rag. Let dry. Apply a second coat if desired (but don’t sand in between coats!).
4. After stain has dried, apply a protective topcoat to prevent chipping or scuffing.
Tip: Use synthetic brushes to apply water-based products. Also, I’m all for penny-pinching, but it really is important to buy good-quality brushes: crappy ones will shed all over your project (picking bristles out of freshly-applied stain = not fun), and won’t leave a smooth finish.
The products we used in yesterday’s segment:
– Water-Based Pre-Stain Wood Conditioner
– Water-Based Wood Stain in English Oak
– Polycrylic Protective Finish
Final step: we finished off the cabinet by replacing the boring wood handle with a pretty Anthropologie drawer pull (love those).
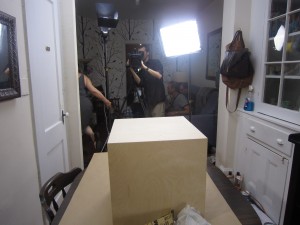
A “Before” shot, my POV:
And an actual “Before” shot, in which you can, you know, see the cabinet (and the Madewell t-shirt that I love and was happy they chose for the segment):

Posted by Jordan Reid, 7/21/10.


